Quilting
“Vintage” Doll Quilt Tutorial for Bake, Craft, Sew
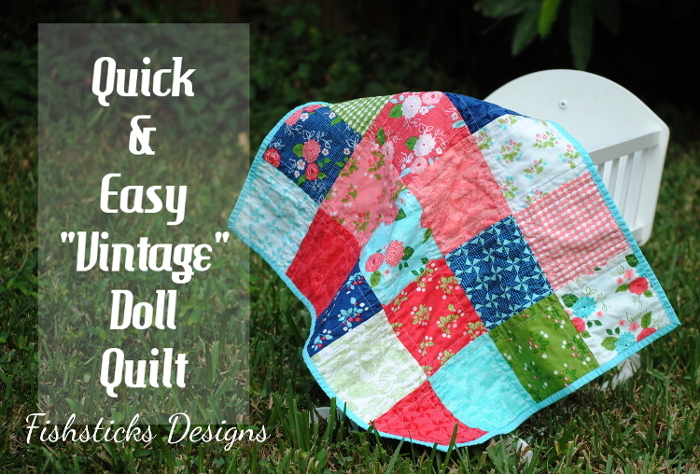 Good morning, sewing friends! I’m guest posting over at Skip to my Lou today with a tutorial for a sweet little quilt for your little one’s favorite doll. Check it out right here: The Quick & Easy “Vintage” Doll Quilt.
The Sewing Machine Hideaway ~ Free Pattern & Tutorial
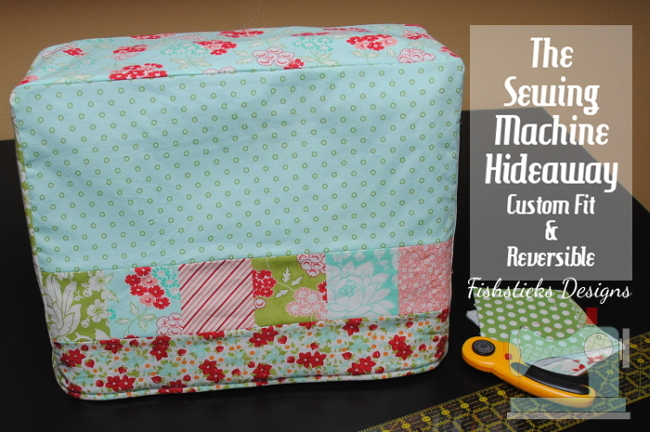 I promised you a fun and practical tutorial, and I think this one checks off both of those boxes perfectly! In our new house, my studio is off to the left as soon as you walk in the front door. I would love to put in French doors so that I can close it off, but for now, I have to keep it neat and clean … at least while I’m not sewing or when we’re expecting company. Having a pretty cover for my machine helps a ton! When I can squeeze in the time, I’m planning to make one for my serger, too. Continue reading
The Farmer’s Wife 1930s Sampler Quilt Prep
 I’m so sorry that it’s been so quiet here this past week. We had a little one get sick, and my week was full of appointments, medications, treatments and so much driving. I feel like I buckled, unbuckled and re-buckled a thousand carseats over the last seven days! Thankfully, everyone is on the mend now, and I was able to steal a little bit of time this afternoon to do some quilt planning!
Starting next month, there’s not just one, but two blog sew-alongs that will be working their way through the 2014 edition of The Farmer’s Wife 1930s Sampler Quilt. Quilt-along number 1 is taking place over at Very Kerry Berry. Sew-along #2 can be found at Gnome Angel. Continue reading
Instagram Mini Quilt Swap Basics ~ Schnitzel & Boo Round 3
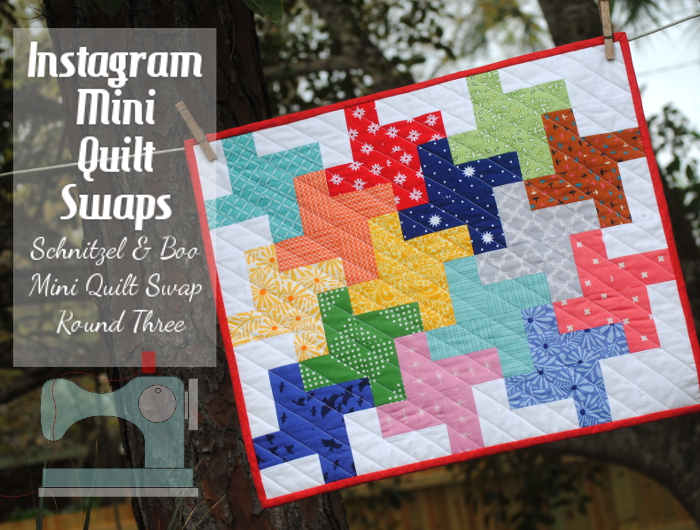 I mentioned before that I’ve jumped headfirst into the world of Instagram swapping, primarily IG mini quilt swapping. Round three of the Schnitzel & Boo Mini Quilt Swap was actually my second IG mini swap. I’m sharing it now because Round Four is open for sign-ups, and you might want to jump in! (Find out how to join by clicking the image at the very bottom of this post.) Continue reading
Drunkard’s Path Circle Mini Quilt
 I mentioned this mini quilt in a post a few weeks ago: Apartment Decorating on a Budget. I’ve been enjoying making mini quilts quite a bit lately, and I love the little pop of color and softness they add to a room. When I made plans to spend a weekend helping my oldest daughter decorate her new apartment, I knew that a mini quilt would be the perfect house-warming gift!
Continue reading
A New Year Begins
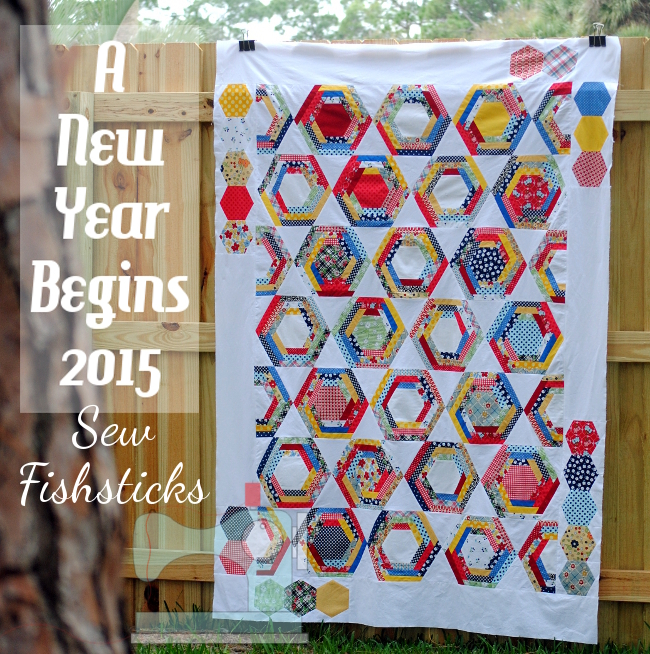 The beginning of a new year always seems to be a great time for change … a fresh start. I’ve been mulling over how the last year has gone for my family and for my business. Actually, my husband and I and our kids have been doing a lot of chatting and praying about what changes should and need to be made. Because I work from home at all hours, my family and my business are intertwined.
I’ve been doing a lot of reflection over the last few days, as well. What kind of legacy do I want to leave behind? Surely, one of hard work and dedication, but I don’t want to miss out on life to have a successful business. With that in mind, some things will be changing for Fishsticks and for this blog.
A Christmas Quilt & the Fastest Tree Skirt Ever
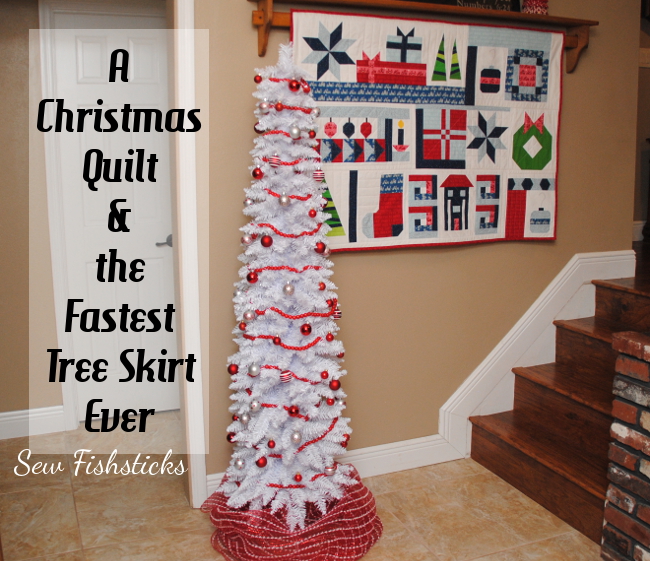 How are the holidays going at your house? We’ve been enjoying our traditional advent calendar activities, visiting with friends, cooking, crafting, playing … all the things that I want our Christmas memories to be made of. I posted a picture on Instagram a few days ago of a fun (and messy!) afternoon spent decorating some very yummy but not very pretty sugar cookies hashtagged #notpinterestworthy, and a sweet friend reminded me that life is not Pinterest-worthy! Before I move on to my crafts for today, I forward that reminder on to you. Have fun, make a mess, and enjoy this Christmas season!
How I Learned to Paper Piece with a Circle of Geese Quilt
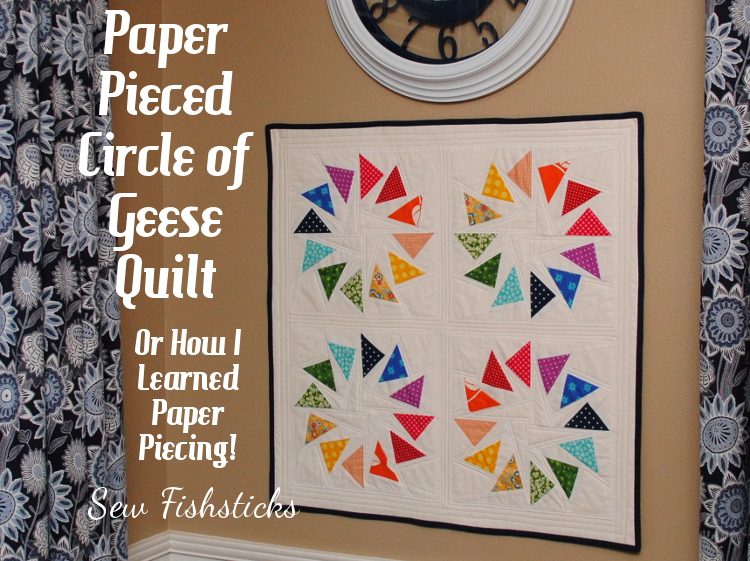 I learned paper-piecing, and I love it! AND, it’s not hard!! You should give it a try, too.
Last month, the folks at Soak Wash put together a quilter’s photo-a-day challenge on Instagram. I thought I would join in because I really like the motivation that a challenge offers, and while I don’t do a ton of quilting, I’ve really been enjoying it lately. (For tons of inspiration, check out all of the photos that were shared during the challenge by searching #soakphotochallenge on Instagram.)
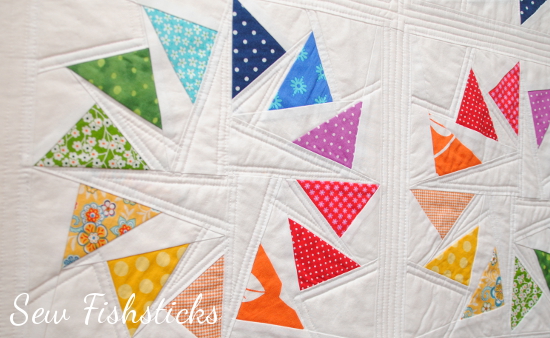
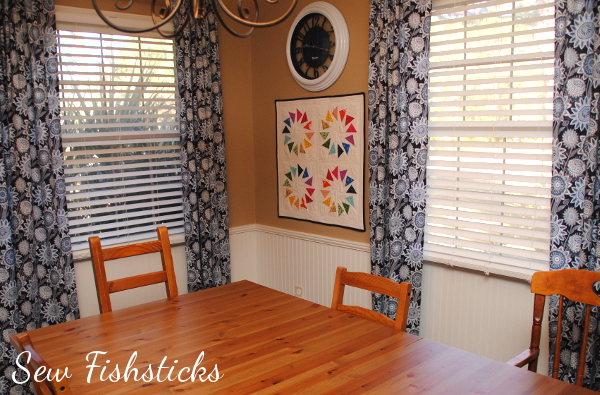
The first lesson teaches you how to sew a traditional courthouse steps block using basic paper piecing, and I was able to finish it really quickly. You can see my sweet little block above. Once I felt like I had a grasp on what paper piecing involved, I cheated a little and jumped ahead to lesson #4, and I made this!
From there, I pieced it all together, backed it and did some straight line quilting using my regular sewing machine.
 I finished it with navy blue binding to match the clock above it and hung it up on the dining room wall.
Go Fish Extra:
Make the OTG Travel Pillow with a Wonky House Pocket
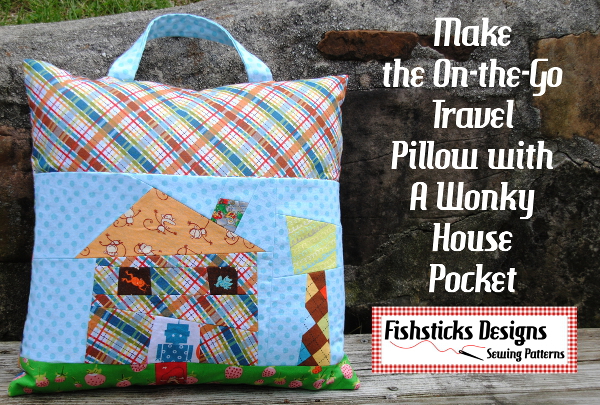 Ready for the next in my Go Fish Pattern “Extras”? This one pairs my Wonky House Quilt block with the On-the-Go Travel Pillow for some extra detail and fun! Find the pattern template and instructions right here: Wonky House Travel Pillow.
Around the Block with Patchwork Posse: Block #12
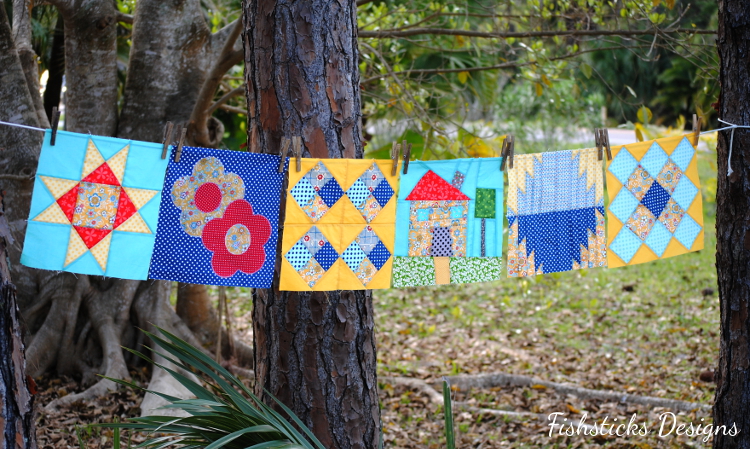
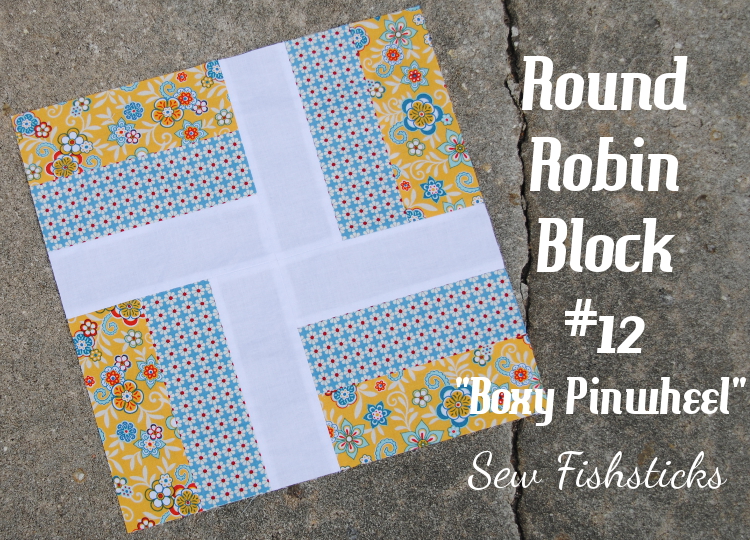 Woohoo! I finished all twelve of the blocks in the Patchwork Posse Around the Block Round Robin! All that’s left to do is piece them all together with sashing … and then add the border, and then the quilting, and, of course, the binding. I will finish this quilt! It just might take me a little bit. This final block was super fast and easy — my favorite kind. The Boxy Pinwheel Block tutorial is from Susan at Living with Punks.
I’m really excited to see how the whole quilt comes together! Here are my final six blocks: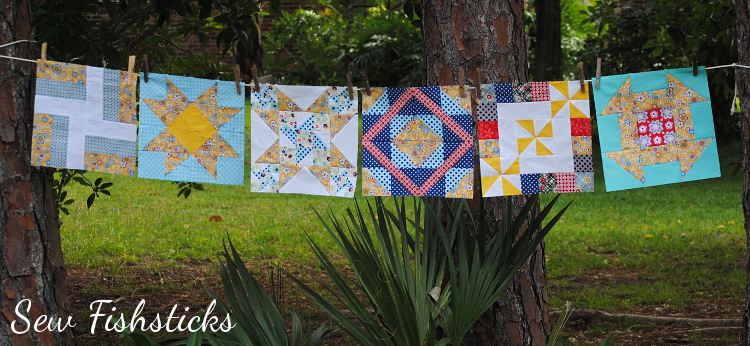 And, another look at the first six blocks: