My Patterns
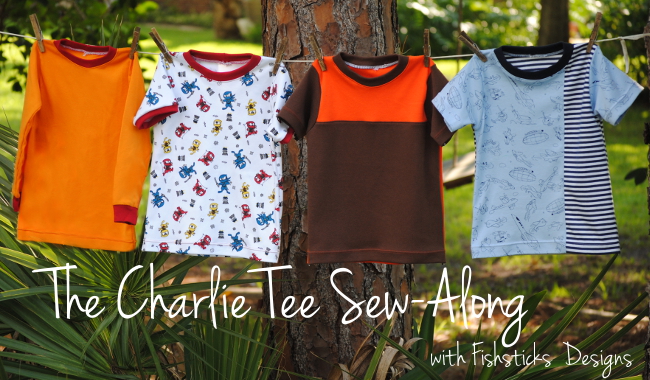
The Charlie Hoodie Sew-Along Day 4
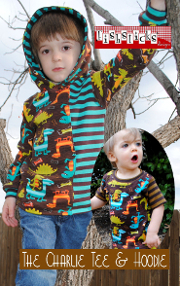
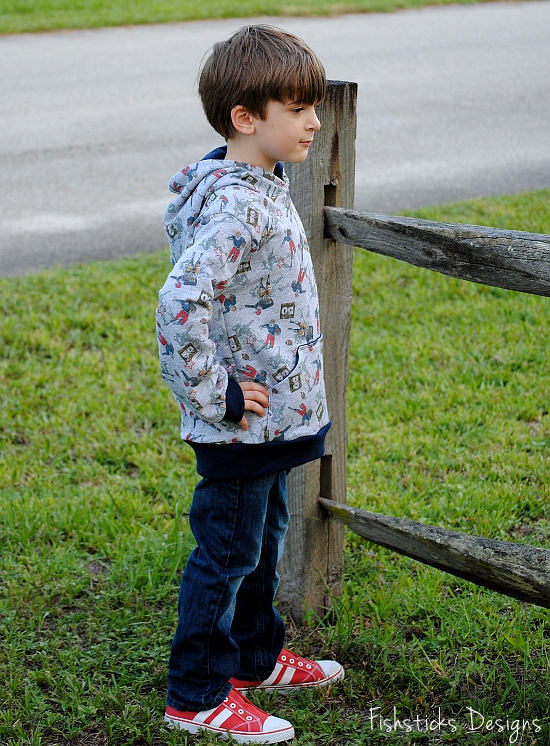
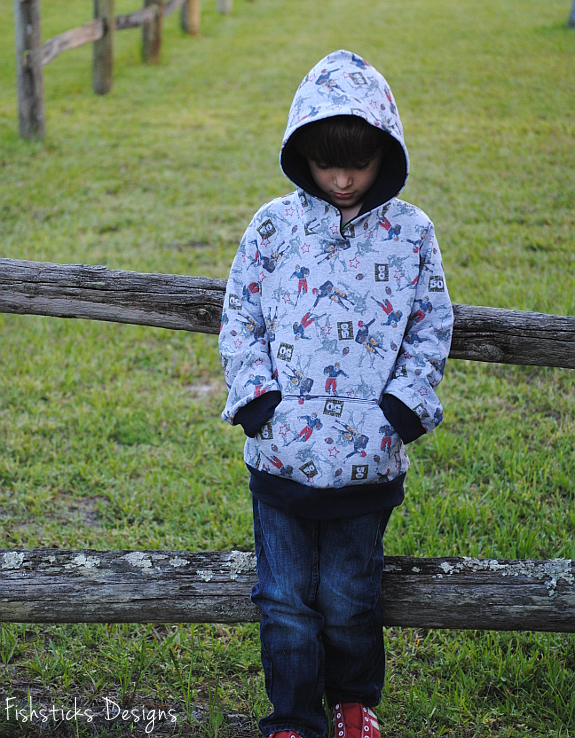
 It’s the last day of the Charlie Hoodie Sew-Along! Are you ready to finish up? If things at your house are like they are at mine, you’ve got a little one jumping up and down waiting impatiently for his motorcycle hoodie . . . and he doesn’t even care that it’s 98 degrees outside! He’s going to wear it all day!
Grab your hoodie and flip it so that the right sides are together and the sleeves and sides are aligned. Pin along both sides, being careful to line up the underarm seams and the ends of the sleeve and body pieces nicely. Sew or serge up both sides, around and under the arms, then down the bottom of the sleeve. 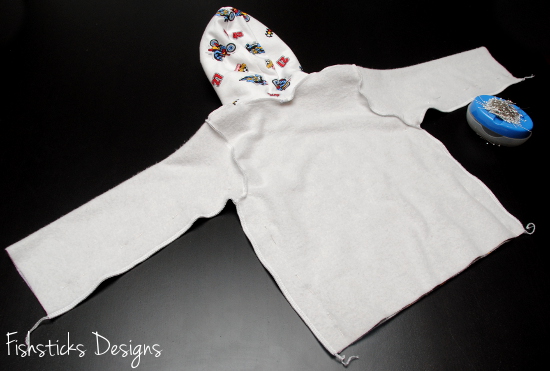 Flip it right side out and make sure that everything looks the way it should, then turn it inside-out again so you can add the sleeve cuffs and waistband..
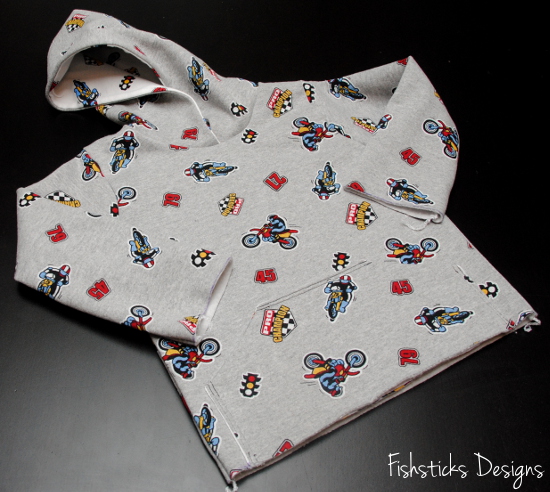 Place your two waistband pieces right sides together. Pin along the short edges, and sew or serge each end.
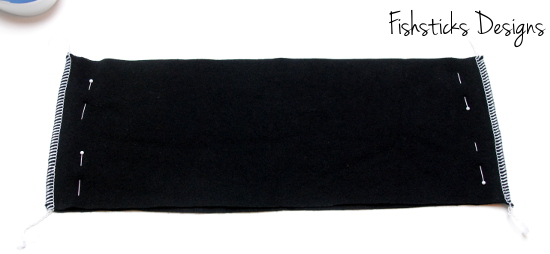 Flip the waistband in half the long way so that the wrong sides are together and the raw edges are aligned all the way around.
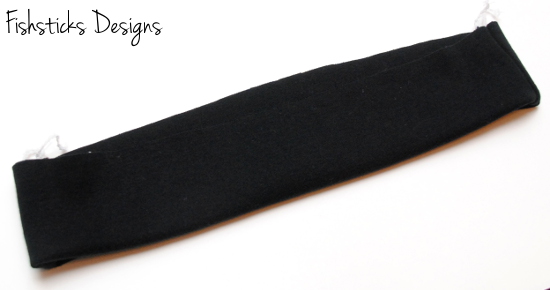 Slide the waistband inside the bottom edge of the hoodie and line up the raw edges. Match up the seams of the waistband with the side seams of the hoodie, and pin the waistband in evenly.
 Take your hoodie over to your sewing machine or serger and sew in that waistband.
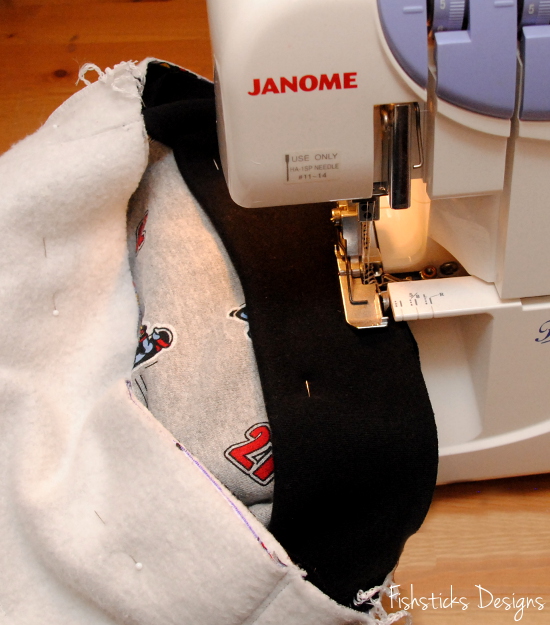 Fold each of the sleeve cuff pieces over so that the short sides are matched up and the right sides are together. Pin and sew or serge the pinned edge.
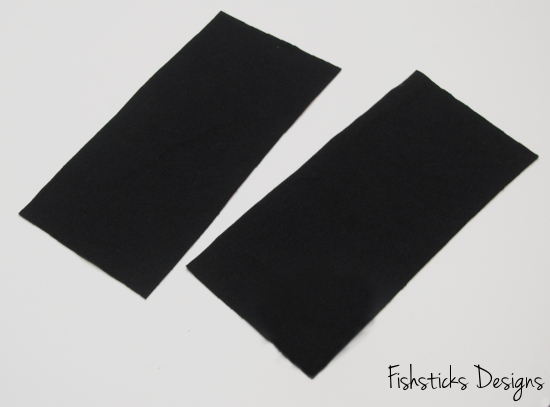
 Fold the cuffs in half the same way you did the waistband.
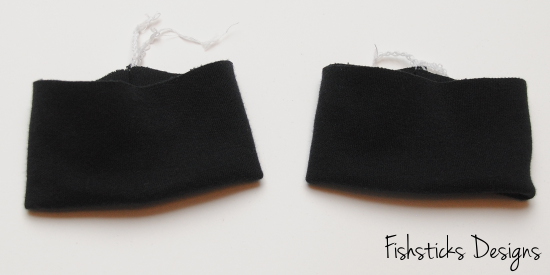 Slide each cuff inside a sleeve, matching up the raw edges and the seams. Pin them in place and sew or serge around.
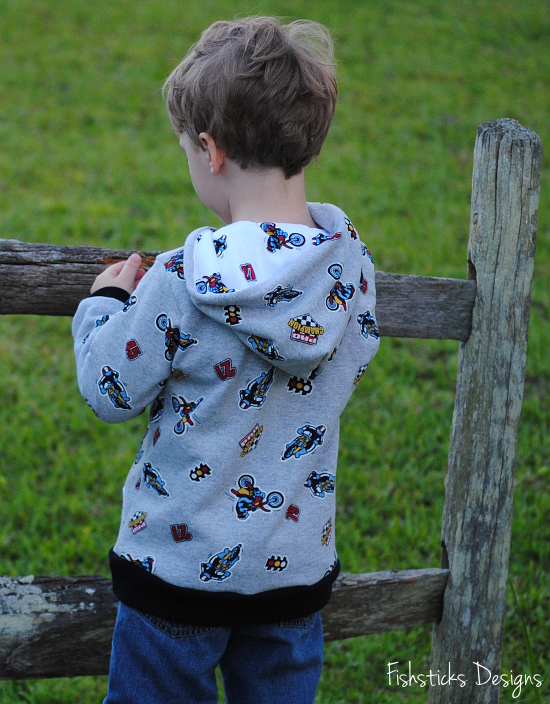
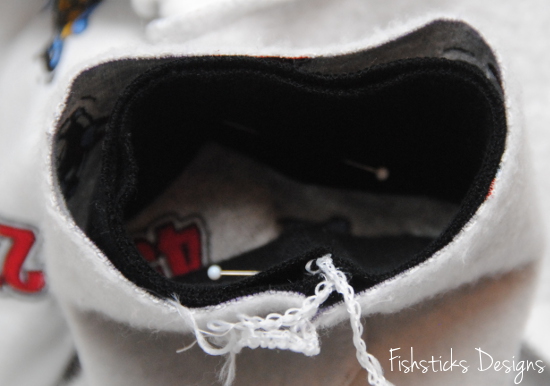 Flip your hoodie right side out and admire your finished hoodie! That wasn’t hard at all, was it?
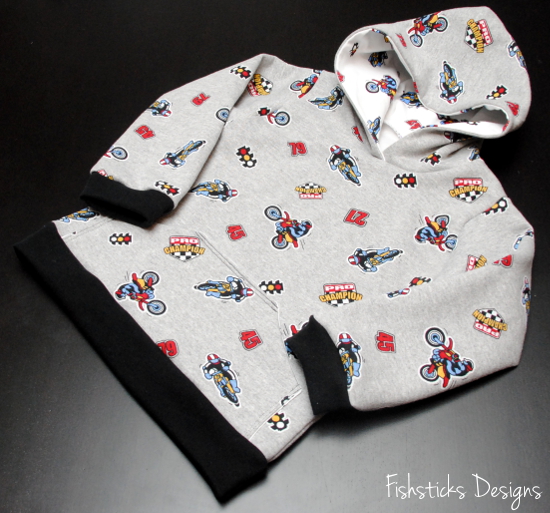 Now it’s time to try it on your little one and take him or her outside to get pictures. If you live in Florida, and it’s 98 degrees outside and you’ve only lived in your house a few months and your neighbors all seem to be out walking, just smile and say, “Hi!” and pretend that they don’t think you might be a little bit crazy for taking pictures of your little ones in hoodies in the middle of the summer.
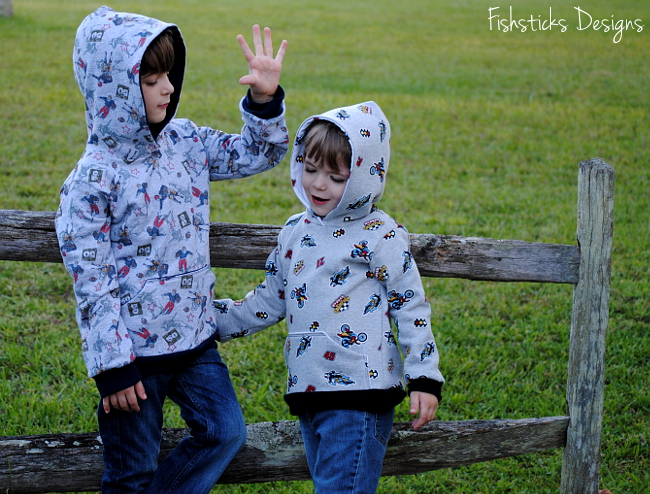 Aren’t they cute?!
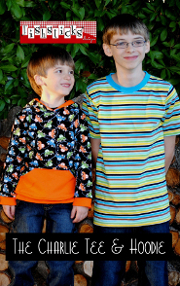
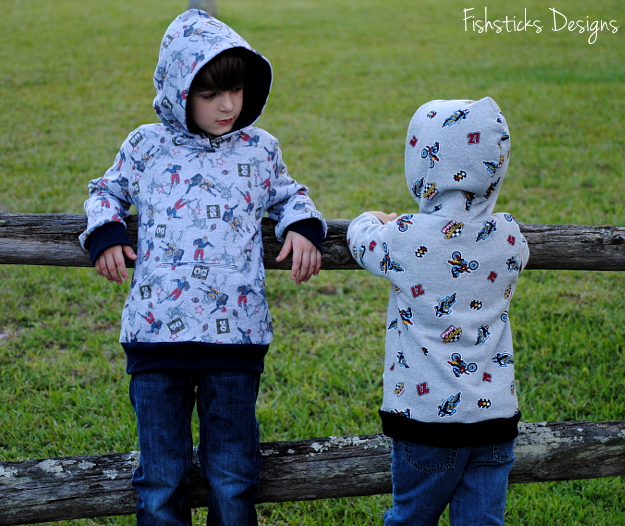 They both love their hoodies, and I’m excited that they seem to have enough growing room in them that they should get plenty of use this winter.
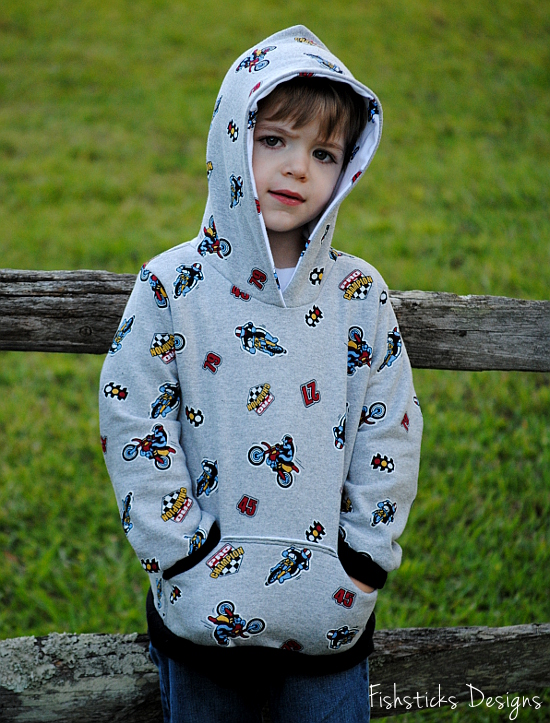
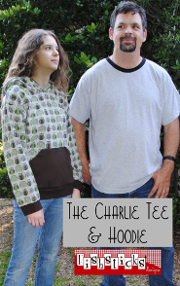
 I really love how fast and easy these are to sew. My favorite thing about them, though, is that because they’re outerwear, they’ll get a ton of use! It’s always nice when you spend time sewing something to get to see it in use a lot!
 Thank you so much for sewing along the last two weeks! Be sure to come share your finished hoodies with us in the Fishsticks Designs Sewing Group or the Fishsticks Designs Flickr Group! I can’t wait to see them!
The Charlie Hoodie Sew-Along Day 3
 Today’s task is quick and easy. If you followed along with last week’s Charlie Tee Sew-Along at Pattern Revolution, it’ll be even easier! We’re going to add the sleeves to our hoodies.
Grab those sleeves and fold them in half to find the center of the curved edge. You can mark this with a disappearing or washable marker. I just press down there with my iron to mark the center.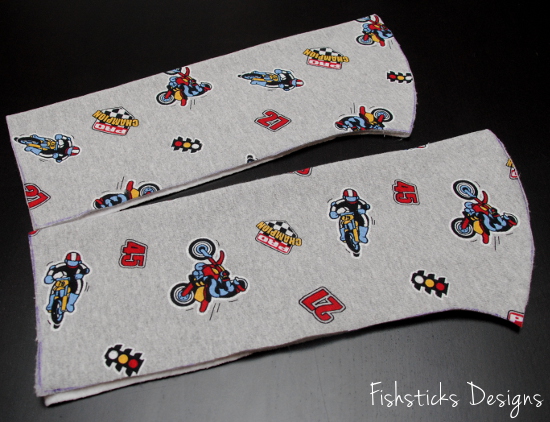 Match that center mark on one of the sleeves with one shoulder seam and pin in place with the right sides together.
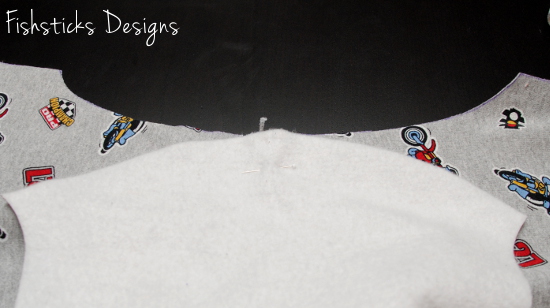 Pin each end of the sleeve to the ends of the sleeve curve.
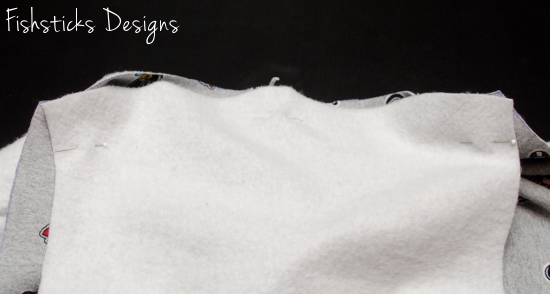 Ease the rest of the sleeve around the curve and pin it into place. You may have to stretch the sleeve a tiny bit to get it to go in nicely. Repeat with the other sleeve. Sew or serge in the sleeves. I prefer to sew on the sleeve side when I’m sewing knits so that I can make sure the curve of the sleeve falls nicely into the curve on the shirt.
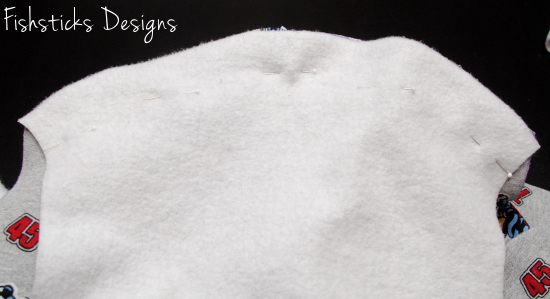 Flip your hoodie right-side out and see what you think so far! We’re going to finish up tomorrow by sewing up the sides and adding the waist- and arm-bands.
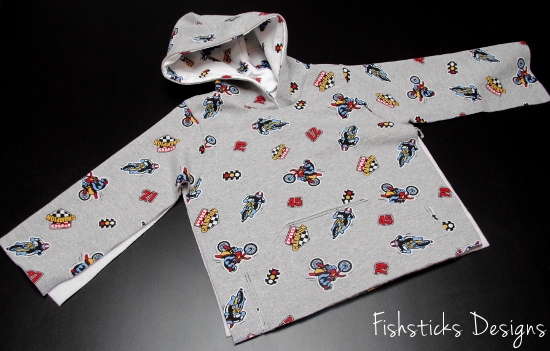
The Charlie Hoodie Sew-Along Day 2
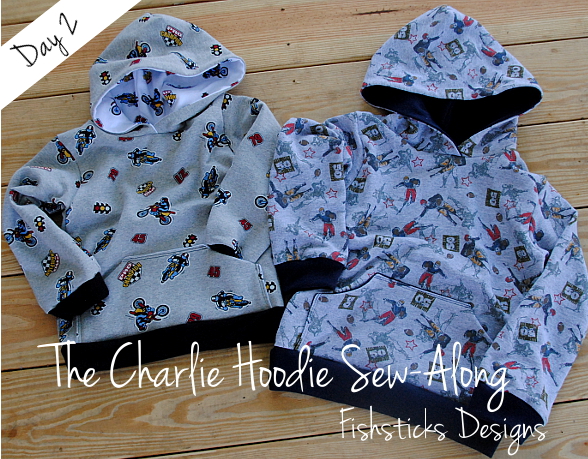 It’s Day 2 here at the Charlie Hoodie Sew-Along! How did your pocket sewing go yesterday? Ready to move on to the hood? Go ahead and grab the inner and outer hood pieces and let’s get started!
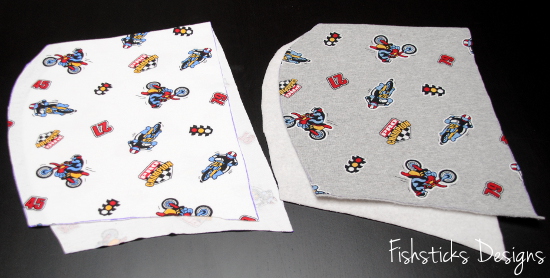 Flip each one over so that the right sides are together and pin along the back curve. Sew or serge that pinned edge on both pieces.
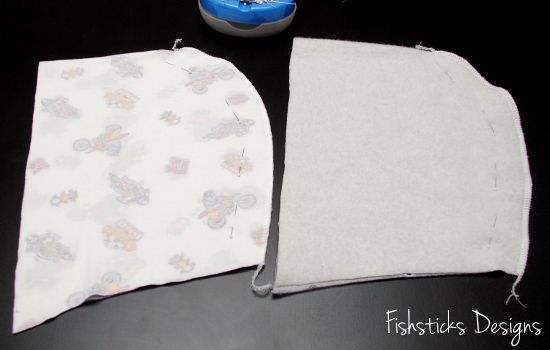 Now turn the hood inner right-side out and slide it inside the hood outer so that the right sides are facing.
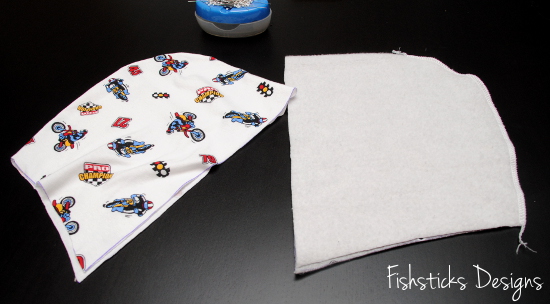 Pin the two hood pieces together around the front of the hood. Sew or serge around that pinned edge.
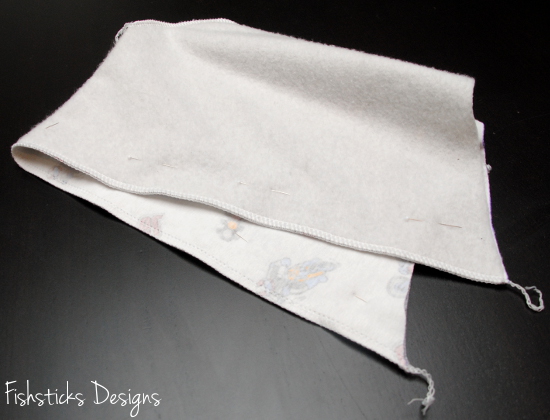 Flip the hood inner out of the hood outer, turn the pieces right-side out through the opening at the bottom, then push the hood inner back inside the hood outer. Now the wrong sides should be facing, and the right sides should be facing out. Press well all the way around the front edge of the hood. (You can topstitch this edge if you’d like.)
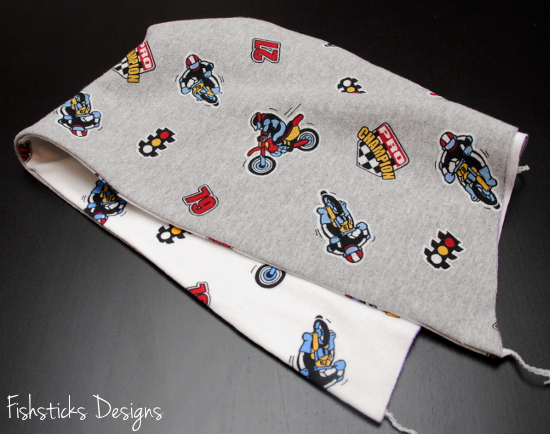 Now that your hood is ready, you need to sew the shoulders of your body pieces together. Place the front on top of the back with the right sides facing and line up the shoulders. Pin them in place and sew or serge across each one.
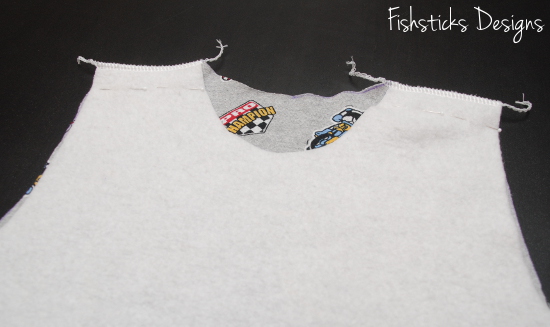 Before pinning the hood inside the neck opening, it’s a wise idea to find and mark the center front and the center back. The easiest way to do this is to pull the front and back apart, then fold the whole thing in half like this:
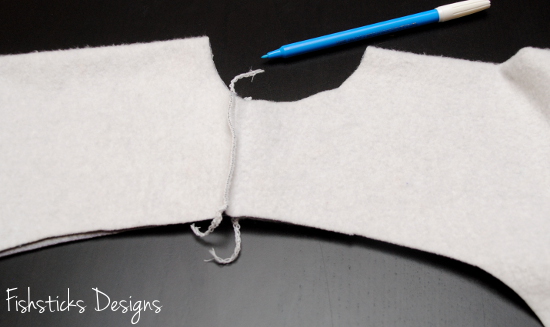 Now you’ll easily be able to mark those center points on both the front and the back with your washable or disappearing marker.
 With the hood right side out, slide the hood inside the neck opening. Match up the seam at the back of the hood with the mark you made at the center of the back of the neckline and pin. At the center front, overlap the front edges of the hood 1/2″ and pin in place. Pin the sides of the hood evenly.
 Sew or serge the hood in place. Remember that we’re using the standard 1/2″ seam allowance rather than the 3/8″ seam allowance that we used on the neckband of the tee. If you’re using a fabric like sweatshirt fleece or cotton french terry that has less stretch than most cotton knits, and you find later that you’re having a hard time pulling the hoodie on and off, you can go back and widen this seam allowance to give a little more room. Don’t do it unless you need to, and don’t go more than an 1/8″ wider! You will lose a little shoulder width and hood height. An 1/8″ won’t take away too terribly much, though, and it adds up quickly all the way around the neck opening. (If you need a picture of how I sew the hood in using my serger, check out this post that shows how I serge the neckband on the Charlie Tee: Charlie Tee Sew-Along Day 3. I sew my hoods in exactly the same way.)
Flip that hood out and admire how nice it looks!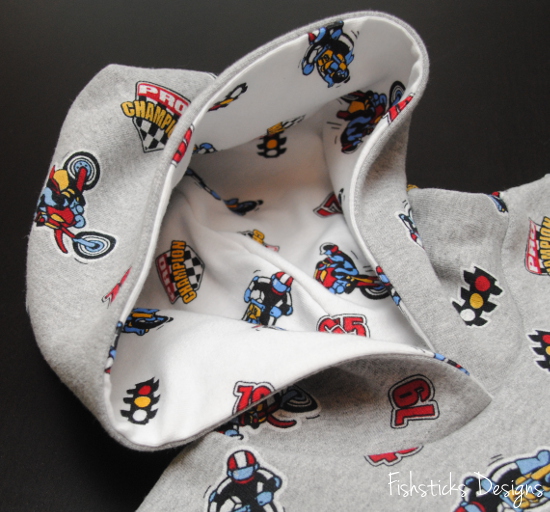 It’s starting to look like a hoodie already, isn’t it? We’re going to stop there today and move on to sleeves tomorrow!
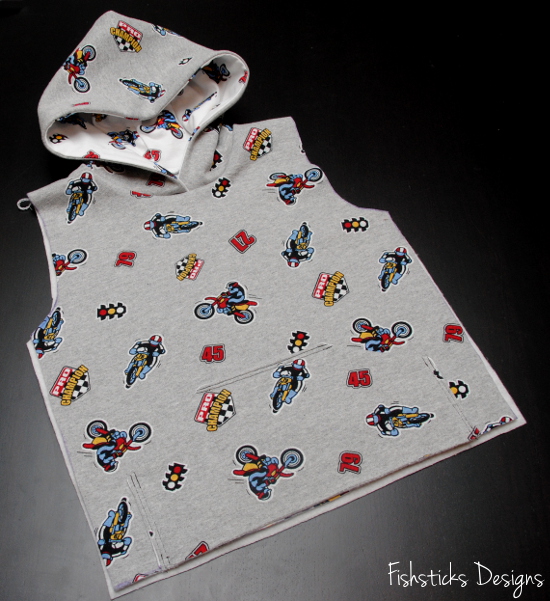
The Charlie Hoodie Sew-Along Day 1
 Welcome to Day 1 of the Charlie Hoodie Sew-Along! If you followed along with the Charlie Tee Sew-Along at Pattern Revolution last week, I hope you finished a shirt and learned a few things along the way! If you didn’t, you can go back and sew-along anytime you’d like. This week, we’ll be using the same Charlie Tee & Hoodie pattern to sew a hoodie!
I generally recommend that if you’re going to use the hoodie as outerwear, you go up one size from the size your child normally wears in ready-to-wear clothing. This will give you enough ease all over to layer the hoodie comfortably. Charlie wears a size 4 right now, so I’m sewing him a hoodie cut from the size 5 pattern.
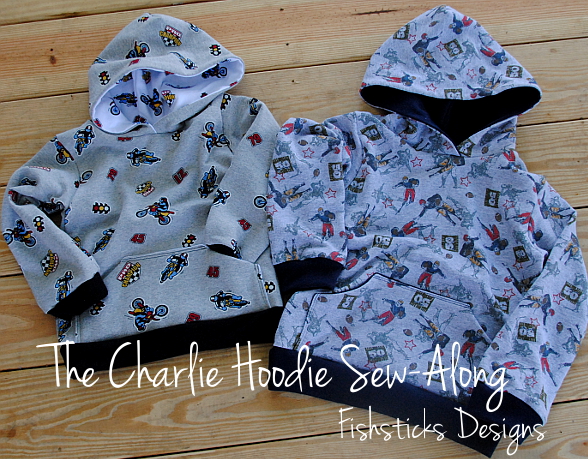
This hoodie works perfectly in any knit fabric from lightweight jerseys (perfect for cool summer evenings up north or winters in Florida) to cotton sweatshirt fleece or heavier polyester fleece (just right for crisp fall or spring days). I’m using sweatshirt fleece as the main fabric in the sample motorcycle hoodie for Charlie, and I used cotton french terry in a football print for Jamie’s hoodie. (I found both fabrics at Kinder Fabrics on Hyena Cart. The owner, Nan, was great to work with, and she shipped super fast!) The hood inners, pocket backs and sleeve- and waist-bands are all cotton interlock.
If you’re working with a pdf version of the pattern, you’re going to start by printing and assembling your pattern. There are detailed instructions for how to do that right here: Assembling Fishsticks Designs PDF Patterns. Once you have your pattern ready and your fabric washed and dried, you’ll need to get your pieces cut. You’ll have 12 total pieces: one front, one back, two sleeves, one hood outer, one hood inner, two pocket pieces, two sleeve bands and two waistband pieces. Be sure to cut your front and back pieces 3 1/2″ shorter than the pattern piece to allow for the addition of the waistband.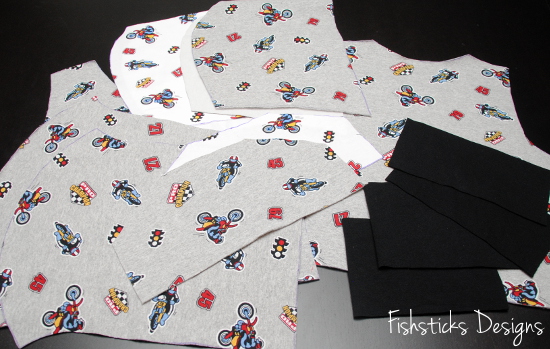 Today, we’re going to assemble and attach the pocket, so grab those two pocket pieces.
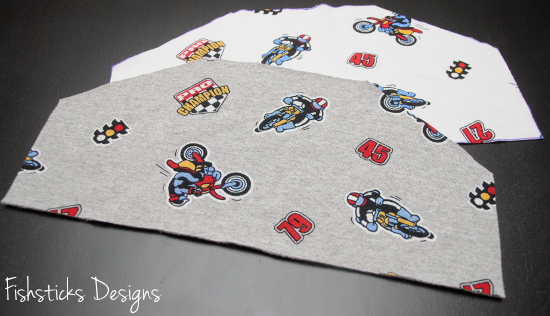 Place your two pocket pieces right sides together and sew around all but the long straight edge on the bottom. I prefer to sew these two pieces, rather than serging them because you get sharper corners. When sewing knits, I use a walking foot, a ballpoint needle and stretchy nylon serger thread (like Woolly Nylon) in my bobbin. (You can find more details about why I use those things on the first page of last week’s sew-along: CT Sew-Along Day 1.)
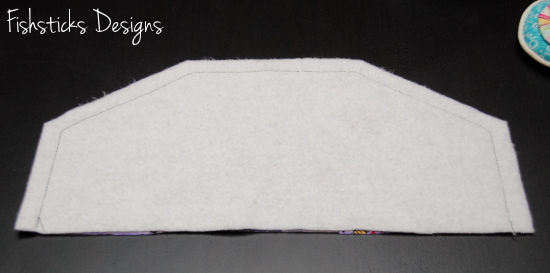 Clip the extra fabric away from those corners.
 Turn the pocket through the open side and push those corners out neatly. I use a clean wooden chopstick to do that. Press the pocket well.
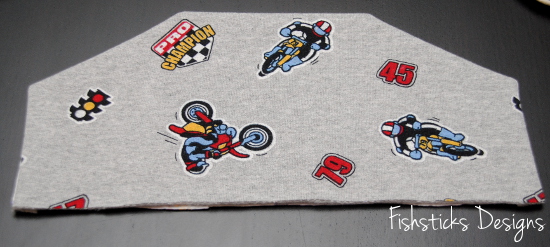 Center the pocket along the bottom edge of the front body piece, aligning the raw bottom edge of the pocket with the bottom edge of the front. Topstitch the pocket in place along the two straight sides and the top. Do not stitch the angled edges. Those are the pocket openings. You’ll leave the bottom of the pocket raw to be closed up later when you add the waistband.
 On this pocket, I sewed two lines of stitching rather than one. One line of stitching works well, just be sure to back-stitch and forward-stitch at the pocket openings to reinforce the stitching. My double line of stitching adds a little more reinforcement, and when you use a contrasting thread, it adds a nice decorative detail.
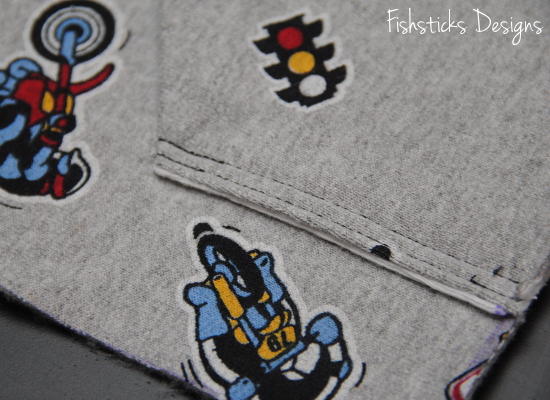 We’ll stop there today and pick up tomorrow with sewing and attaching the hood!
Twin-Needle Hemming on the Charlie Tee Sew-Along Day 2
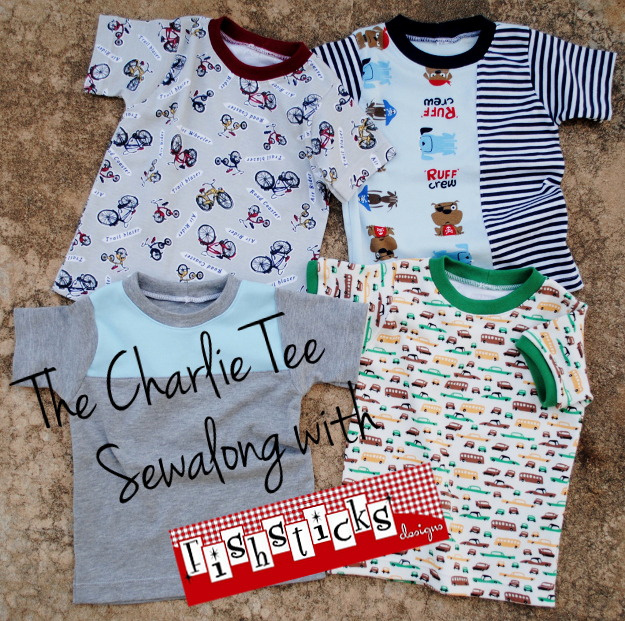
 It’s Day 2 of the Charlie Tee Sew-Along at Pattern Revolution. How did your color-blocking go yesterday? Today, we’re hemming our shirts, and I’m sharing a new tutorial on sewing with a twin needle! To check it out just click on the picture above.
The Charlie Tee Sew-Along Begins Today!
 The Charlie Tee Sew-Along starts today at Pattern Revolution! Just click the picture above to sew along with us. Today we’re getting our patterns ready, our pieces cut out and our color-blocking done.
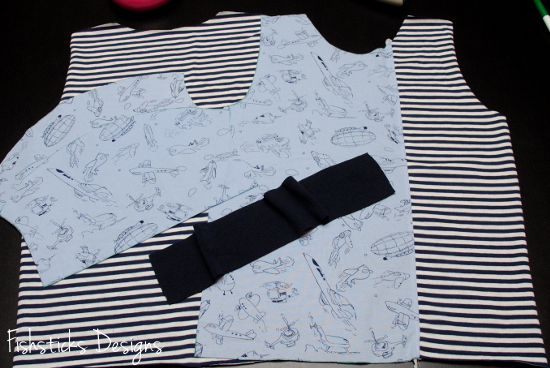
Bundle Discounts, Upcoming Sew-alongs and Busy Hands
 Are you ready for the Charlie Tee & Hoodie Sew-alongs?! The Charlie Tee sew-along starts Monday at Pattern Revolution, and the Charlie Hoodie sew-along will follow a week later right here on the Fishsticks blog. Oh, and in case you didn’t already know, you only need one pattern for both the tee and the hoodie! AND, it’s on sale for one more week for only $5!
 The Charlie Tee & Hoodie pattern is available in three size sets. You can find each one right here: Infant & Toddler, Big Kid Sizes, Teen & Adult.
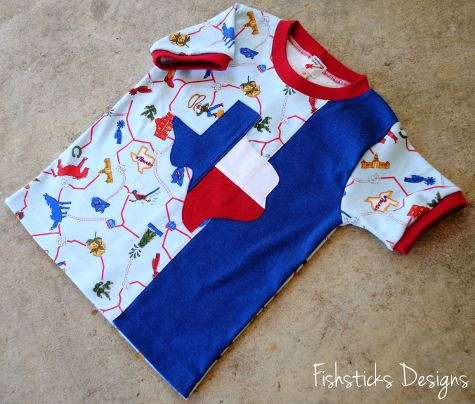 In addition to the Charlie Tee sale, I’m introducing a Buy 4, Get One PDF Pattern Free Bundle Option! For every 4 PDF patterns you purchase in a single transaction, you will receive a fifth PDF pattern free of charge. If you buy 8 patterns in a single transaction, you can select 2 additional patterns to be emailed to you FREE! Each multiple of four PDF patterns in a single order, earns you a free PDF pattern. If you purchase in the Etsy store, simply note the free pattern(s) that you’d like in the comments section of your order. If you purchase through the main store, just add a note in the comments on Paypal or send an email to leigh@fishsticksdesigns.com once your order is complete.
Finally, have you sewn a Busy Hands Fidget Apron for this month’s Hopeful Threads project? Time is winding down and the Flickr album needs filling! I’m working on the man’s fishing apron that you see above right now. Sewing these is so much fun because you really get to be creative with them! If you can spare a few hours this weekend, I encourage you to sew one to donate. Just click on the picture below for the free pattern!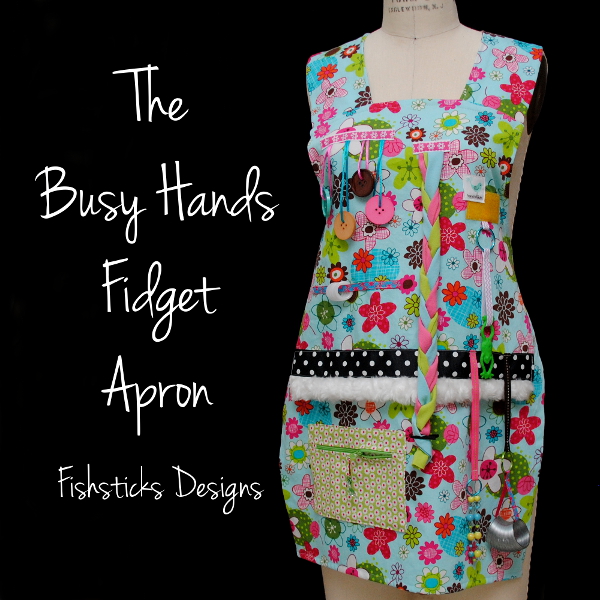
KCW Summer 2013 – Days 6 & 7: Lorax Jammies
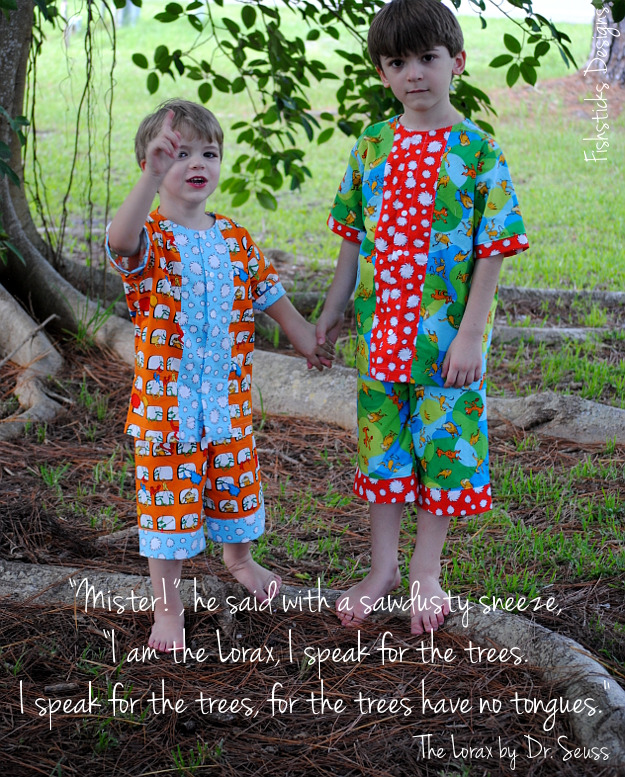 Wrapping up my Summer 2013 Kids Clothes Week sewing are Lorax jammies for both of my boys! The Lorax is a favorite book and movie in our household, and these two have been anticipating these PJs since the fabric arrived on our doorstep.
 I don’t mind admitting that I struggle not to cry when I read the book or watch the movie . . . when that last truffula tree falls. I want to jump into the story, grab the Once-ler by the shoulders, look into his eyes and scream, “Listen! Look around you!” My kids sing the songs and giggle at some of the silliness in the movie (are you singing, “Everybody needs a thneed . . . ” yet?), but I know they see that doing our part in taking care of Creation is an important subject to me. I love the hope that springs forth at the end of the story in one tiny little seed. Life can be like that, can’t it? Just when we feel like there’s nothing that can be done, a little ray of light shines through.
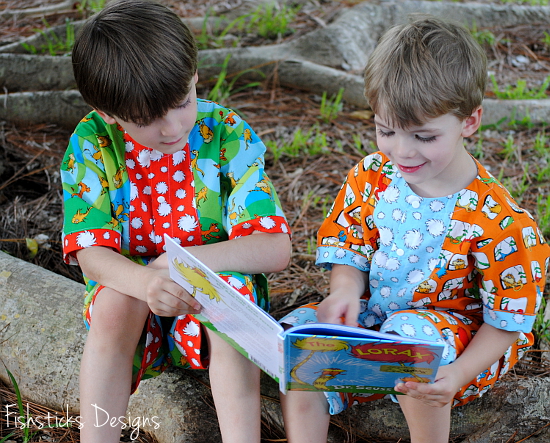 Back to pajamas . . . that’s what this post was supposed to be about, wasn’t it? These PJs were sewn using my Pajama Party PJs pattern, and the fabric is a lovely soft organic cotton. (How could it be Lorax fabric, and not be organic cotton?)
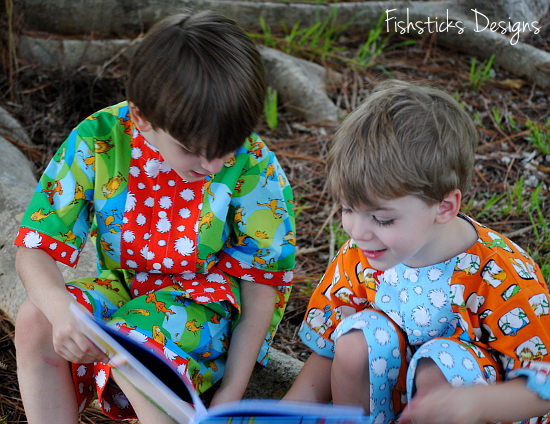 My little guys loved wearing their pajamas into the backyard to read together and to look up at all of the trees in our yard!
 They were happy to curl up back inside and watch the movie together before bedtime, too.
I’m calling this first Summer KCW a success for me! I’m thrilled that I managed to get three pairs of jammies done for each of my two youngest boys. These have been on my list for a while, and they will definitely get plenty of use!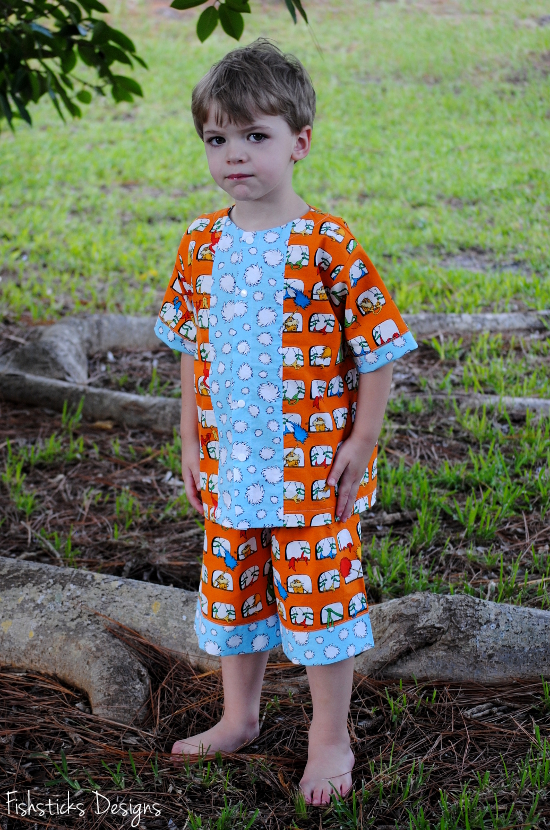
KCW Summer 2013 – Days 4 & 5: Viking Jammies
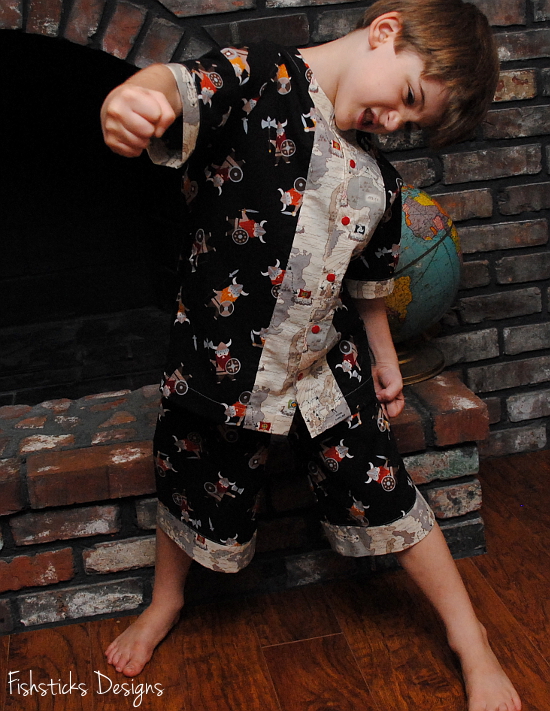
 How did your Kids Clothes Week sewing go? I hope you managed to make a good dent on your little ones’ sewing lists! I didn’t finished everything that was on my list, but I did get quite a bit done, and I’m excited to have some new PJs in my boys’ dressers. I’ve got one more KCW post coming later today or tomorrow morning, but first here are Jamie’s new Viking jammies!
 I used my Pajama Party PJs pattern for these pajamas. It’s my go-to when I’m using quilting fabric. This organic cotton fabric, by the way, is amazing. Sadly, though, there’s not much of this Timeless Treasure Vikings fabric left out there online. (I had quite few people ask me about it when I showcased it in my Legos-on-the-Go Bag a few weeks ago.) I love the soft feel of it, and I feel good about my little guy sleeping in organic cotton. This tough guy, however, just loves that the fabric is covered in Vikings! He even showed off his best Viking poses for me in our little bedtime photo shoot.

The Charlie Tee & Hoodie Sew-along & a Sale!
 I am so excited to announce that we’re planning a sew-along for the Charlie Tee & Hoodie starting the week of July 28th! The Charlie Tee sew-along will be hosted at the incredible new Pattern Revolution site the first week, and the following week, we’ll move back here to my blog for the Charlie Hoodie portion of the sew-along!
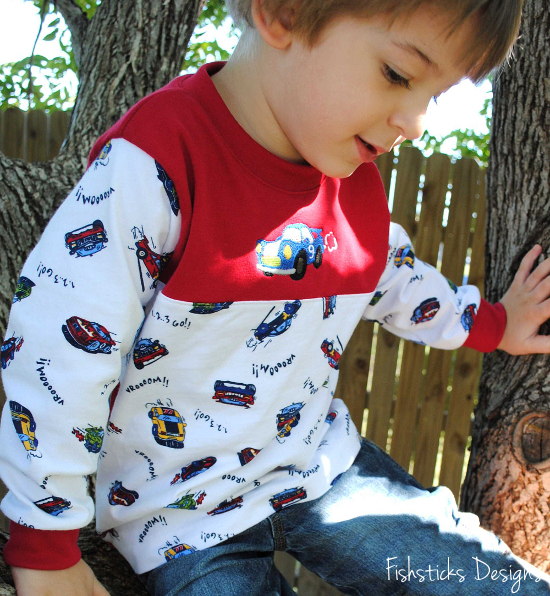 The Charlie Tee & Hoodie pattern has my widest size range and is a basic that I think everyone should have in their collection! It’s available in infant & toddler sizes, big kid sizes and adult sizes. In my sewing studio, this is absolutely my most-often used pattern. I worked hard on this pattern to give you a ton of options. It’s one that you’ll be able to get comfortable with and go back to again and again for a whole wardrobe of tees, and no two need to look exactly alike. Oh, and it’s perfectly gender-neutral, too!
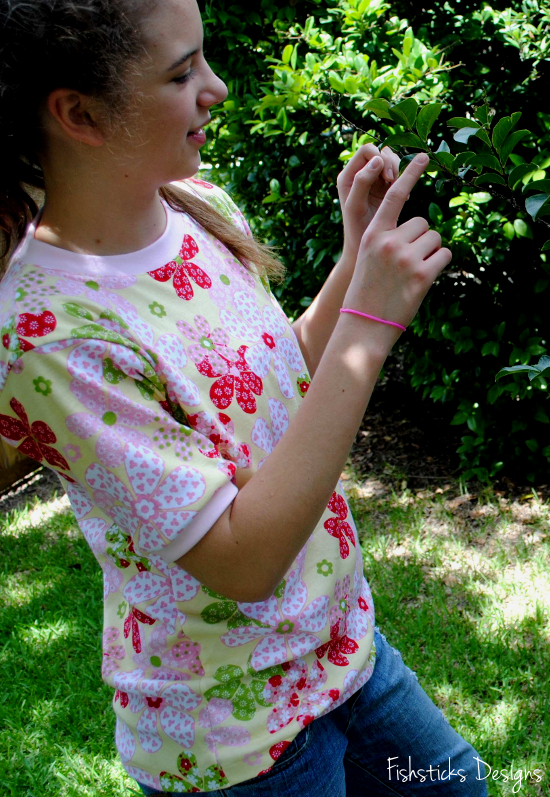 During the sew-along, we’re going to walk together step-by-step through each detail. I’ll help you decide which options to use the first time through and give you plenty of ideas for a list of tees to take you through every season.
 If you’re new to sewing knits or just want some tips for better results when you’re sewing knits, you’re going to want to jump in and join the fun! We have a Fishsticks Designs Sewing Group set up on Facebook that we’d love to have you join. It’s the perfect place to share your Fishsticks sewing, to ask questions and to be inspired! You’ll also want to make sure that you have the right fabrics ready to go before we get started. If you’re a beginner with knits, I highly recommend starting with cotton or cotton blend interlock. If you need guidance in choosing knits, check out my Knit Knowledge Series!
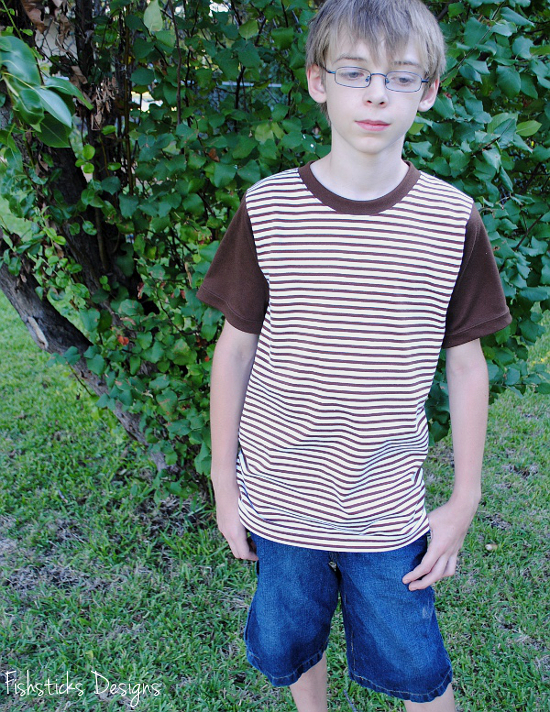 Of course, if you don’t already have it, you’ll need the Charlie Tee & Hoodie pattern! In honor of this sew-along, you’ll find all three size choices of the PDF pattern on sale for only $5 starting today and running for two weeks, through the end of the first week of sew-along on August 2nd. Go grab them right now and start getting ready!