Sewalongs
The Farmer’s Wife 1930s Sampler Quilt Prep
 I’m so sorry that it’s been so quiet here this past week. We had a little one get sick, and my week was full of appointments, medications, treatments and so much driving. I feel like I buckled, unbuckled and re-buckled a thousand carseats over the last seven days! Thankfully, everyone is on the mend now, and I was able to steal a little bit of time this afternoon to do some quilt planning!
Starting next month, there’s not just one, but two blog sew-alongs that will be working their way through the 2014 edition of The Farmer’s Wife 1930s Sampler Quilt. Quilt-along number 1 is taking place over at Very Kerry Berry. Sew-along #2 can be found at Gnome Angel. Continue reading
Katie’s Cowgirl Dress & Third Birthday Party
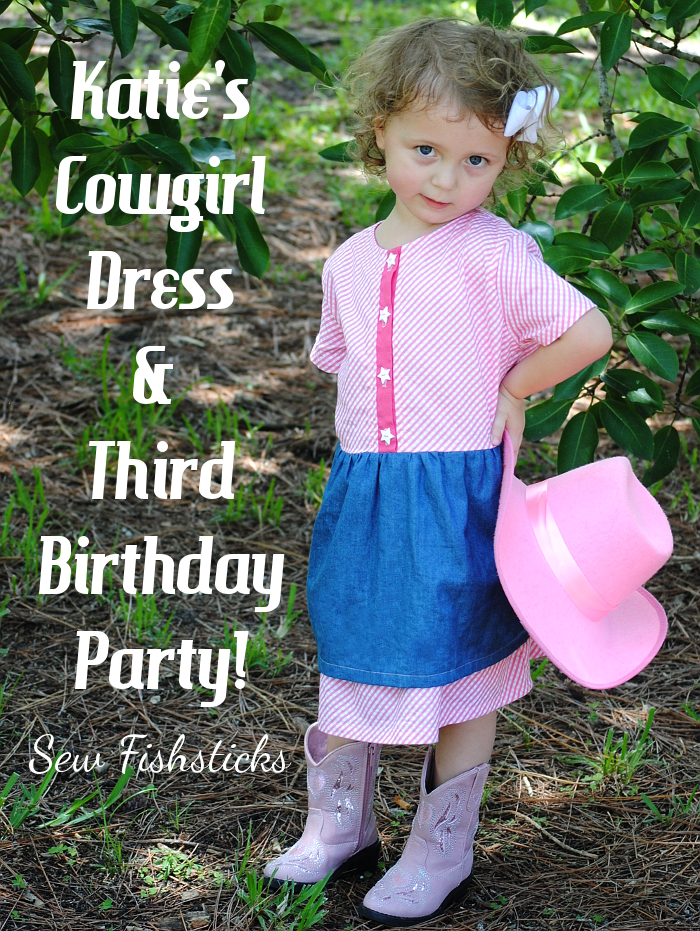 Our granddaughter, Katie, turned three this month, and we celebrated last weekend with a Sheriff Callie-inspired birthday party. It’s sort of a given that I’ll get to sew her party dress (YAY!), and I had so much fun with this one!
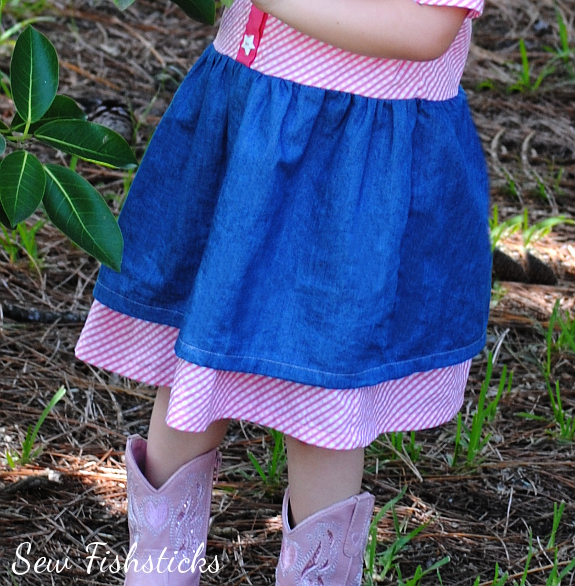
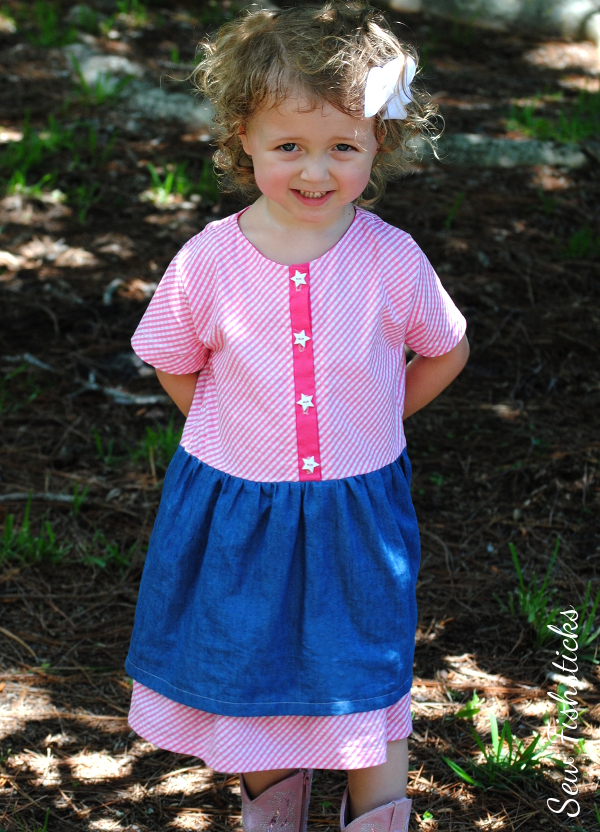 Katie’s momma shared with me ahead of time that they were planning for her to wear pink boots and a pink hat, so pink was definitely the color. I took Charlie with me to shop for fabric and buttons a couple of weeks ago. I was picturing a pink gingham and chambray mix, so I was thrilled to run across this Riley Blake bias-print gingham fabric at The Quilt Place.
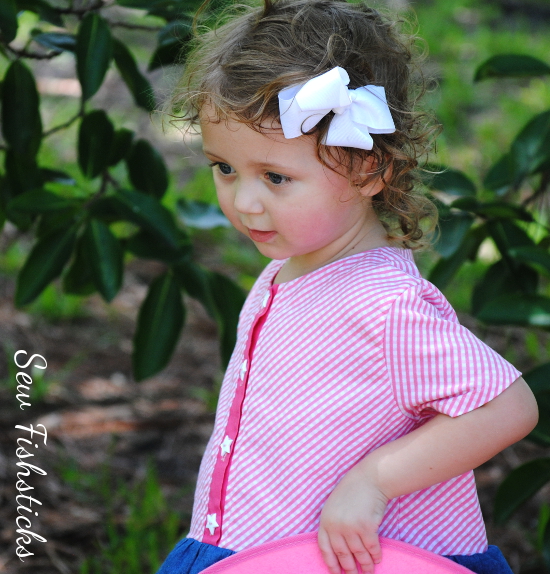 Charlie picked out the white star buttons at Hancock Fabrics, and the chambray fabric was a Joann Fabrics purchase. (We really did drive all over town for all of the supplies! Charlie was sort of done after finding the buttons, but the promise of a cake pop and chocolate milk got us through our last stop without a tantrum. Four-year-olds need something to look forward to! Actually, we all do — I enjoyed the coffee break, too.)
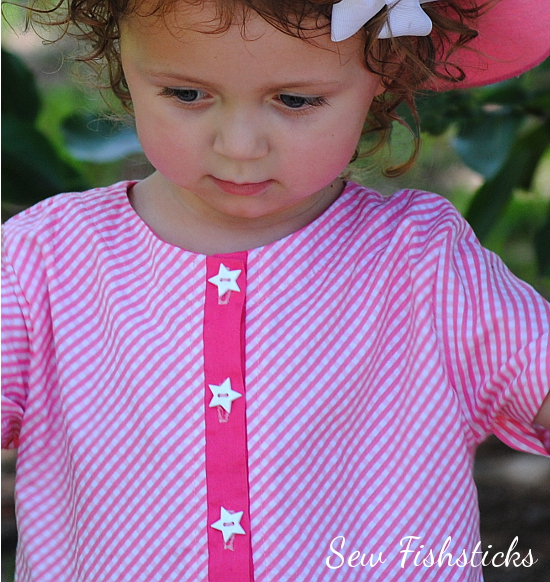 I used the top from my in-progress shirtdress pattern (It’s with my testers right now!), and combined it with a gathered two-layer skirt. (Adding a gathered skirt to a top is easy-peasy stuff. Just measure the width of the bottom of your top, cut your skirt about 1 1/2 times that width by whatever length you want, gather and attach it. That makes sense, right? Maybe I’ll do a tutorial later.)
 We all had to laugh a little because we put a lot of planning into Katie’s party last year with decorations and pretty food: Katie’s 2nd Birthday. I got a notice a few weeks ago that I’d been given a PartyPail.com award for Best Decorations!
Pretty cool, huh?
This year, our party was a little less Pinterest-worthy and a bit more let’s-just-have-fun! Of course, there’s nothing at all wrong with doing things either way. Both definitely have their advantages.
Katie’s friends enjoyed bouncing in the bounce house that was so kindly provided by a close family friend.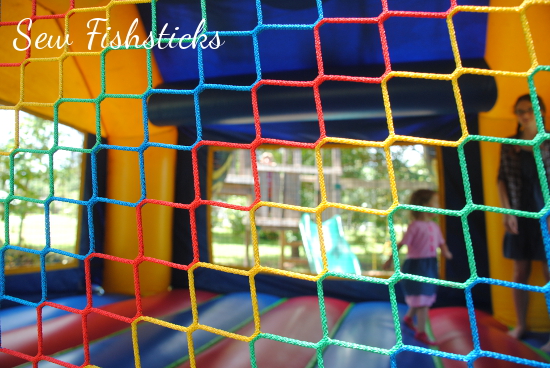 There was a slight misunderstanding, though. Our friend thought that the party was for one of our boys, so the bounce house was a monster truck! Hahahaha! Thankfully, Katie loved it!
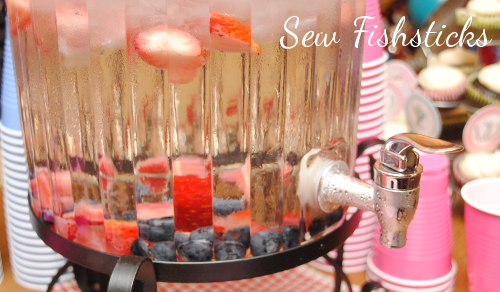
 We kept the snacks simple and served iced water with fruit to drink. (It was really, really hot, so we all drank tons of water!)
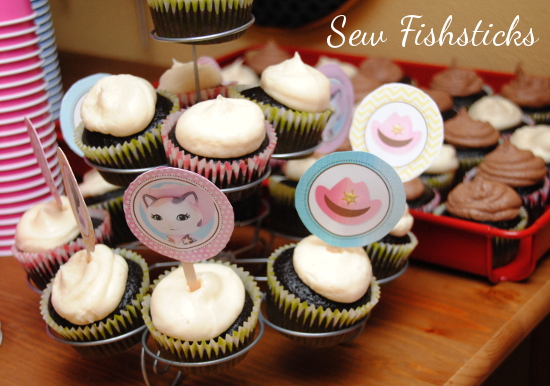
 Katie was thrilled with the simple printable Sheriff Callie cupcake toppers that we found at EasyPartyPrintables.
 And, of course, she had a blast opening presents …
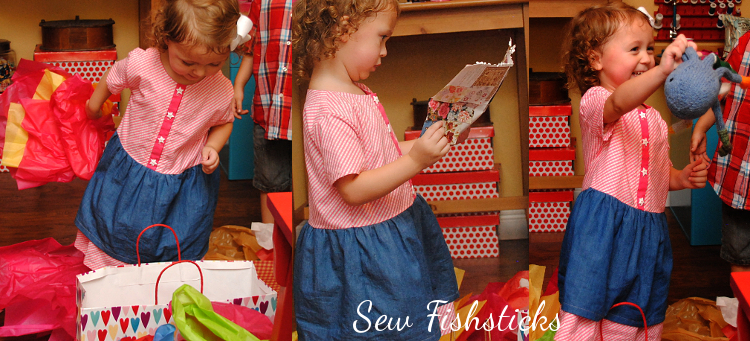 … and eating cake!
 I’d say it was a pretty successful party! Happy birthday, Katie! I pray that your next year is full of lots of love, loads of fun and plenty of new discoveries.
 I was planning to link up with Challenge Create: Geometric Week at Skirt Fixation, but I totally missed the deadline! Next week, I am planning ahead better so I can join in for Knit Week. You should, too! You can still pop over to Skirt Fixation and vote for your favorite contestant and your favorite sew-along entry: Challenge Create: Geometric Week. Oh, and a quick huge, “Thank you!” to all of you who voted for my winning Custom Linen Handbag last week!
Also, Kids Clothes Week starts on Monday! Are you joining in? I have a few things planned!
Around the Block with Patchwork Posse: Block #12
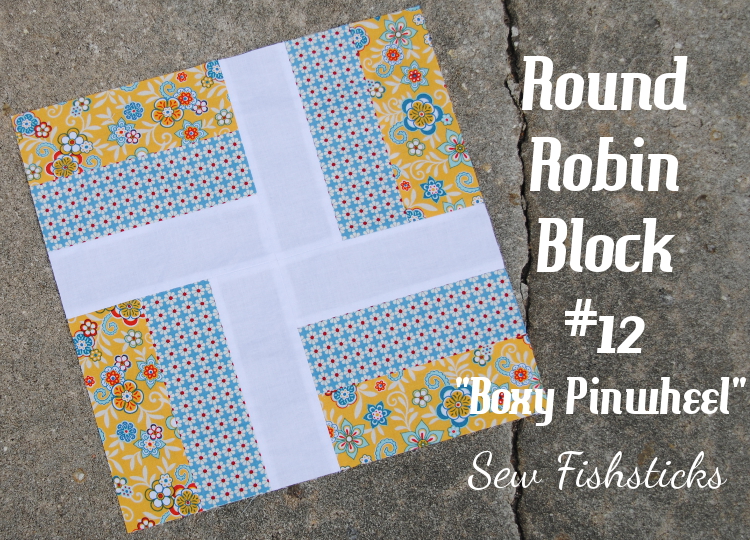 Woohoo! I finished all twelve of the blocks in the Patchwork Posse Around the Block Round Robin! All that’s left to do is piece them all together with sashing … and then add the border, and then the quilting, and, of course, the binding. I will finish this quilt! It just might take me a little bit. This final block was super fast and easy — my favorite kind. The Boxy Pinwheel Block tutorial is from Susan at Living with Punks.
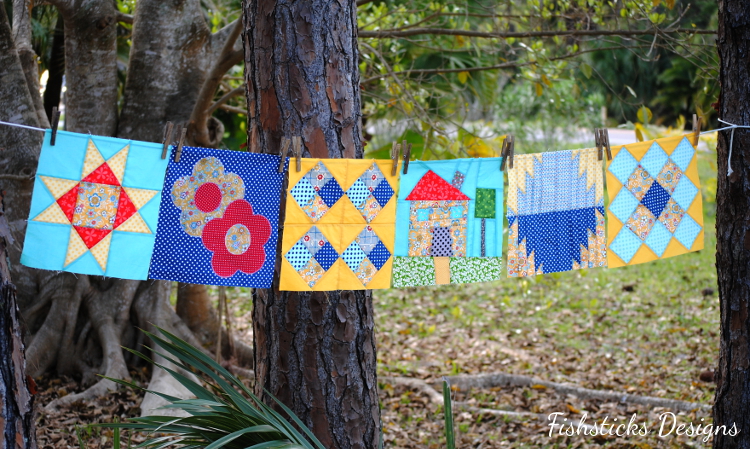
I’m really excited to see how the whole quilt comes together! Here are my final six blocks: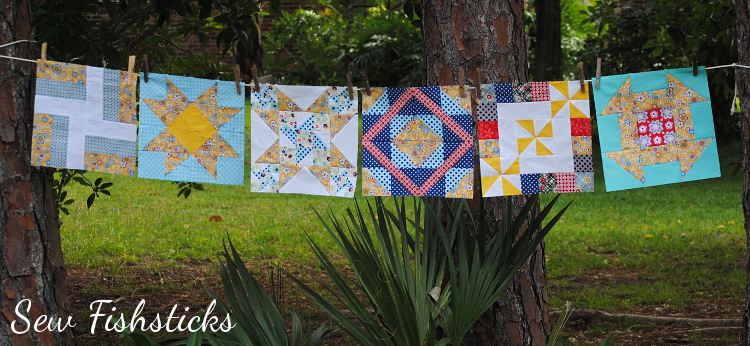 And, another look at the first six blocks:
Around the Block with Patchwork Posse: Block #11
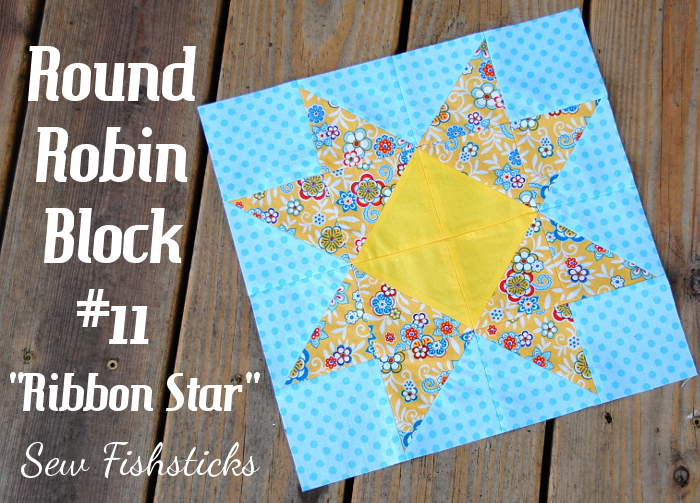 Did you think that I’d given up on the Patchwork Posse Around the Block Round Robin? No way! I just got a little bit waylaid by Quilt Market. I’ll be a bit late finishing up, but I’m going to do it!
Block #11 is the Ribbon Star block from Jennifer at Ellison Lane. I’m so happy with how well this block came together! My points lined up so nicely, and all I did was follow Jennifer’s instructions very closely. My “need for speed” was very pleased by her directions for sewing four half-square triangles at once, too!
Around the Block with Patchwork Posse: Block #10
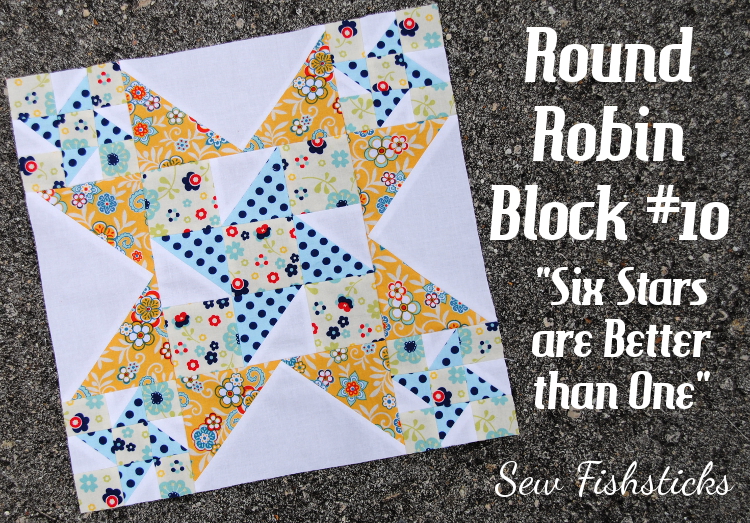 Wheeee! Only two more blocks to go! I think I’ve learned something new with every block in the Patchwork Posse Around the Block Round Robin, and this week was definitely not an exception. Remember how I said that last week’s block was a bit of a challenge? Well, this one was like climbing the quilting version of Mt. Everest! I’m only sort of kidding. Piecing together lots of tiny pieces stretches my attention span to its limits, and this block has 50 – five zero – pieces. I wondered aloud (meaning, I yelled from my sewing room), “Can you even fit 50 pieces into a 12″ block?!” But, look! I did it! AND, without a single seam rip! Isn’t it pretty?
The Six Stars are Better than One block was designed by Kate and Elizabeth from Seams Like a Dream, and while it is a challenging block, their instructions are really easy to follow. My favorite part is their Quick, No Waste Flying Geese method! It’s like magic!
Around the Block with Patchwork Posse: Block #9
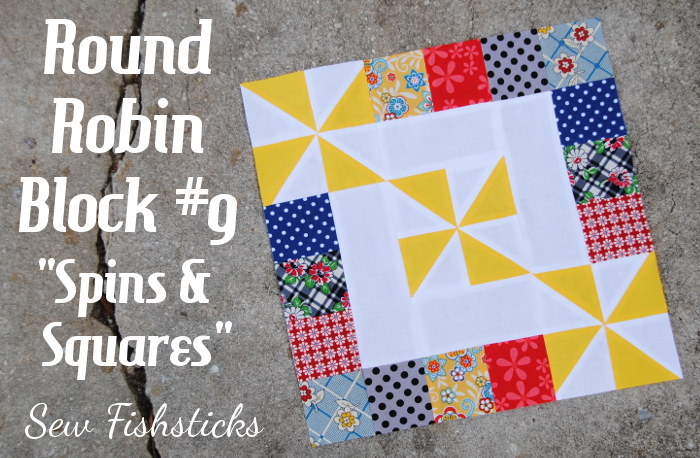 Quiet Sunday afternoons are perfect for catching up on sewing projects and prepping for others. I marked Block #9 in the Patchwork Posse Around the Block Round Robin off of my list this afternoon. This Spins & Squares Block from Crafty Tammie was a little more of a challenge than the last few blocks — a bit of seam-ripping was involved in getting those corners matched up. I’m really happy with the end result, though, and I loved being able to use up some tiny pieces. This is the first of these blocks that I incorporated some white into, and I really like it! I think I might have to mix some into the remaining blocks, too.
I’m also working on a few new patterns this weekend and cutting out some projects for Kids’ Clothes Week which starts tomorrow!
Around the Block with Patchwork Posse: Block #8
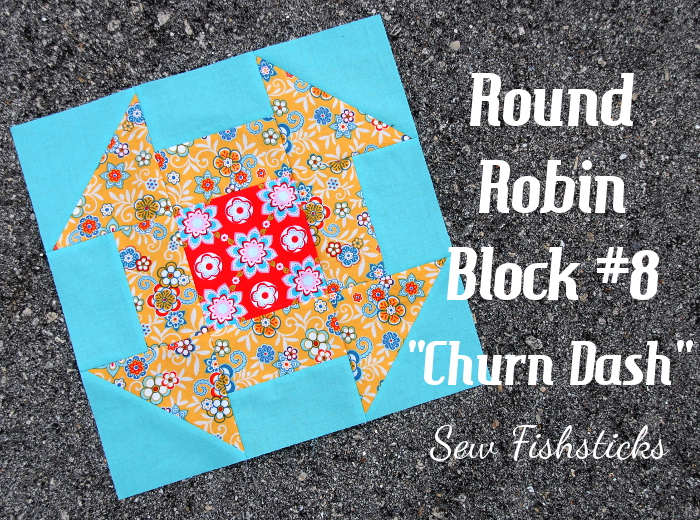 A whole week without blogging! It’s been quite a while since my blog posts were that far apart. I promise that I have been busy behind the scenes … working on PDF pattern updates, readying new patterns for testing, planning for Spring Quilt Market. I did find time for block #8 in the Patchwork Posse Around the Block Round Robin, though! This week’s block is a wonderful traditional one from A Quilting Life: the Churn Dash.
Around the Block with Patchwork Posse: Block #7
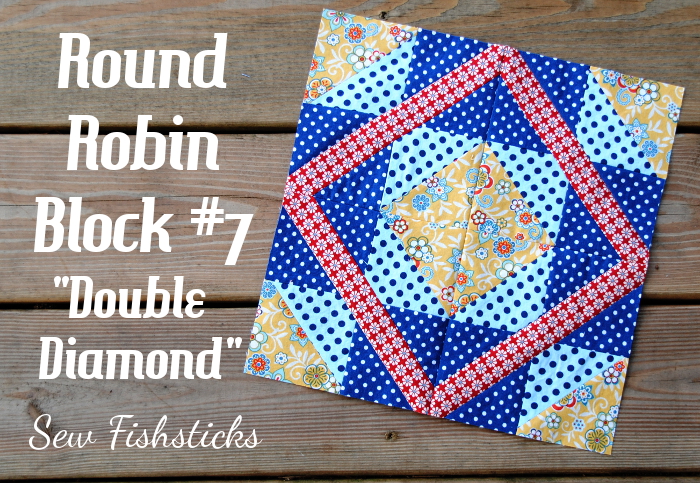 Yay! I’m over halfway through the Patchwork Posse Around the Block Round Robin. I think this is the longest that I’ve ever stuck with a quilt-block sew-along … only five more blocks to go!
This week’s block, The Double Diamond, was designed by Ellen of The Long Thread. This one was a bit of a challenge for me, but I made it through, and I adore how it turned out!
The Wonky House Quilt Block Tutorial
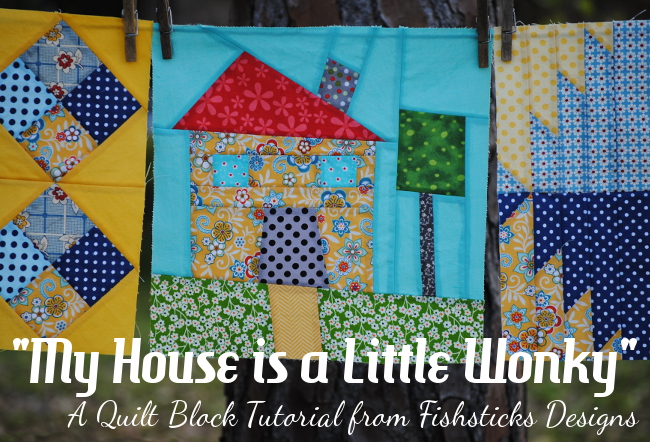 Welcome to the Fishsticks Designs Blog’s first quilt block tutorial! I am so excited about getting to be a part of the Around the Block Round Robin at Patchwork Posse! When Becky asked me if I’d like to join in by sharing my favorite quilt block, I knew right away what block that would be. I’m calling it the “My House is a Little Wonky” Block.
I love the whimsical nature of wonky house blocks, and the fact that they’re perfect in their imperfection. This block has no picky corners to be aligned perfectly, and it lets you use your imagination a bit. My husband retired from the Air Force about eight years ago after 20 (“and a half!” he would add) years, and we’ve lived in a lot of houses. With each move, I immediately started decorating to turn our house into our home. One of the things all of that decorating taught me, is that no house is ever perfectly straight . . . ever. It’s not really visible from the outside or with a casual glance, sometimes you even have to climb up into those dark corners to find out that the walls are slightly crooked, but they always are. I think there’s a little life lesson in that. In spite of how we might look from the outside or at a casual glance, we’re all a little wonky, just like our houses. It’s a good thing, too. If we weren’t, life would be far too boring!
Ready to get started? The tutorial for this freezer-paper-pieced block looks really long, but I promise this block is not hard to assemble at all. I’ll walk you through every step!
You’ll need a few things before you get started. First, you’ll want to print this color template for your house block: Color Template. Be sure when you print that you’ve chosen to print at full-size or 100%. You may have to save the file to your computer to print it. (There’s a black and white template shown below, too. Don’t worry about printing it right now, but you may need it later: Black & White Template.) In addition to your regular quilting supplies, since this is a freezer-paper-pieced block, you’ll need some freezer paper. (Iron Man is totally optional, however. When you live in a house with little boys, and you walk away from your supplies, you often come back to find tiny visitors.) To assemble your color template, just trim the 1/2″ margin off of the left hand side of the bottom right corner page.
 Overlap the bottom right corner page with the bottom left corner page. Line everything up and tape it in place.
 Piece the top two pages together in the same manner, and then tape all four pieces together.
 Check to make sure that your template measures 12 1/2″ square before moving on.
 Cut a piece of freezer paper slightly bigger than your template and place it shiny side down/matte side up on top of your template. (If you find that it’s too difficult to see through the freezer paper, you can print the black and white template for tracing instead.)
 Using a pencil and straight edge, trace the template onto the matte side of the freezer paper.
 Use the color template to label all of the pieces. You’ll see that the block is divided into four sections, and the colors are labeled from left to right and from the bottom up. Using abbreviations will help this part to go faster.
 Choose your fabrics! This is a great time to use up tiny scraps. They are perfect for windows, doors, chimney, etc.
 Cut your freezer paper template into pieces.
 Separate the template pieces into colors/fabrics.
 Now the fun part starts! Position one of your template pieces on the fabric you’ve chosen for it with at least 1/4″ margin all the way around. Be sure that you’ve placed the template on the right side of the fabric with the shiny side of the freezer paper down. With your iron set to cotton/no steam, press the template onto the fabric. The coating on the shiny of the freezer paper will melt and the template will temporarily stick to the fabric.
 To add your 1/4″ seam allowance, place your clear quilting ruler on top of your template/fabric piece. Line the 1/4″ marking up with the edge of the template so that the ruler overlaps the template, as shown.
 Run your rotary cutter down the edge of the ruler to trim away the excess fabric, leaving the 1/4″ seam allowance outside the template.
 Cut each side of your fabric in the same manner so that you have a finished fabric piece with the template still attached and a 1/4″ seam allowance all the way around it. (Don’t take your templates off yet!)
 Where you have multiple templates for one piece of fabric, you can iron them all on at once, but be very careful to make sure you have 1/2″ (1/4″ times two) between all of the pieces. It’s best to put more than that, just in case.
 Continue ironing your templates onto your fabric and using your ruler and rotary cutter to trim away the excess fabric leaving 1/4″ seam allowance all the way around each template. Once you’re finished, separate them all into their individual sections.
 The remaining pictures will walk you through the order in which to assemble your pieces. Remove the templates as you get to each piece. Stitch the pieces together using 1/4″ seam allowance and press your seams (open or to one side, whichever you prefer) before moving on to the next fabric piece.
 Start by sewing the Section 1 grass pieces to either side of the path.
 Assemble Section 2 next — the house, including doors and windows.


 Move onto Section 3 which includes the roof, chimney and sky pieces.


 Finally, sew the Section 4 tree pieces together.


 Now you’re ready to sew your sections together!


 Almost done! Just square your block up to 12 1/2″ and admire your work. That wasn’t hard at all, right?
 I can’t wait to see your finished blocks! I’ve been having such a great time sewing along myself. Want to see my blocks so far? I love how they’re coming together!
Around the Block with Patchwork Posse: Block #5
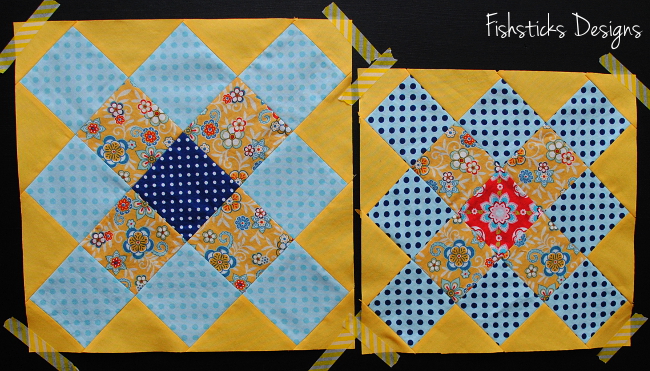
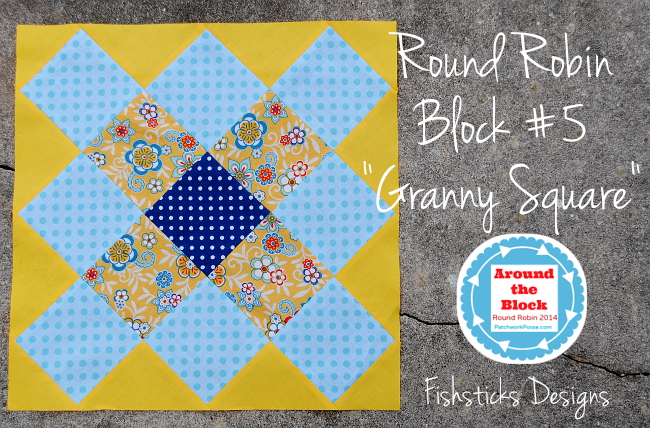 This week’s Around the Block Round Robin block is The Granny Square from Elizabeth at Simple Simon and Company! I love the classic look of it. Granny squares bring to mind thoughts of simpler times, don’t they? And, the unusual way that this block is assembled is pretty cool.
One of the reasons that I really like this block is that I’m actually in the process of teaching myself how to crochet granny squares! I’ve always wanted a big granny square afghan, and I love having a project that I can pick up for a few minutes here and there without having to figure out where I am. I’m starting with a toss pillow for now to see how it goes. Here’s a little peek at the pile that I have done so far. More on that later, when I’ve actually finished the pillow. 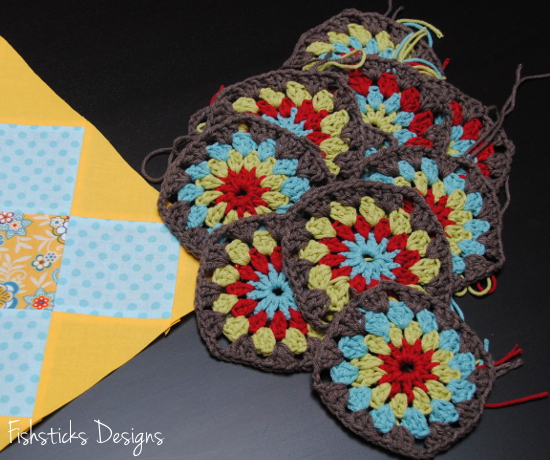 My Granny Square Block has a little baby brother because I was one of the first to sew it up, and there was a mistake in the sizing. (It’s all fixed now, so everyone else should be good to go!) I thought it a bit ironic that Becky shared this link on the Patchwork Posse Facebook Page yesterday: 52+ Projects for Orphan Quilt Blocks. I’ll be scrolling through to see if any ideas jump out at me … I’ve developed quite the collection of orphan blocks! Anyone have a favorite project to share?