Sewalongs
Operation Pajama Drawer: Wrap Up & Winner!
I had such a great time sewing pajamas for my boys last month, and I love that they get to wear mama-made jammies every night now! Here’s what I accomplished (just click on the images for more information):
For Charlie:


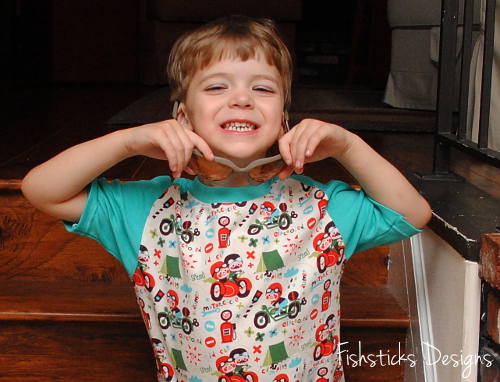
For Jamie:
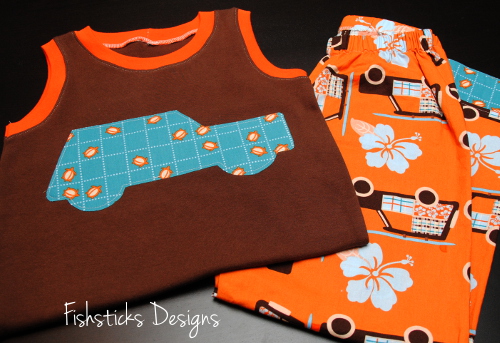
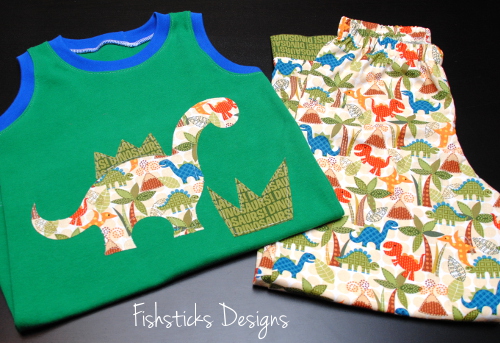
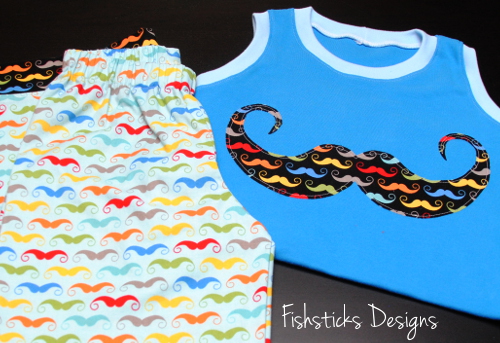
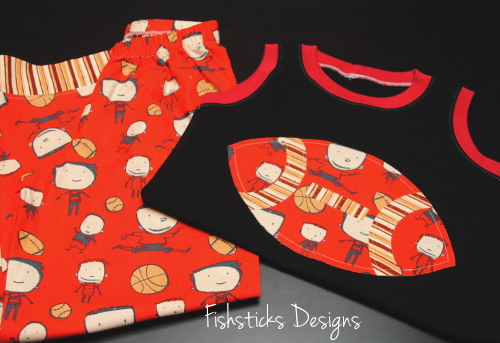
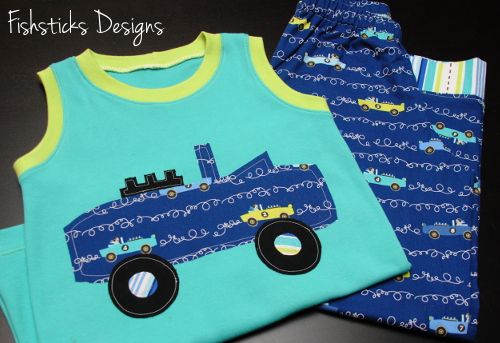
Ten pairs of pajamas done! Woo-hoo! And, you guys accomplished some great PJ-sewing, too. Be sure to click over to the Fishsticks Designs Flickr Group and check out the jammies.
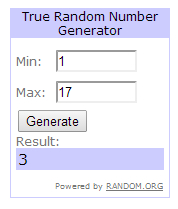
On to the winner! There were a total of 17 entries, and random.org chose Entry #3 as the winner:
Huge congratulations to Ann who modified Rockin’ the Raglan into a Valentine’s nightgown for her granddaughter, Matilda! Is she not the sweetest?

Operation Pajama Drawer: A Sort of Long Time Ago …
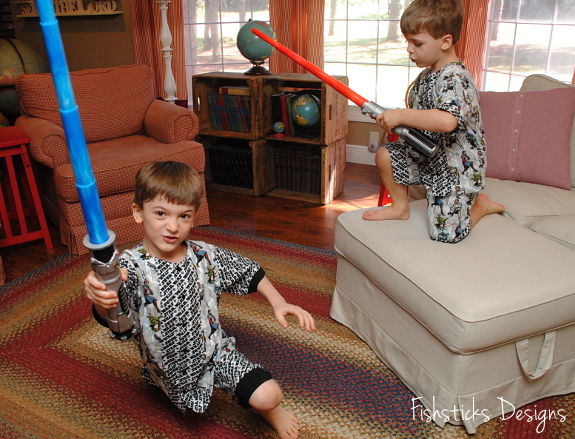
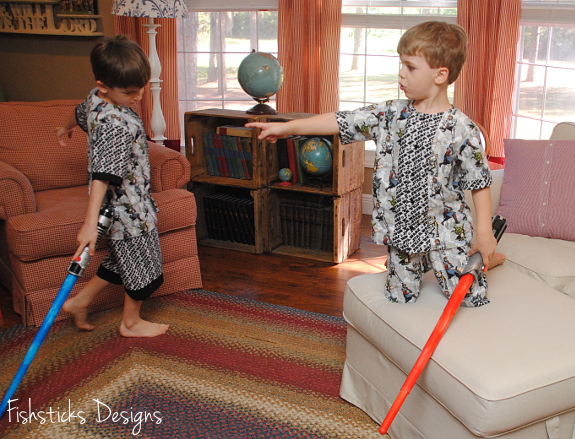
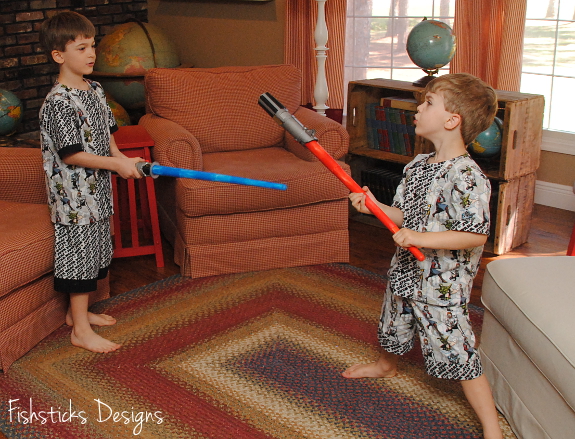
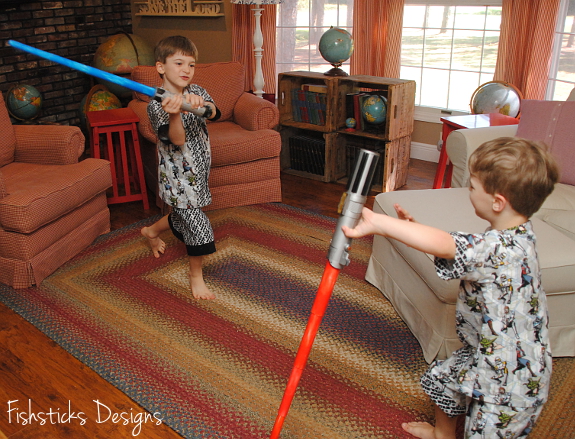
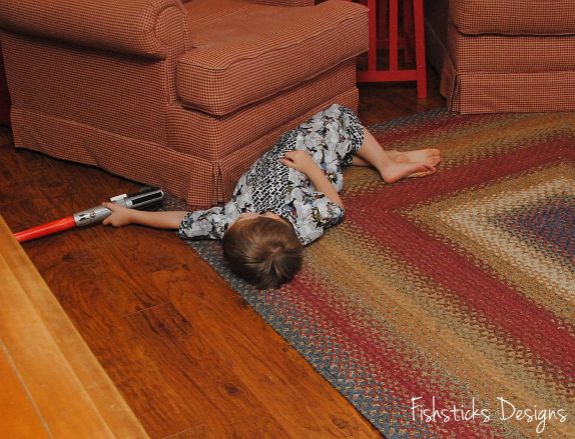
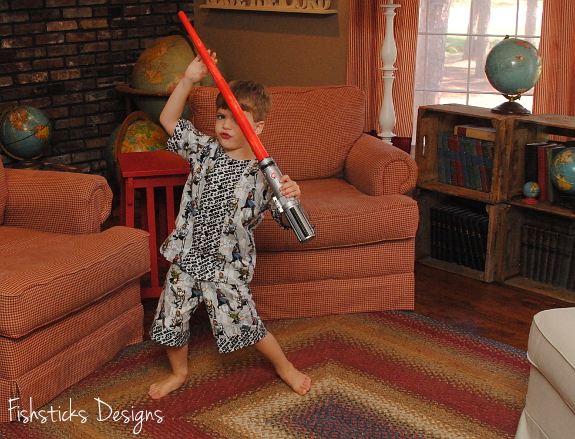
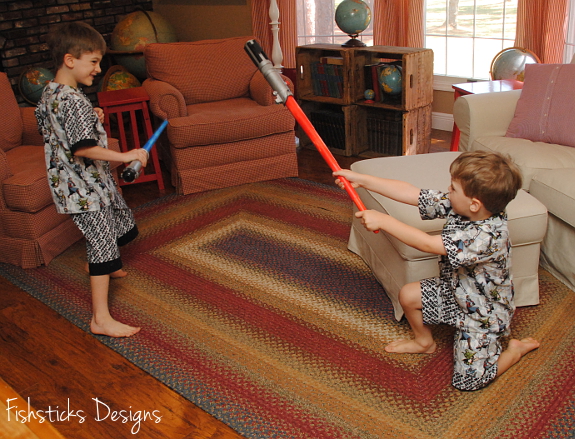
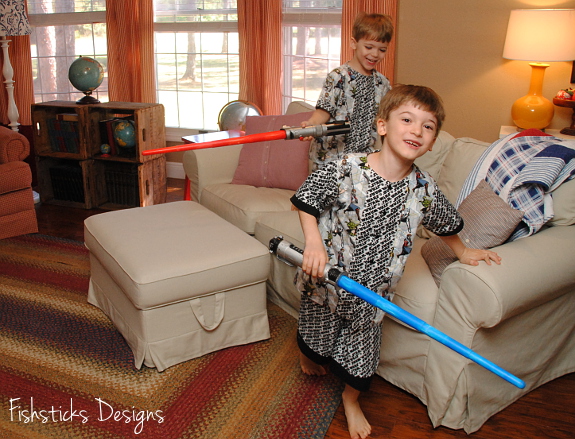
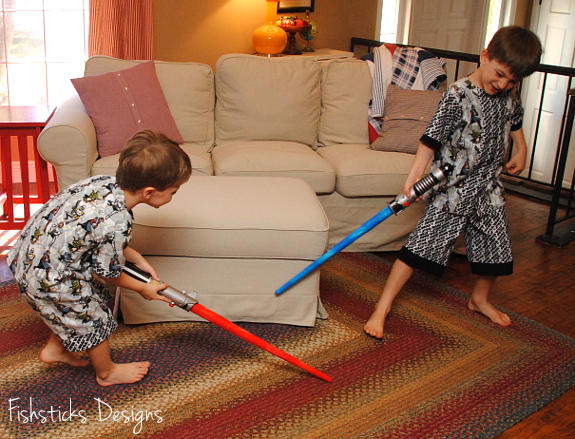
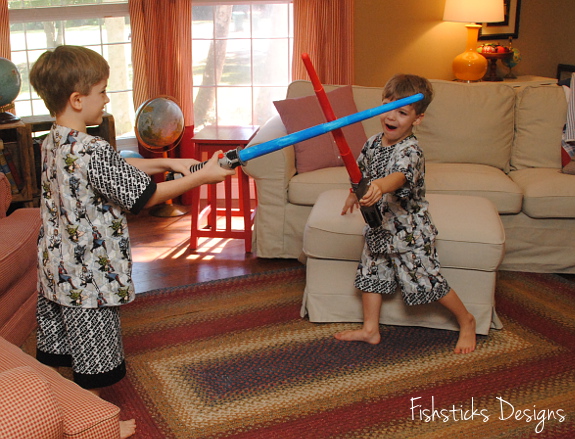
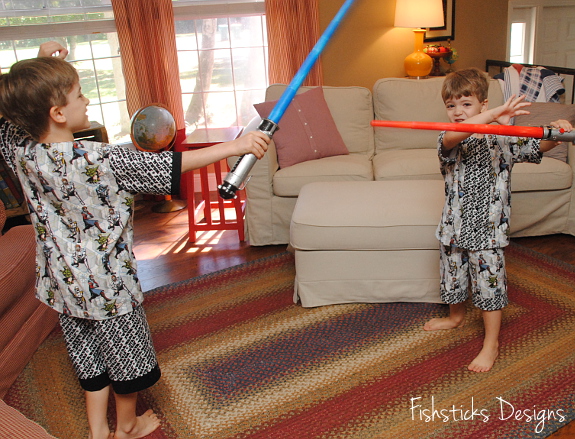
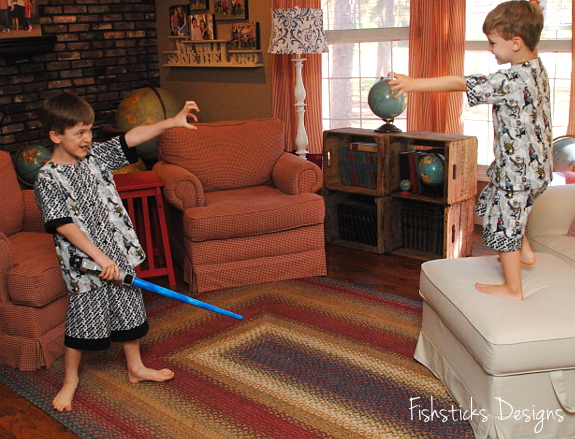
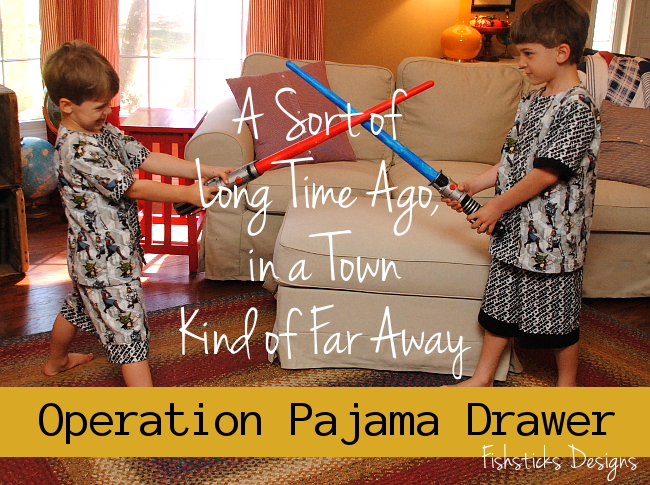 A sort of long time ago, in a town kind of far away, a sewing momma bought some Star Wars fabric for her two Younglings. The fabric went into hiding for a time, though, and these little ones waited and waited and waited. Then one day, the fabric reappeared, and the momma went to work transforming it into the perfect sleepwear for two tiny Jedis-in-training.
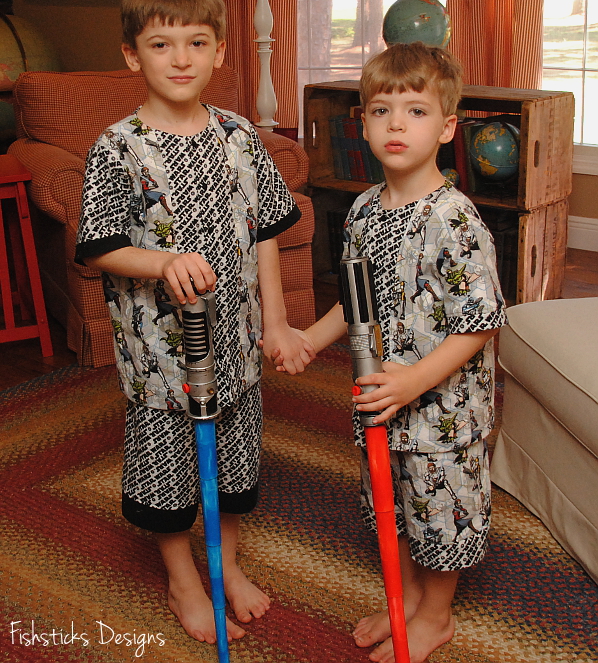 Clothed in their new Pajama Party PJs, with their lightsabers close at hand, the Younglings fell fast asleep, and dreamed of days ahead when they would be called to action in defending their living room, backyard and perhaps someday, the whole galaxy, from evil.
And with that final task complete, Operation Pajama Drawer drew to a close, and this busy momma breathed a sigh of relief. Her boys no longer had to dress in unsightly, ill-fitting jammies. Instead, each night, they chose from pajama drawers overflowing with handmade PJs, sewn with love.
Whew! This was such a busy sewing month! Thank you so much for sticking with me and sewing along! Remember that you still have until midnight eastern tonight (2/28) to add your pajama pictures to the Fishsticks Designs Flickr Group for a chance to win a great prize! I’ll be doing a little wrap-up and announcing the winner on Sunday evening.
Around the Block with Patchwork Posse: Block #4
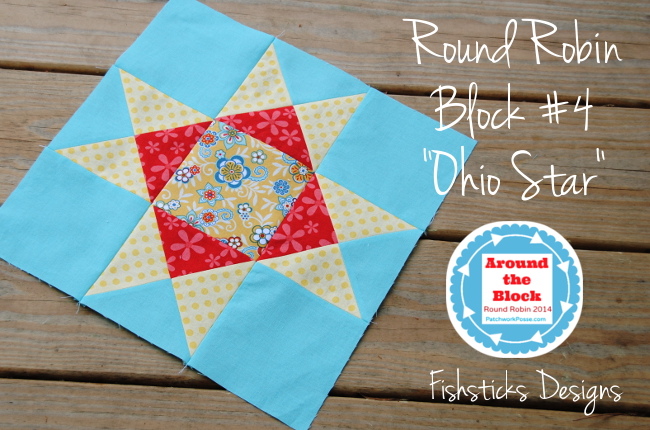 Whee! I finished this week’s Around the Block Round Robin block the same day as the post! I’m thankful that it was a quick one since I have three more pairs of PJs to finish and share before Friday. This week’s Ohio Star Block tutorial was shared by Tessa from The Sewing Chick. I so appreciate her simple instructions for sewing the four quarter-triangle blocks! They were a breeze!
Back to work on jammies now . . . and a little bit of a surprise for next week.
Around the Block with Patchwork Posse: Block #3
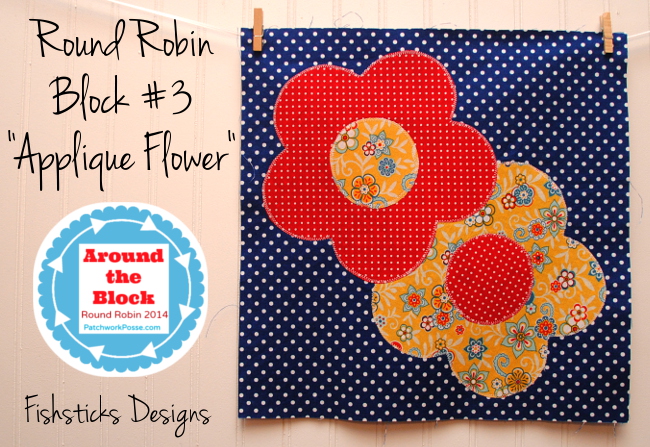 So, I took a little bit of creative liberty with this week’s Around the Block Round Robin block. This week’s “Flower Applique” block was designed by Kim from Kimberbell Designs. It’s a great one to try out if you’ve never done fusible applique! I used her flower applique design, but rather than add the yo-yo to the center when the quilt is done later, I made up a smaller circle applique. Once I had those two pieces cut out, though, I realized that there was plenty of room for a second flower, and I loved the idea of layering them to add a little dimension, especially since I skipped the yo-yo. I just ironed and stitched the bottom flower first, followed by its circle and then the second flower and circle.
This whole block went together in less than an hour! Woo-hoo for quick and pretty!
Around the Block with Patchwork Posse: Block #2
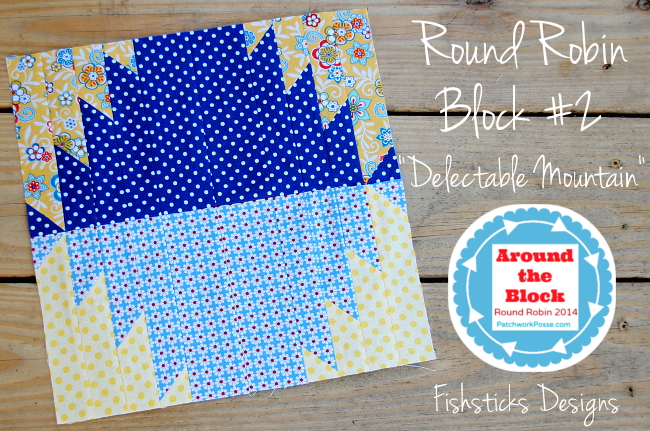 Moving along to Block #2 in the Around the Block Round Robin. This Delectable Mountain block was designed by Becky from The Patchwork Posse.
Man, I am learning so much already. For instance, today’s lesson was, “Read the directions”. This was probably payback for every time someone has emailed me with a pattern question, and I momentarily considered responding, “Read the directions!” (Of course, you know I’d never actually do that! I understand that we all learn in different ways, and I enjoy answering your questions.) When reading through the block instructions, I totally missed that when the half square triangles are placed on top of each other to cut them, they are supposed to be right sides together. I spent well over an hour trying to figure out how in the world these strips — the ones that I had cut incorrectly — were supposed to be pieced to form the mountain. It made my brain hurt. Not only that, but I totally emailed Becky to say that I was sure there must be a mistake in the tutorial. Oops! Finally, I searched Pinterest, found a video tutorial for a similar block and saw that the blocks were supposed to be right sides together when they were cut. Problem solved. Apology email sent. Block started all over again!
This is one that I’m really glad to have finished! My 16-year-old kept walking into the room while I was sewing and telling me that it did not look like a mountain. When I was finished and showed it to her, though, she said, “Cool! It looks like a mountain and its reflection!”
Operation Pajama Drawer: Getting Started on Lazy Days for Charlie
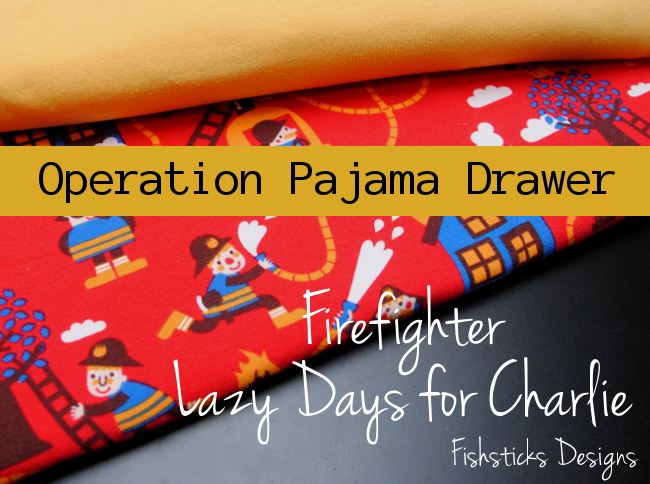 Operation Pajama Drawer is finally underway! Have you started cutting anything out yet? Tomorrow is my Charlie’s 4th birthday, so my first PJ project this month is for him. I’m pairing up the Lillestoff firefighter print with solid gold cotton interlock for a Lazy Days Lounge Set.
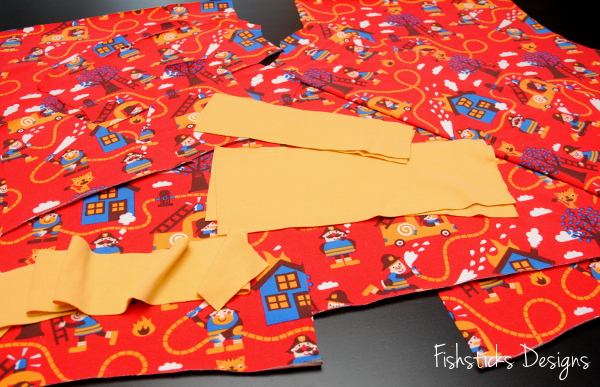
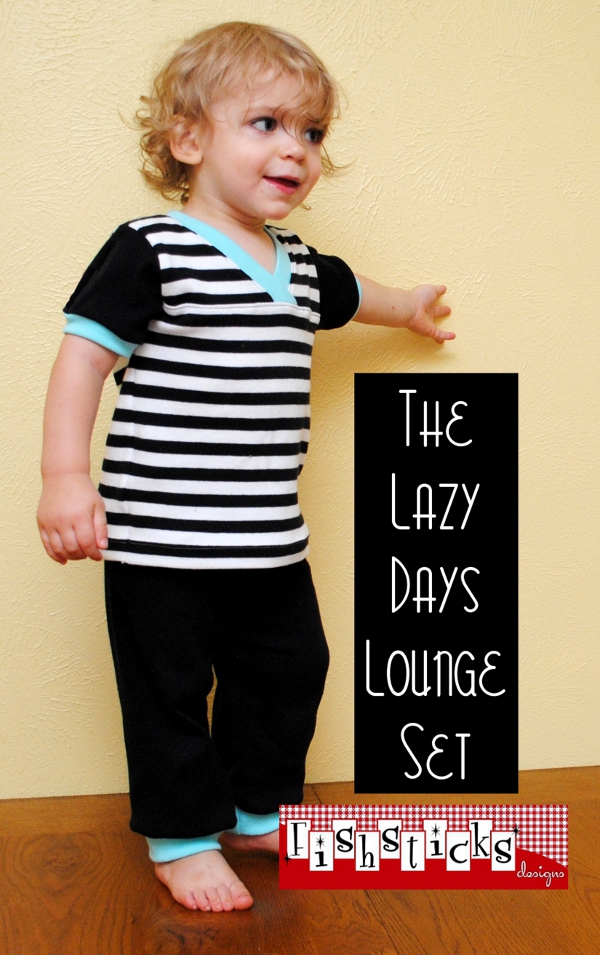 I cut out a size 5T for him last night after dinner. Now that he’s at the top end of the range of sizes in this pattern, I really want to extend it all the way up to size 12! My boys love this pattern, and I love sewing it. I cut the main parts of this pair out of one fabric, but one of my favorite things about this pattern is that you can use up your scraps for that top crossover part. You could even mix and match fabrics for the the two cross-over pieces and the bottom part of the shirt front . . . hmmmm . . . I might have to try that! As long as things go as planned, I’ll be sewing these up later today, so Charlie can sleep in them tonight!
Operation Pajama Drawer: Details for Sewing Along
Wheee! I’m so excited that so many of you are ready to join with me in sewing PJs for your little ones during the month of February! I will be so glad to have my two little guys’ pajama drawers packed full, and sewing will be so much more fun with you sewing along. (If you missed the Operation Pajama Drawer intro post, you can find it right here: Operation Pajama Drawer.)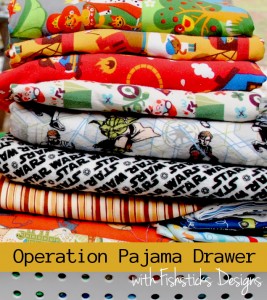 How do you join in? Just grab any Fishsticks Designs pattern and sew a pair of pajamas this month. Once you’re done, be sure to post a finished picture in the Fishsticks Designs Flickr Group so that we can all admire your work, and so that you’ll be eligible to win a great prize! Everyone who shares a picture of a pair of Fishsticks Designs pajamas finished this month will be entered into a random drawing to be done on March 1st.
What’s the prize, you ask? The amazing folks at Simplifi Fabrics have offered a $35 gift certificate for the winner of the drawing! Simplifi Fabrics specializes in modern, eco-friendly fabrics and notions, and their selection is incredible! You’ll find all the information that you could possibly need about organic textiles on their site, and because they’re located in Canada near the US border, shipping to both the US and Canada is a breeze! But that’s not all! Just in case you need a Fishsticks Designs pajama pattern to sew, I’ve put all of the PDF pajama patterns in my main store on sale for $6 each
 through Sunday night SALE EXTENDED THROUGH MONDAY, 2/10 AT 8 P. M.: the Pajama Party PJs, the Lazy Days Lounge Set, the Wee Tot Collection and the Little One Layette. (Just add the pattern to your cart to see the sale price.) You don’t have to use a pajama pattern to enter, though. Feel free to use any of my patterns (the Charlie Tee & AJ Bottoms, maybe?) or tutorials (perhaps The Tank and the Comfy Pants), even my published and charity patterns are eligible (check out the Comfy Sleep Set and the Watered with Love Layette).
I’ll be sharing my progress along the way, and you can share yours, too! Come join us in the Fishsticks Designs Sewing Group where you can chat, ask questions, share pictures and maybe even make some new friends: Fishsticks Designs Sewing Group.
Around the Block with Patchwork Posse: Block #1
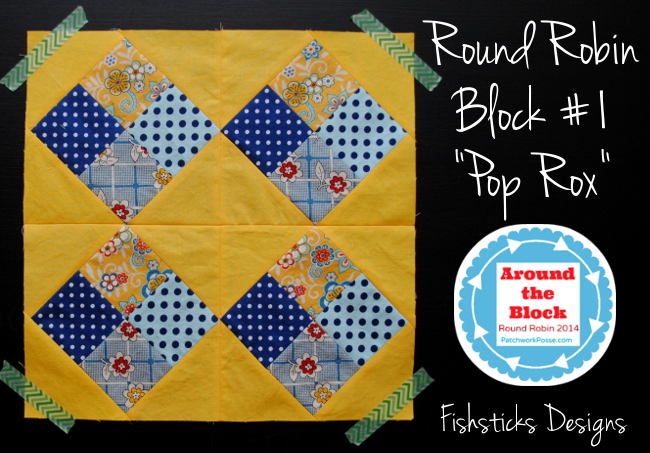 One of my goals this year is to improve my quilting skills … and to actually finish a quilt-along! I’m excited about the new round robin quilt-along that started yesterday at Patchwork Posse, not only because some amazing quilter/bloggers are offering tutorials of their favorite blocks, but also because I get to do my first quilt block tutorial as part of it! (My block is scheduled for next month.) “Pop Rox”, the first block in the Around the Block Round Robin, was designed by my friend, Caroline, from Sew Can She. It’s a fun one that has just enough complexity that there’s a little bit of a challenge in it, but I was able to finish it easily after dinner last night. I struggled a little with getting my points to line up, but I found that increasing my seam allowance to right at 1/4″, rather than the suggested scant 1/4″, when attaching the triangles solved that problem for me. I think that may have been a cutting issue, rather than a problem with the pattern, though. Quilting requires much more exact cutting than sewing clothing!
A new block tutorial will be posted at Patchwork Posse every Wednesday through April. Once all 12 blocks are finished, Becky will walk everyone through adding borders, machine quilting and binding. Oh, and there are prizes! Every week, a great new prize will be given away to one of the participants who posts their quilt block pictures to Becky’s Flickr group. If you’re ready to give quilting a try or looking to build your quilting skills, come join in the fun!
It’s a New Year Sew-along at Sew Can She: My Finished Pillow
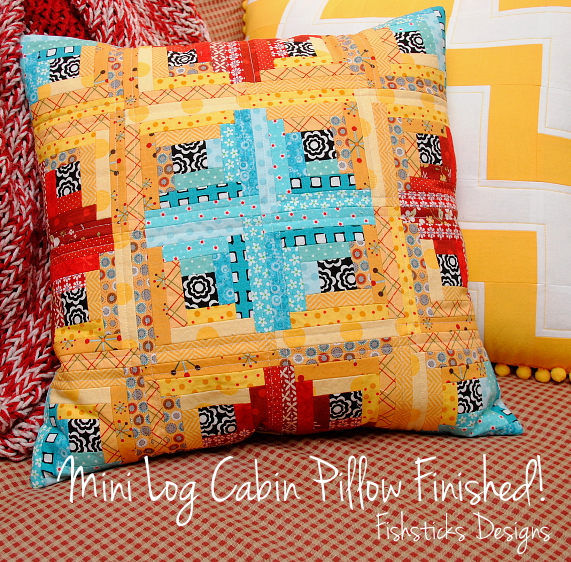 I am so excited to share my finished It’s a New Year Sew-along pillow. I adore it! This is definitely one of those projects that I needed the motivation of a sew-along to finish, though. I am so not one to tackle sewing anything that requires lots of tiny pieces. There was a bit of grumbling in my sewing studio over how teeny these finished blocks were, but I am so glad to have done it. I’m in awe of the ladies in this sew-along who made whole quilts!
Once I had all of my blocks finished, I started playing around with the layout, and I was amazed at how much the whole look changed when the blocks were arranged differently.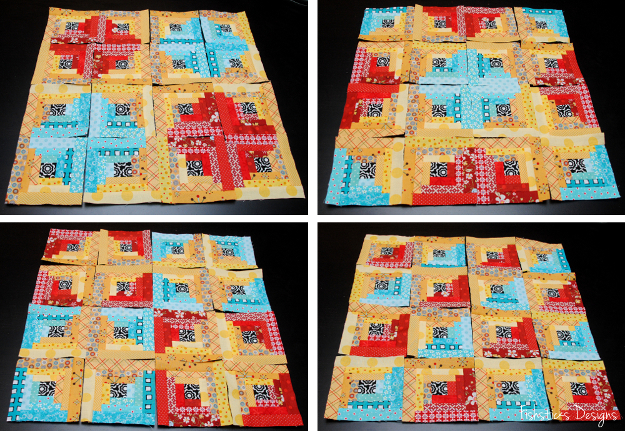 Isn’t that cool? In the end, I went with the top right layout.
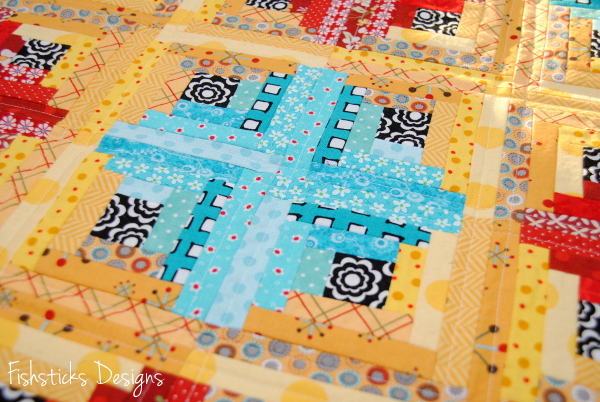
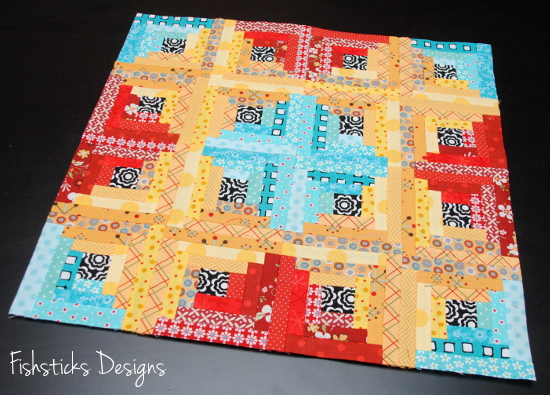 Once my blocks were all pieced together, I added a piece of cotton batting and quilted down the middles of the outside strip in each block.
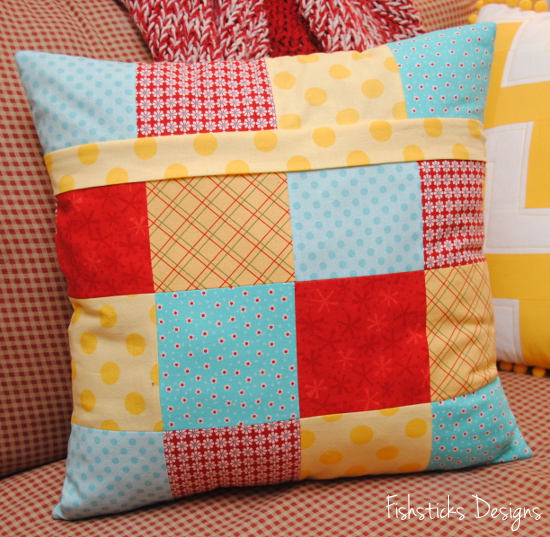
 After spending so much time on the front of the pillow, I felt like I had to do something exciting with the back, so I went hunting on Pinterest where I found this tutorial from Pile o’ Fabric: Adding a Zipper to a Quilted Pillow Sham. I generally just do cross-over sham-style closings, but this seemed easy enough to try out, and I loved the finished look that it gave the pillow.
 Seriously? This was so simple, I feel a little foolish that I haven’t been making pillow shams this way all along! (Feel free to ignore the fact that my top row does not line up with the rows under the zipper.)
 Here’s my finished mini-log cabin pillow doing a beautiful job of decorating the loveseat in my sewing studio.
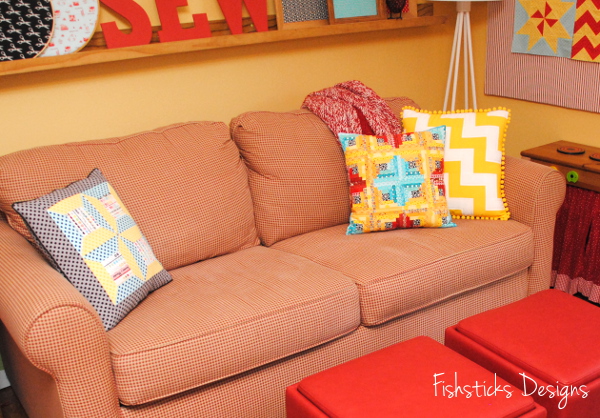 She has a few friends that I was inspired to stitch up, too! I’ll be sharing more about them next week.
It’s a New Year Sew-along at Sew Can She: Blocks in Progress
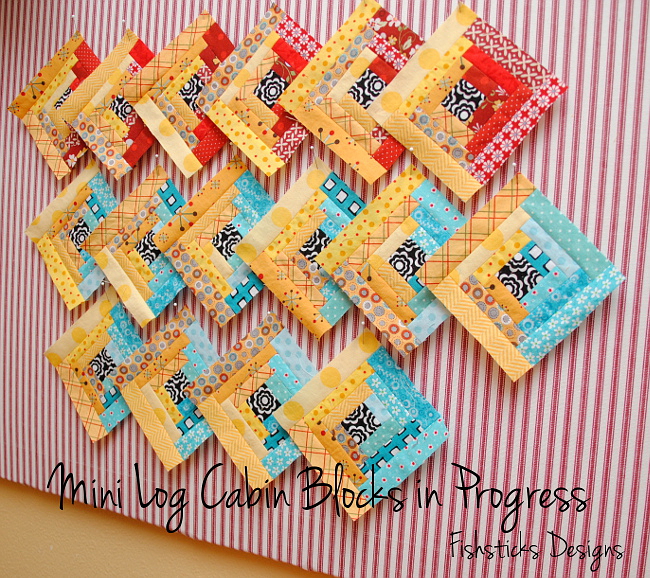 Sorry it’s been so quiet here this week! My oldest two children and our granddaughter are here from California and Georgia to celebrate a late Christmas with us. I managed to sneak away for a few minutes to make sure that I met this week’s goal in the It’s a New Year Sew-along, though!
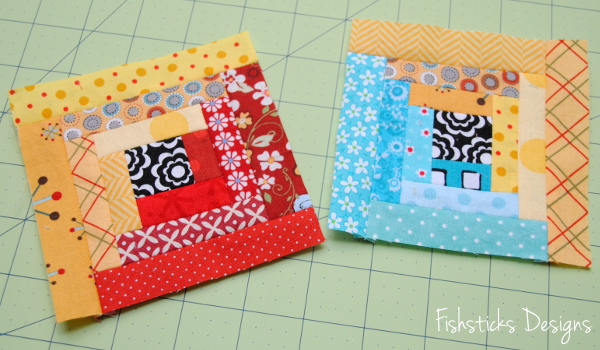
Here’s a quick preview of my mini log cabin blocks. I’m making 20 blocks total — 16 for a toss pillow and four for a mug rug — I think. As you can see above, I have four more to go, but those last ones are going to have to wait until our family visitors have gone home on Monday.  In spite of their tiny size and the fact that I’m not generally one to sew projects that involve itty-bitty pieces, I’m really enjoying sewing these! (I’m not sure I could muster the patience for a whole quilt made from blocks this small, but these small projects are just fine.) You do really have to be super careful to square up each side as you’re piecing these, though. Because they’re so small, every little wiggle shows up! Caroline has some great tips for beautiful finished blocks over on the Sew Can She Blog: Week 3 – Sewing.