It’s a New Year Sew-along at Sew Can She: Prepping the Fabric
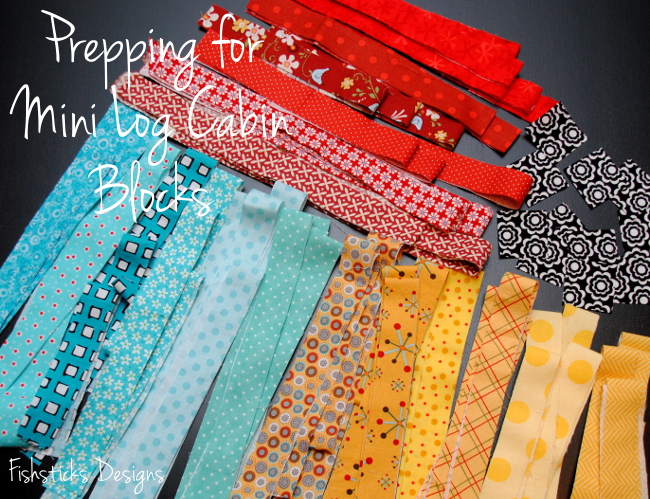 If you’re sewing along with the It’s a New Year Sew-along at Sew Can She, this week’s assignment is to show off your cut mini log cabin strips. This part is really easy with a unique sort of satisfaction. I grabbed my cutting mat, ruler and rotary cutter, heated up the iron, put an episode of Eureka on the Roku and started cutting! I’m sure I cut way too many strips for the project that I’m doing, but I tend to like having too many rather too few. I’m sure that I’ll use the leftover strips for another project . . . someday.
You can see from the picture that I opted not to use the first fabric that I’d chosen for the center squares of my log cabin blocks. The pictures were just too big to fussy cut for a 1″ finished square. 1″ is really small! 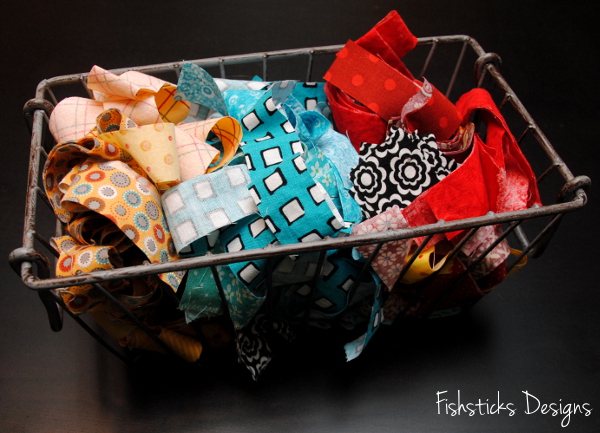 Since I’m not planning to sew all of my blocks at one time, I piled all of my strips into a basket. This way, I can grab them out as I need them while I’m sewing, and put them up out of the way once I’m done for the day. This basket looks really cute sitting on a shelf, too! (I actually do this often with all sorts of sewing projects. I like to do all my cutting at once, then toss everything for a certain project into a bin or basket so I can pull it out and work on it as I have time. It makes cleaning up my space a breeze!)
Stocking Up the Play Kitchen with Handmade
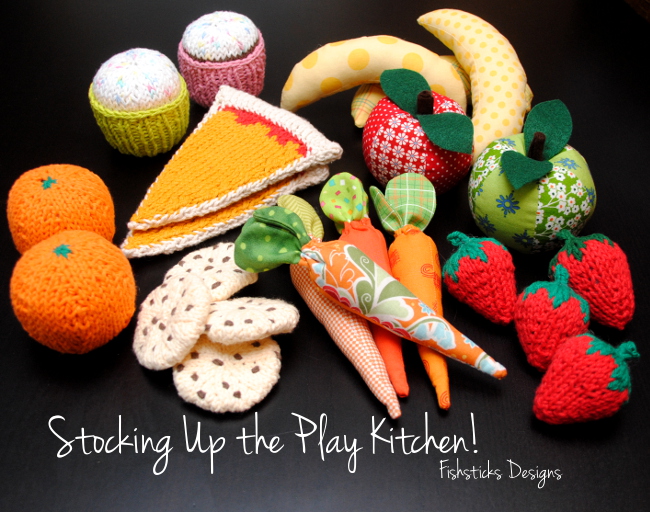 Our granddaughter, Katie, got a new play kitchen for Christmas, and I couldn’t resist filling it up with handmade play food! My 15-year-old daughter, Samantha, teamed up with me to make this set. She did the knitting while I did the sewing, and since much of our play food has seen its better days, we made a matching set for our youngest son, too.
Samantha knitted each item using cotton yarn and stuffed them with polyfil so that they’ll be washable — just in case. She started with oranges knit from this pattern: The Fruit Bowl – Oranges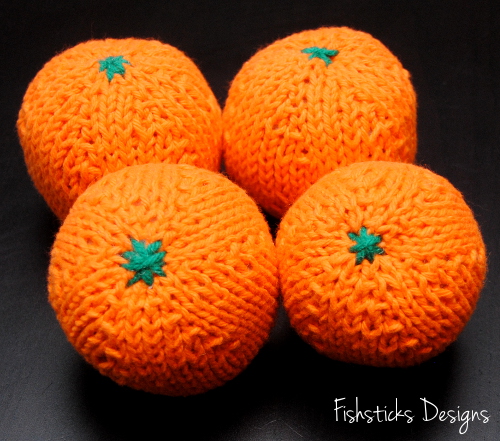 She added strawberries from this pattern: Strawberries by pezdiva.
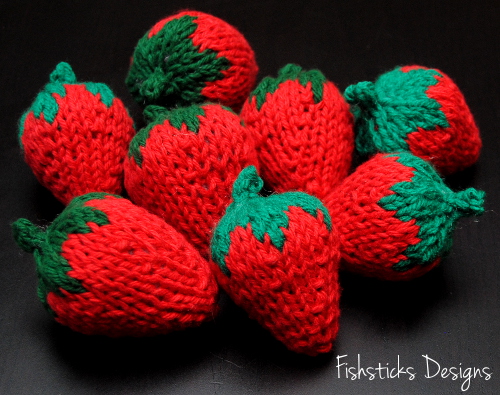 From Deborah’s Knitting, these chocolate chip cookies look good enough to eat! Chocolate Chip Cookies
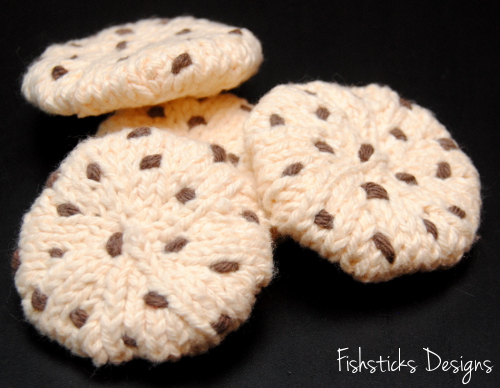 She used Bee Knit’s Cupcake Pattern for the cake part of these cupcakes. It includes a pattern for the cupcake liners, but Samantha wanted to knit them in the round, so she drafted a quick pattern for these liners herself. I love that the cupcakes and liners are separate!
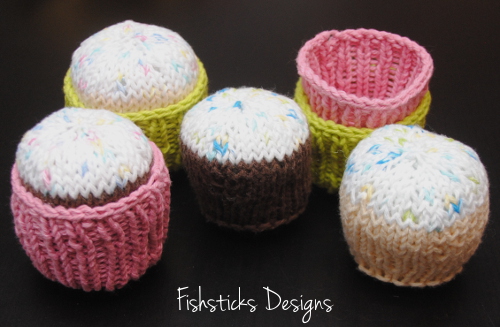 No play kitchen could be complete without pizza, right? This pattern is from Bittersweet Blog: Pizza Party!
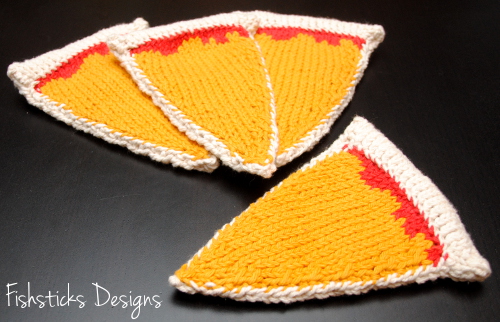 I used self-drafted patterns, cotton quilting fabric, polyfil and bit of felt to sew this pair of apples . . .
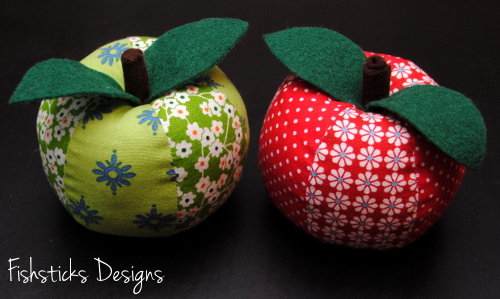 . . . and this bunch of bananas.
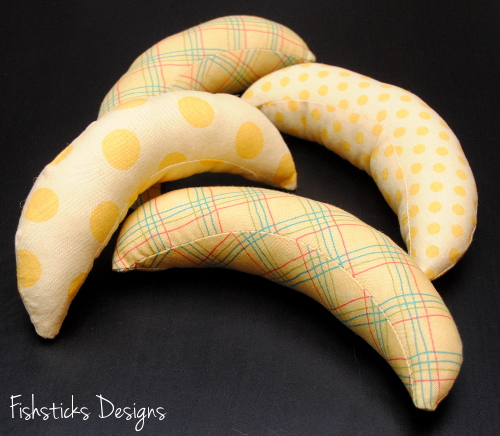 Finally, the Stuffed Carrots tutorial from Clares Craftroom turned out the cutest pile of handmade carrots ever!
 That should be enough to keep a couple of little chefs busy cooking for quite some time!
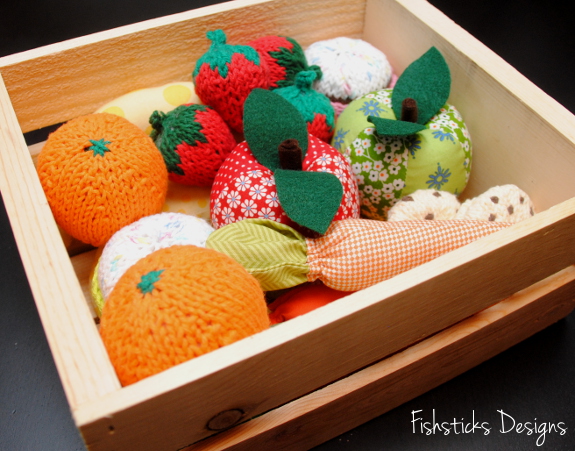
It’s a New Year Sew-along at Sew Can She: Fabric Choices

The It’s a New Year Sew-along is underway at Sew Can She! I loved the push that I got from the sew-along that I joined in with at SCS last year, so I’m jumping into this one, too. As a sponsor, I’m sewing along for the motivation and camaraderie, but not for the prize. You can join in, though, and not only have a great finished project by the end of the month, but also have a chance to win a $50 gift certificate to the Fat Quarter Shop! Pretty cool, huh? You only have a few days left to finish up the first week’s task — choosing your fabric — so go check out all the details by clicking on the button at the top of this post and join in the fun right away.
I mentioned in my 2013 Year in Review post that I’ve been working on a whole new re-design of my sewing studio. I’m so anxious to get it all done so I can share it with you, but I don’t want to share it until it’s really finished! The project that I’m doing for the sew-along is for my studio, though, so you’ll get a little peek at the colors in the room when you see the fabrics that I’ve chosen. What do you think? I’m planning to use the If She Sews, She Knows fabric from Michael Miller for the center squares of my log cabin blocks, but I’m not totally sure that I’m going to love it. I guess I’ll have to sew up a block or two and see what I think then!
So, are you ready to sew along? I can’t wait to see what you make!
2013 in Review, Looking Forward to 2014
Happy New Year! I hope that you all had an amazing holiday season, and that you are excited to see what great things are ahead for you in this new year! I was inspired by all of the year-in-review blog posts to take a look back through my own blog posts from 2013 and reflect on the year’s accomplishments.
Fishsticks Designs released 18 new patterns in 2013, including two new pattern series – The Jersey Love Series and The Go Fish Series.
I shared 12 new tutorials, including guest tutorials at Sew Mama Sew, Riley Blake’s Cutting Corners College, Skip to My Lou, and Today’s Creative Blog. (As a side note, I’m so sorry that the tutorial list in the sidebar here is so out of date! I’ll be remedying that soon!)

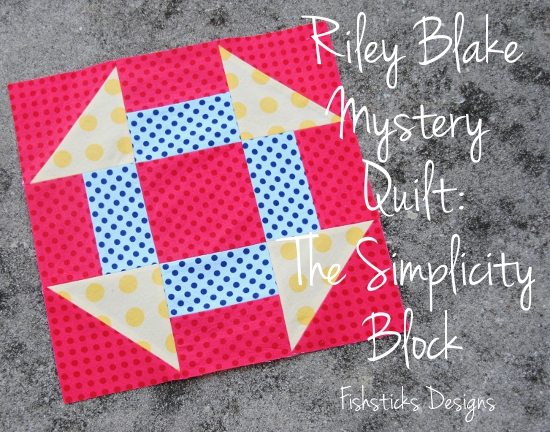
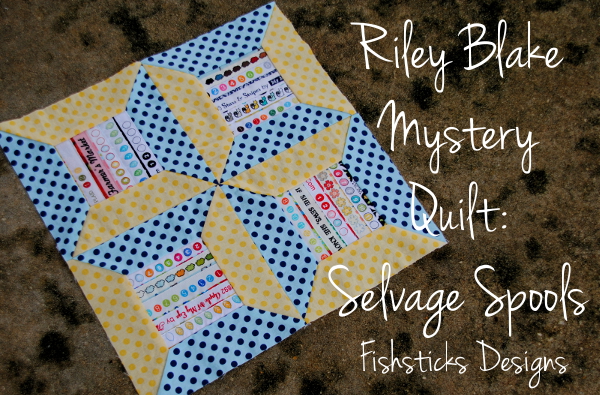
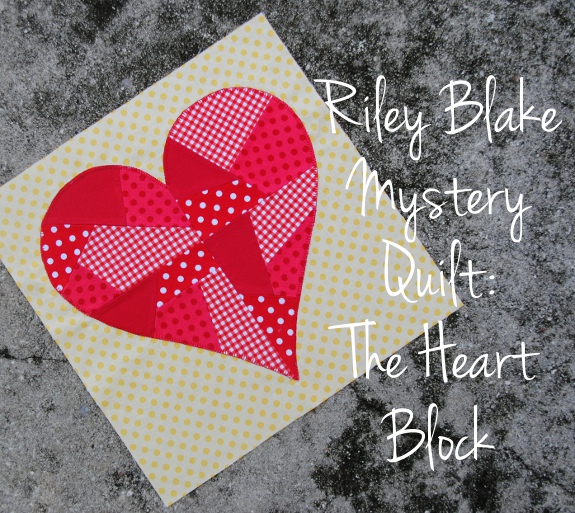
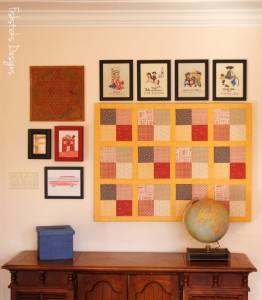
I sewed the first five of the blocks in Riley Blake’s Mystery Block of the Month Series . . . but I didn’t quite finish the quilt. The finished blocks are currently decorating the custom bulletin board in my newly-redecorated sewing studio which I can’t wait to reveal to you!

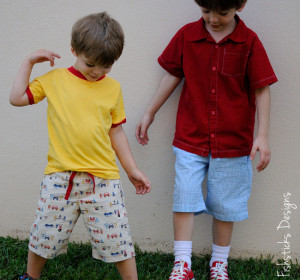
I did tons of sewing for my family.

In September, I shared exciting news, and I mourned loss a month later.
With a ton of help from an incredible circle of friends, Fishsticks Designs had a wonderful booth at Fall Quilt Market.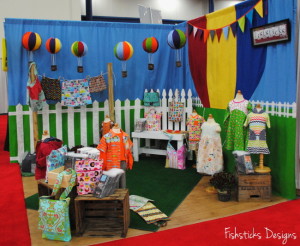
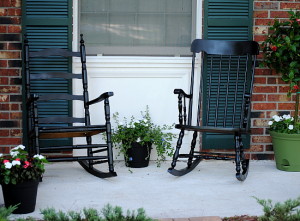
I shared a few little home décor projects.
I went gluten-free in January and shared a few of my favorite new recipes.


I held my first sew-along at Pattern Revolution.
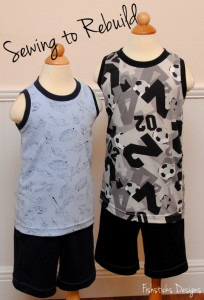
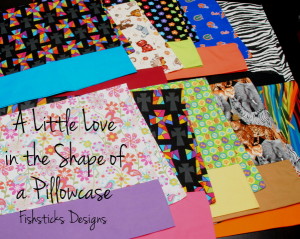
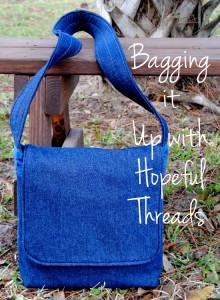
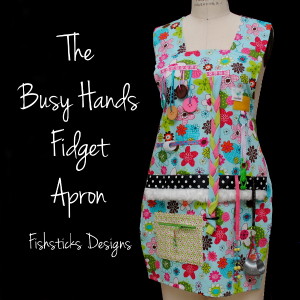
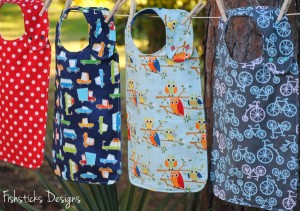
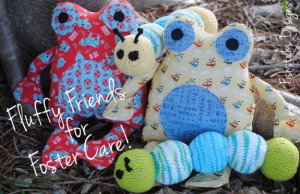
Most importantly in my book, I gave back by sewing bags, bibs, aprons and stuffies for the amazing work of Hopeful Threads, as well as outfits for Sewing to Rebuild and pillowcases for Simple Simon’s Skirting the Issue.
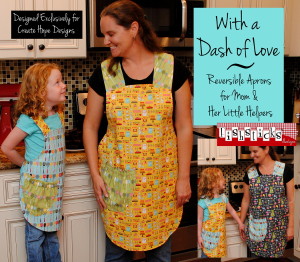
In more giving, I designed and donated the With a Dash of Love Apron to Create Hope Designs for China Little Flower.
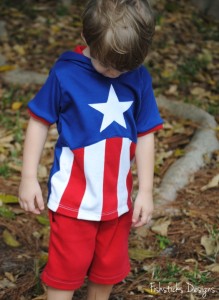
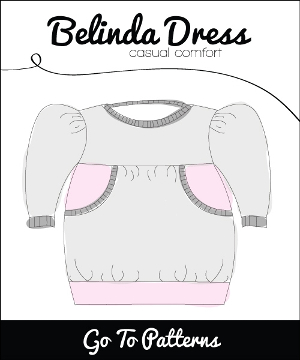
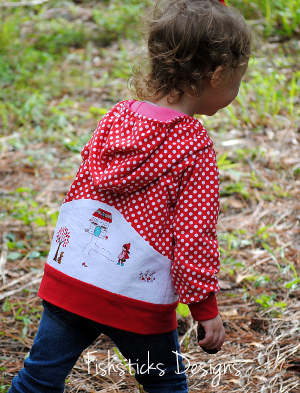
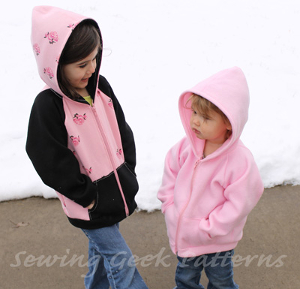
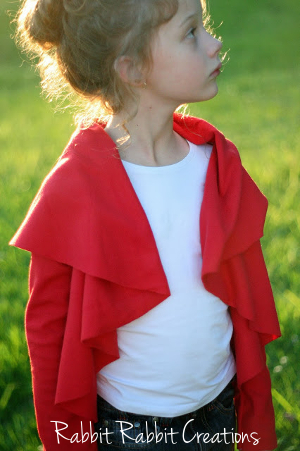
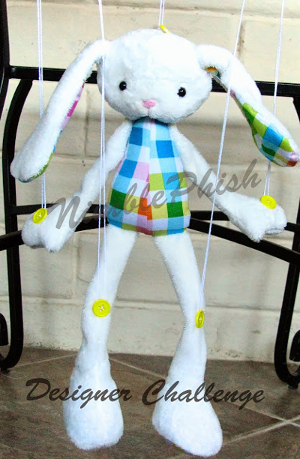
I wrapped up the year by designing the sweetest little reversible hoodie for the Designer’s Challenge.
Overall, I’d say it was a really good year for my little design business and this blog. I have even more exciting things planned for 2014! There will be plenty of sewing projects, tutorials and new patterns, a few gluten-free real-food recipes, a whole lot more home decor projects, a bit of a site redesign to make things easier to find and read, and several exciting things that I can’t quite reveal yet! Here’s to a great year ahead!
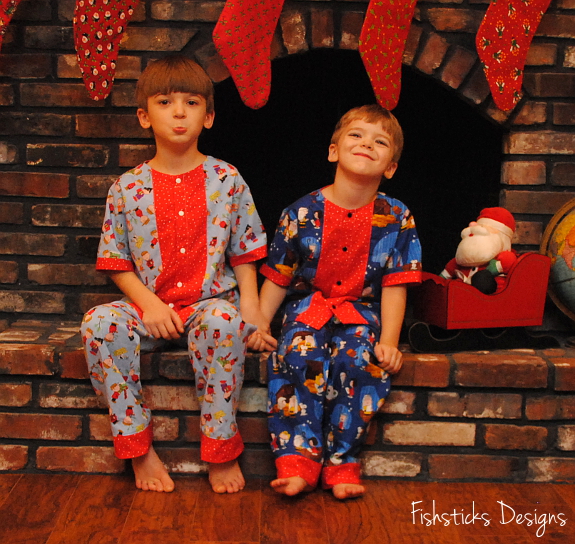
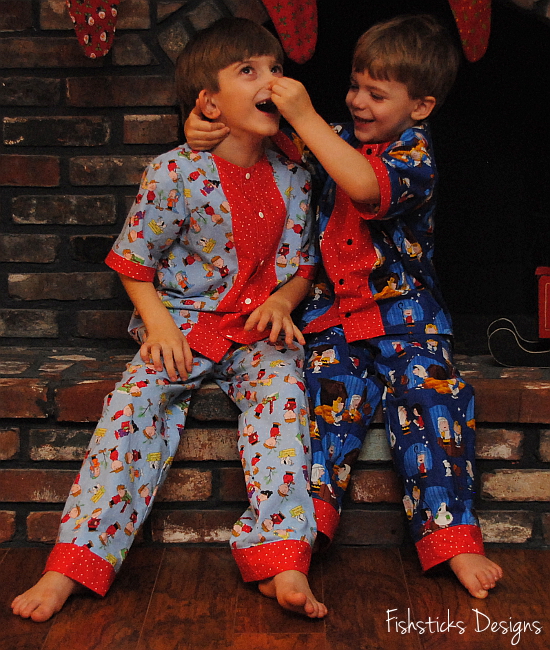
Handmade PJs & Christmas Wishes!
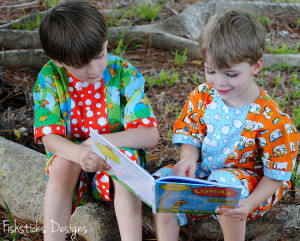
 It’s 10 p.m. here on Christmas Eve, and my little ones are all asleep in their freshly made Pajama Party PJs. Presents are almost all wrapped. Two stuffed bears that are hidden in my bottom desk drawer are waiting for what will likely be very quickly embroidered noses, hopefully sometime before the clock strikes midnight. I can’t wait for tomorrow morning!
My prayer is that your home is filled with the joy of that very first Christmas, lots of laughter, love that fills your heart to overflowing and a bit of silliness, too!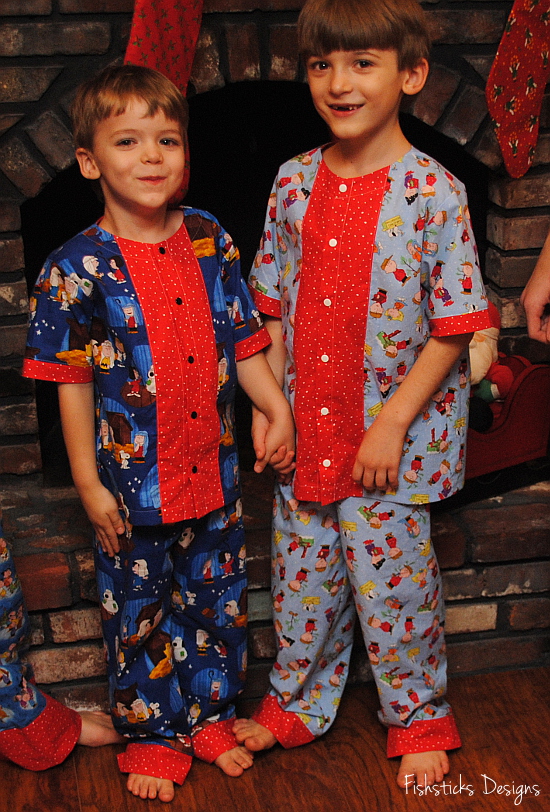

 I’m taking a bit of blog vacation for the rest of the week, but I’ll be back to share more handmade Christmas projects soon. My family is visiting early in January, so I still have time to wrap up my sewing list!
The Designer’s Challenge Giant Giveaway & Review

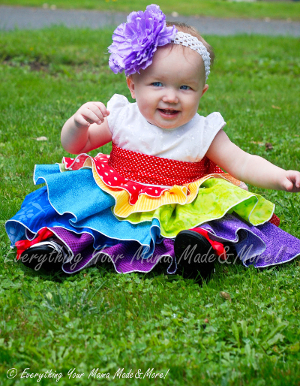
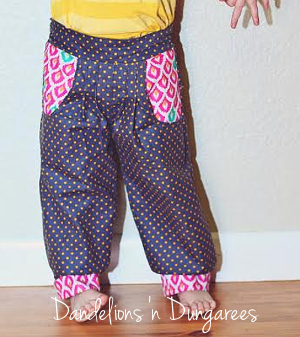
Happy Christmas Eve to All! I’ll be back later today to share our Christmas PJs, but I couldn’t let the day pass without making sure that you got an opportunity to enter the huge pattern giveaway sponsored by the Designer’s Challenge participants, and since I fell terribly behind in sharing the new patterns during the challenge, I thought I’d give you a quick glance at each of them, too!
First up, the giveaway! One lucky winner will win the ENTIRE COLLECTION of Designer’s Challenge patterns! To enter, just click over to Pattern Revolution. You’ve only got a few days to enter, so hurry!
Now, on to the patterns! To purchase or to read more about each one, just click on the photo.


![]()


The Sweet Baby Sleep Bag Pattern at Sew Mama Sew
 I’m guest posting over at Sew Mama Sew this morning with a free pattern for sweet new babies! You can hop over to check out the Sweet Baby Sleep Bag pattern right here: Sweet Baby Sleep Bag Pattern + Tutorial, and be sure to Pin it or bookmark it for all those future baby showers. It’s such a practical gift, and it’s a quick and easy sew that looks a lot more complicated than it really is!
Oh, and if you sew one, please share it, especially if it’s modeled on a sweet new baby. New baby pictures make my heart melt!
The Christmas Playhouse Dress! (& a Quick Little Sale)
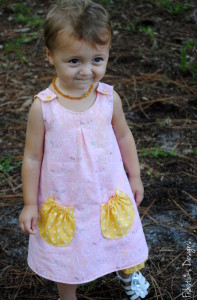
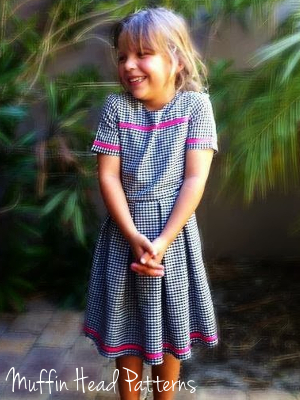
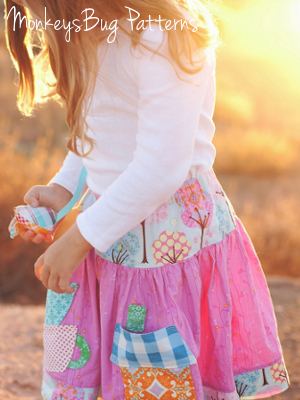
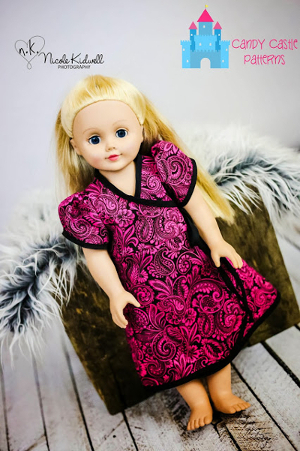
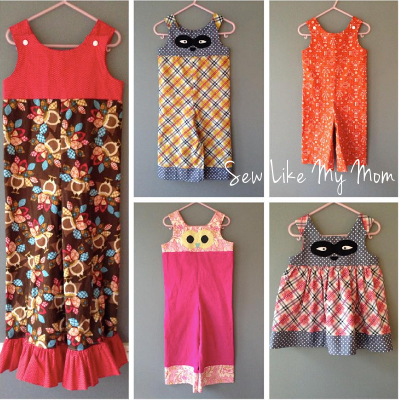
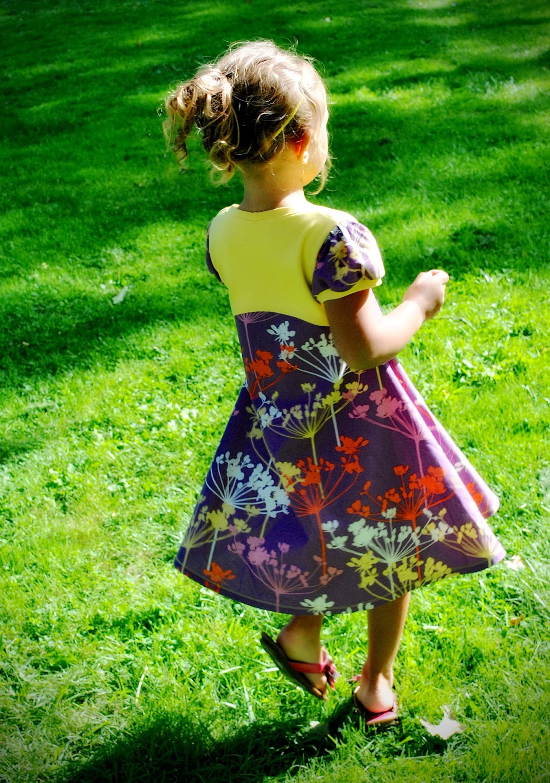
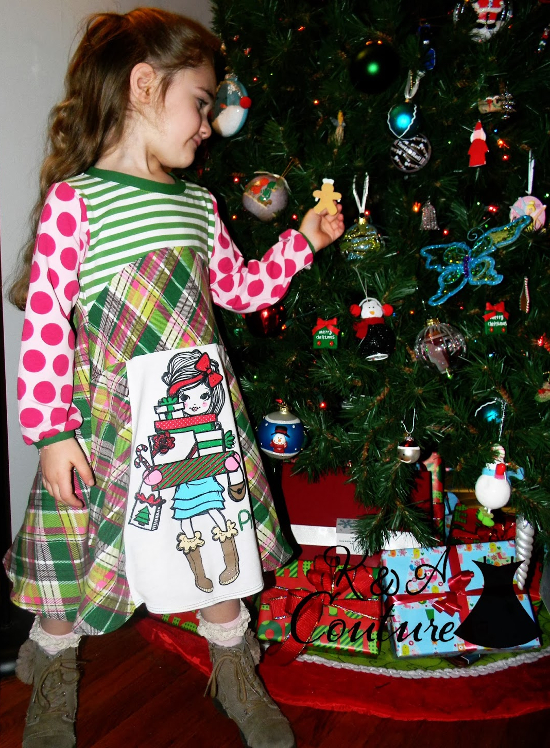 Christmas is only days away now, and I’m in the middle of crazy last-minute sewing. Anyone else with me? Are you in need of a quick Christmas dress pattern? How about the Playhouse Dress? (I’ve even had a few customers use it for an incredibly adorable nightgown!) Check out these sweet holiday Playhouse Dresses and reviews of the pattern, and read to the bottom for a 2-day discount code.
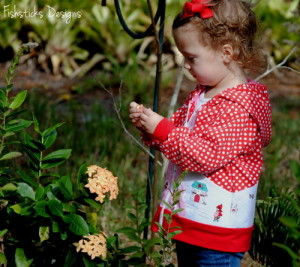
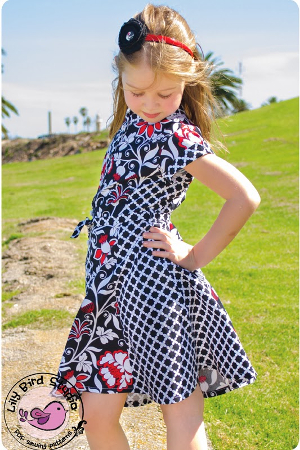
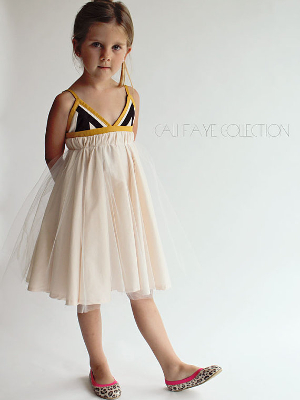
First up, Nicole from K & A Couture and Raedene of Chasing Mermaids reviewed the Playhouse Dress and showed off their versions on the Pattern Revolution blog this morning. Nicole’s is the one at the top of this post, and here’s Raedene’s. Aren’t they both amazing? JoDee made the cutest snowman Playhouse Dress for her little one and shared it on her blog, Sew Much Crafting.
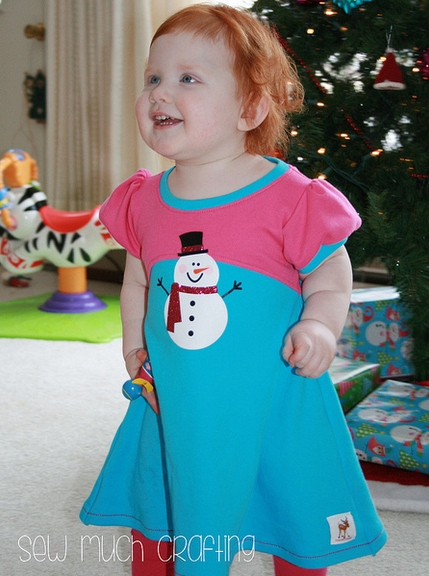 Finally, Rebecca from Rock the Stitch made this absolutely stunning Playhouse Dress.
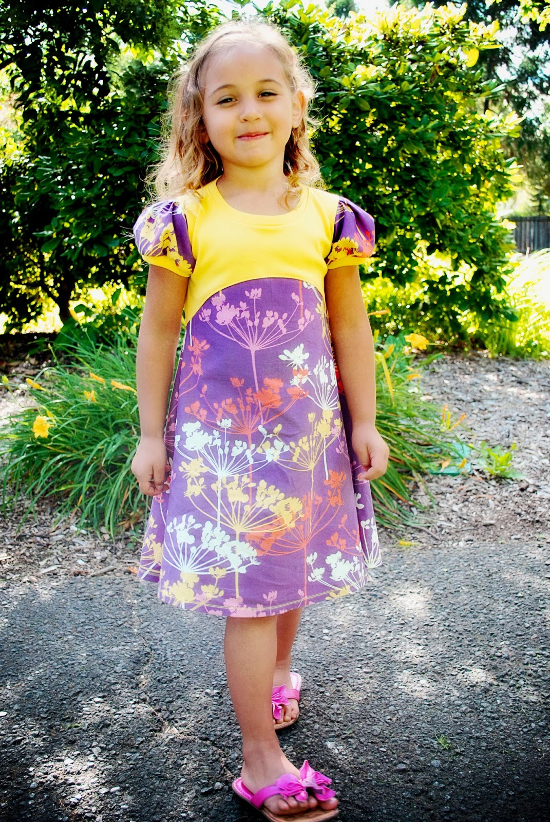
 If you’d like to make your own Playhouse Dress, you can get $3 off of the regular price of the PDF version through Friday, December 20th by entering the code “PLAYHOUSE” at checkout in the Fishsticks Designs Pattern Shop.
Handmade Christmas – Quick Pillow Cover Tutorial
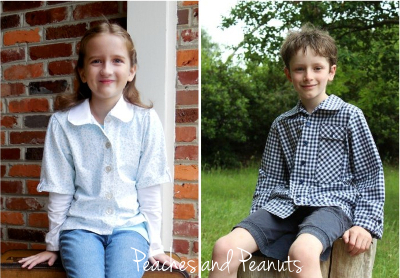
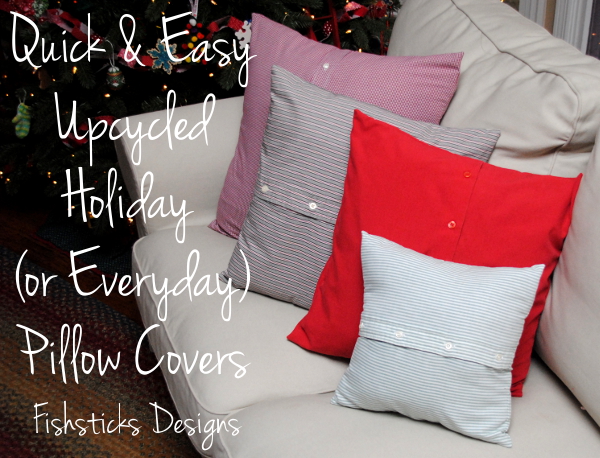 With Christmas less than two weeks away and my sewing barely begun, I needed a quick and simple project this past weekend to give our livingroom a little extra Christmas cheer. A few new toss pillow covers in Christmas red and green made from thrifted button-down shirts filled that need quite nicely! In colors to match your decor, these pillow covers would actually work as beautifully year-round as they do for the holidays. Want to make a few of your own? Just read on.
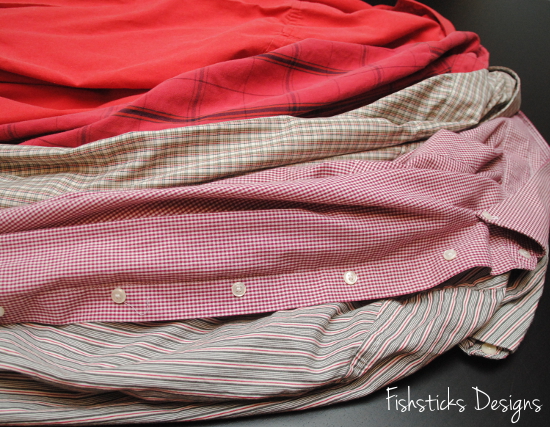 To get started, you need a pile of men’s button-down shirts. I found all of these at our local Goodwill store for around $2 a piece. For larger pillows, of course, you’ll need larger shirts. You also need toss pillows. I used the ones that were already on my sofa.
 The first step is to remove the pocket from the shirt that you’re working with. Just grab your handy seam ripper and carefully rip it off. (If you cut the stitches on the pocket side rather than the shirt side, you run less risk of damaging the shirt.) Once the pocket is off, if you have tiny needle holes remaining, either spray them down with water from a spray bottle and press well with a hot steam iron, or place a damp cloth over the area with the holes and press well with your steam iron. Cut the front and back of the shirt apart.
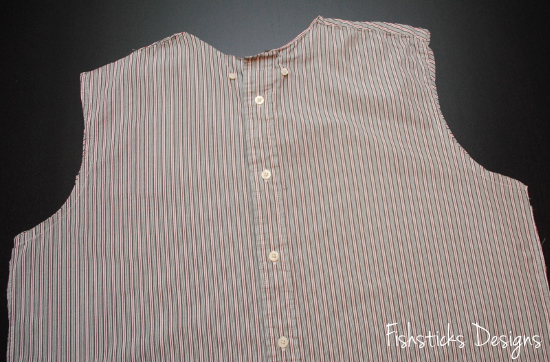 Measure your pillow. Mine measured 17″ square. Most shams are made to the exact size of the pillow, but since I like mine to be just a little bit snug, I’m going to make my sham 16 1/2″ square. Because I’m using a 1/2″ seam allowance, I’ll add 1″ to that measurement (seam allowance times two), and cut my front and back pieces 17 1/2″ square.
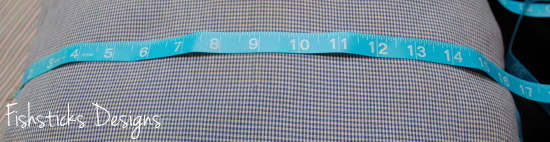 With the shirt front buttoned, measure and draw your piece. I centered my button placket, but you could place it off-center if your shirt is large enough. You will want to center the individual buttons, however. To do this, I just move my see-through ruler up and down until I have the correct full measurement and an even amount above the top button and below the bottom button. Be careful not to get the top and bottom buttons too close to your seam allowance. You want them to be at least 1 1/2″ in.
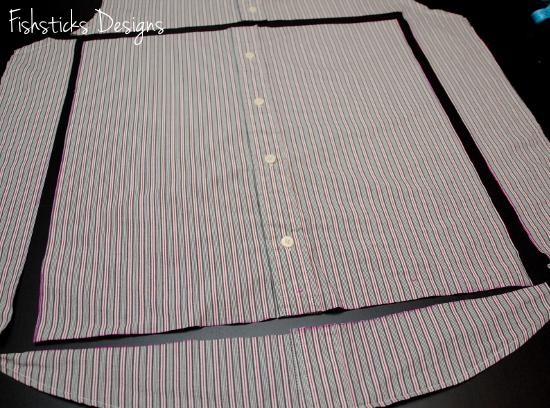 Cut a second piece from the back of the shirt for the back of your pillow sham.
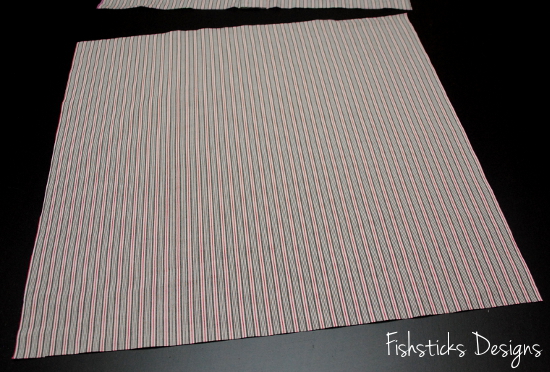 Pin the front and back pieces right sides together.
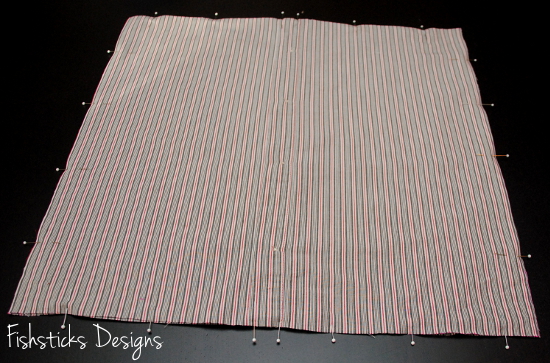 Sew all the way around at 1/2″. I serged the edges after sewing, but since no one is likely to see inside these shams, you don’t really need to.
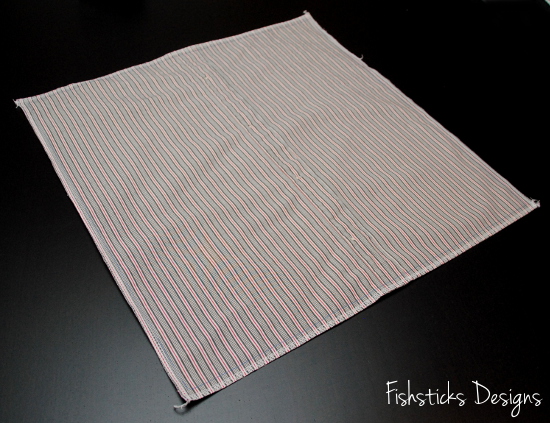 Once the two pieces are sewn together, just reach through between two of the buttons and unbutton one to turn the sham right side out. Push the corners out neatly, unbutton the cover completely, slide your pillow in, button it back up and toss it on your couch!
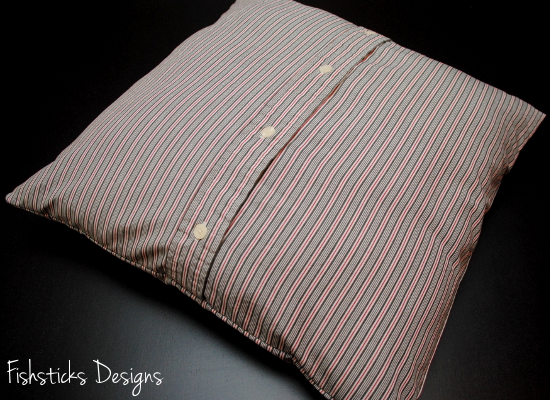
SMS Giveaway Day Winner!
Thank you so much for all your comments on my SMS Giveaway Day post! The total number of comments was 290, and random.org chose comment #127 as the winner. Comment #127 was from Ginny!
 Congratulations, Ginny! I’ll be contacting you to find out which fabric/pattern set you’d like, and I’ll have it in the mail to you right away.


