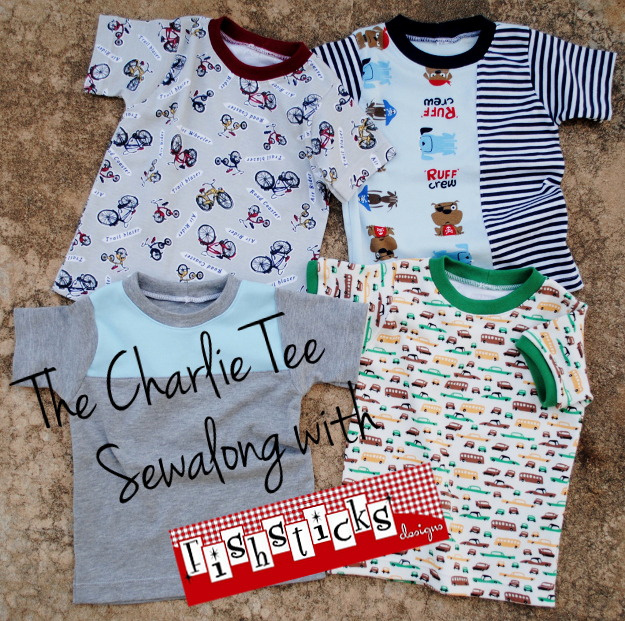
The Charlie Tee & Hoodie Sew-along & a Sale!
 I am so excited to announce that we’re planning a sew-along for the Charlie Tee & Hoodie starting the week of July 28th! The Charlie Tee sew-along will be hosted at the incredible new Pattern Revolution site the first week, and the following week, we’ll move back here to my blog for the Charlie Hoodie portion of the sew-along!
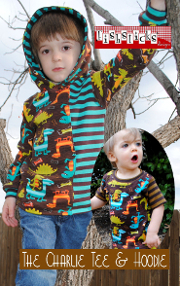
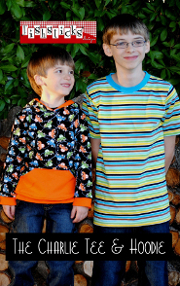
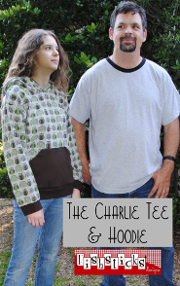
 The Charlie Tee & Hoodie pattern has my widest size range and is a basic that I think everyone should have in their collection! It’s available in infant & toddler sizes, big kid sizes and adult sizes. In my sewing studio, this is absolutely my most-often used pattern. I worked hard on this pattern to give you a ton of options. It’s one that you’ll be able to get comfortable with and go back to again and again for a whole wardrobe of tees, and no two need to look exactly alike. Oh, and it’s perfectly gender-neutral, too!
 During the sew-along, we’re going to walk together step-by-step through each detail. I’ll help you decide which options to use the first time through and give you plenty of ideas for a list of tees to take you through every season.
 If you’re new to sewing knits or just want some tips for better results when you’re sewing knits, you’re going to want to jump in and join the fun! We have a Fishsticks Designs Sewing Group set up on Facebook that we’d love to have you join. It’s the perfect place to share your Fishsticks sewing, to ask questions and to be inspired! You’ll also want to make sure that you have the right fabrics ready to go before we get started. If you’re a beginner with knits, I highly recommend starting with cotton or cotton blend interlock. If you need guidance in choosing knits, check out my Knit Knowledge Series!
 Of course, if you don’t already have it, you’ll need the Charlie Tee & Hoodie pattern! In honor of this sew-along, you’ll find all three size choices of the PDF pattern on sale for only $5 starting today and running for two weeks, through the end of the first week of sew-along on August 2nd. Go grab them right now and start getting ready!
KCW Summer 2013 – Day 3: Mickey Mouse Jammies
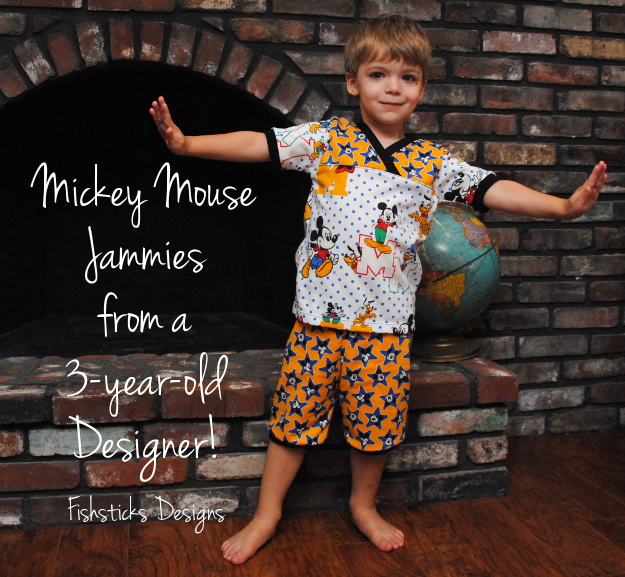 So, Charlie got his Mickey Mouse jammies, and as you can see, he’s quite happy about it! This kid knows what he wants, and he has no trouble explaining it.
 These retro Mickey and friends cotton sweatshirt fleece prints have been in my stash for a couple years now. I purchased them from an online friend with plans to make hoodies for a Disney trip that never happened . . . so they just sat. A few weeks ago, though, Charlie saw them and asked if I would make him Mickey Mouse jammies. I had no other plans for them, so I said, “Sure!” and promptly forgot. If you read yesterday’s post, though, you know that I was abruptly reminded about the Mickey Mouse jammies when I presented my little man with Fantastic Four pjs that I was certain he was going to love. His tearful melt-down because they weren’t the promised Mickey Mouse jammies, almost made me cry along with him! Thankfully, these were a quick sew, and now all is well in his little world.
 Sweatshirt fleece is a knit but it doesn’t have much stretch. It’s important to keep that in mind when choosing a pattern for it. My Lazy Days Lounge Set has this great cross-over v-neck that opens wide for pulling on, so I knew it would be perfect!
 I don’t know if I ever would have paired these fabrics up like this if it hadn’t been for the three-year-old who insisted that they must go together. Even as I was sewing them, I wavered back and forth between thinking that these pajamas were really adorable in their vintage-ness and wondering if the combination of fabrics might just be way over the top in its dated-ness. In the end, though, it doesn’t really matter since Charlie loves them, and they are, after all, just pajamas. I happen to think that pretty much anything would look cute on this little guy, though.
 I’m curious if you tend to sew what you want to sew or if you let your kids make more of the decisions about the fabrics and patterns. Not including sewing that I do specifically for business reasons, I think I’m somewhere in the middle. I tend to buy fabrics that I know my boys will like, then I let them choose which they’d like from a limited selection.
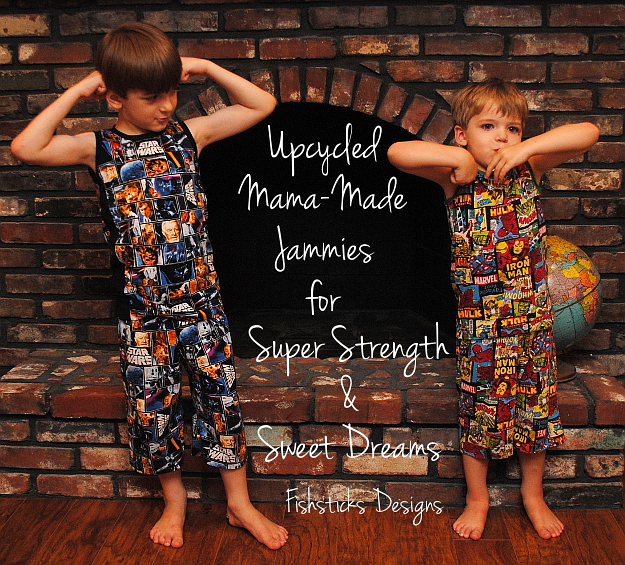
KCW Summer 2013 – Days 1 & 2: Upcycled Jammies
 The first ever Summer Kids Clothes Week started on Monday! Are you sewing?! It’s not too late to join in. Just pop over to the brand new Kids Clothes Week site to read all the details, sign up and be inspired!
 I’m focusing the first part of my week on pajamas for my two youngest boys. They’re both wearing pjs that they’re about the bust out of. Projects #1 and #2 involved turning these two pairs of x-large mens lounge pants that I purchased on clearance at Walmart a few years ago into size 4 and size 6 pajamas.
It’s no secret that I don’t care for the chemical-laden flame-retardant pajamas that they sell in stores for my little ones. It’s not that I don’t understand the law. I do. It’s just that in my house, it’s not likely that my kids are going to come into contact with open flames during the night, and keeping them sleeping as chemical-free as possible is important to me. (I’m not offering advice, in any way, though! And, I do see the irony in the fact that the remainder of these pictures are taken with my kids playing on, around and in our never-been-used, it’s-only-there-for-looks fireplace.) Jamie picked the Star Wars pants to become his jammies, and he absolutely loves them! I used my free tank top pattern that you should see to the left for the tops and my new Runaround Pants pattern for the pants for these. Both are really simple and straight-forward patterns!
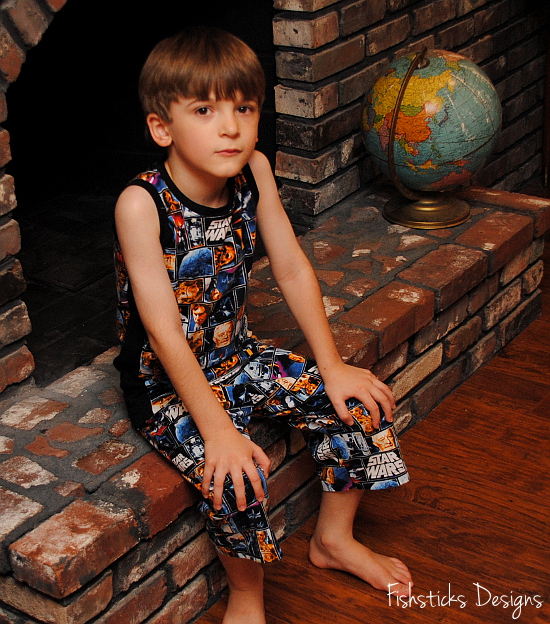 Instead of leaving the hem raw like the Runaround Pants pattern instructs, I just reused the hem of the original pants. I also made the shorts a little longer. We live in Florida, so we can really use these PJs year-round, and the slightly longer shorts will give us even longer wear time.
 I had plenty of fabric to make Charlie’s entire outfit, but as you can see, I had to use some creative color-blocking for Jamie’s top. (Jamie’s tank is a scaled-up version of the tank since it’s only available right now in sizes 12 months to 5T. I do hope to get it scaled up to the larger sizes eventually.)
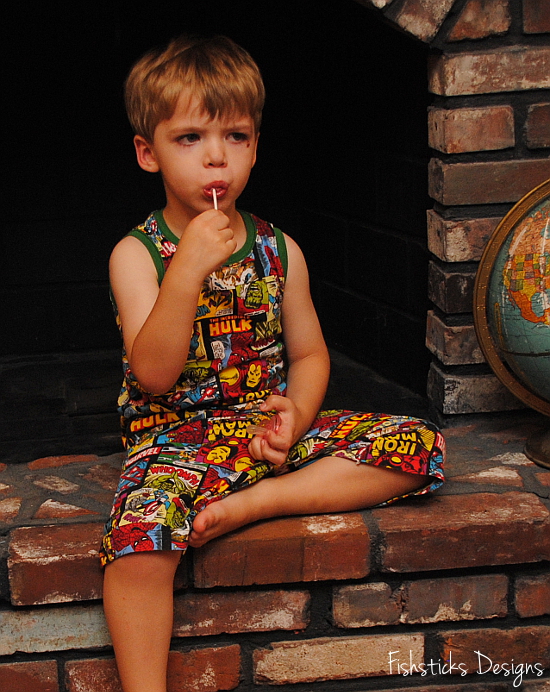 I’d love to say that Charlie isn’t as angry as he looks in that picture, but the truth is, he was really mad. Apparently, I was supposed to make him Mickey Mouse jammies, not Fantastic Four . . . It took lollipops, a pacifier, encouragement from everyone in the family and a promise of a brownie when we were done to get him to somewhat cooperate for pictures. When you’re blogging about kids, you sometimes just have to do what you have to do.
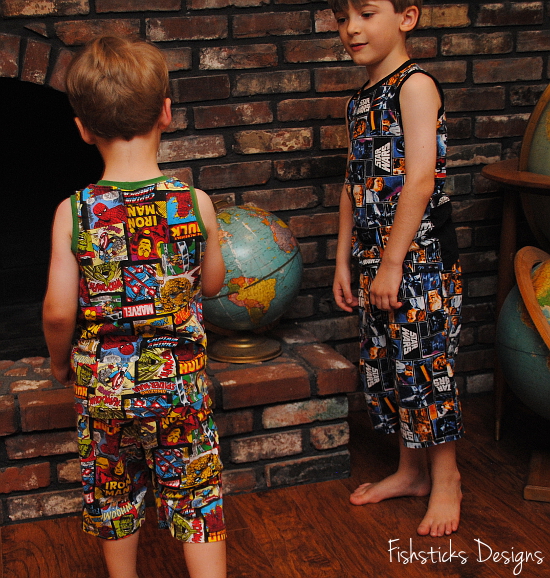 However, with the help of big brother’s antics which included searching for Florida on one of daddy’s vintage globes . . .
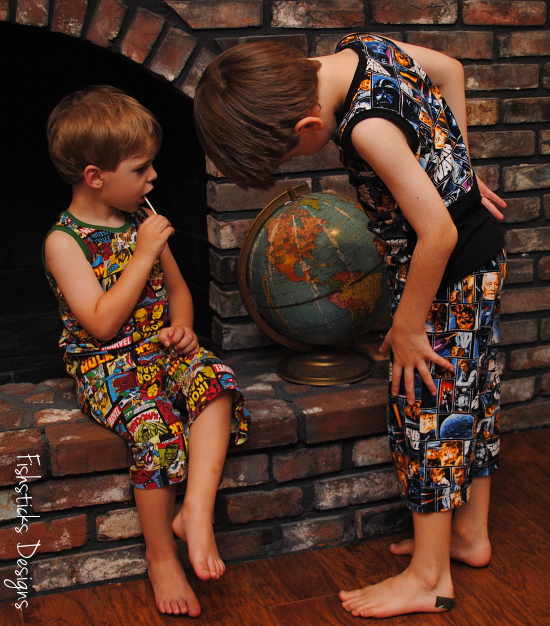
 . . . and checking out the inside of the chimney for whatever might be hiding in there . . .

 . . . Charlie did eventually decide that these PJs were worthy of a little superhero-style posing.
 He even wore them to bed last night. He did, however, strip them off first thing this morning and ask if I’d finished his Mickey Mouse jammies yet. I guess you know what’s on today’s list!
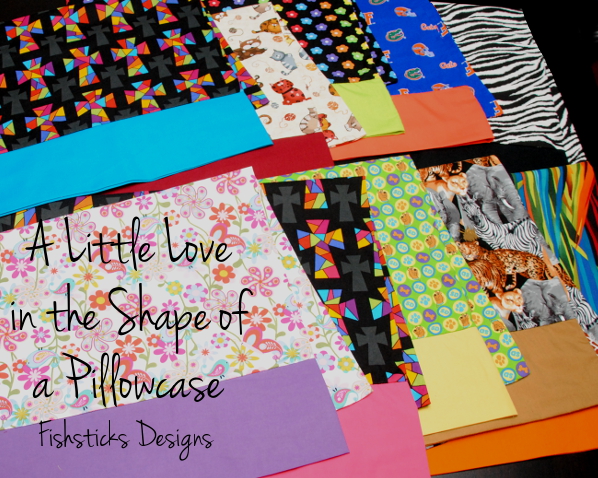
A Little Love in the Shape of a Pillowcase
 My oldest daughter and her husband (Katie’s mom & dad) are house parents at a children’s home here in Florida. Right now, their house is home to ten teenage girls. I know many of you just took a deep breath at that thought, but I have to tell you that these two LOVE their job and can’t imagine doing anything else. The girls that they live with are just like other teen girls. They’re beautiful. They’re funny. They’re caring. (They adore Katie!) Some love sports. Some love video games. Some love art. They’re all amazing girls with bright futures ahead of them. Like every person in this world, though, they need to know that people care about them. I think that their house parents, along with the rest of the staff at the children’s home, do an amazing job of that, but I’ve had this idea for a while that maybe I could sew something for each one.
All of you who sew know that when you sew a gift with love for someone, that finished gift reminds the receiver of how much you care about them each time they use it. I really wanted to do that for these girls. Like many of you, though, my schedule is crazy busy. I’d put this on the back burner until a few weeks ago when I was reading about Simple Simon & Company’s Skirting the Issue project. I saw that they were sewing pillowcases to give and thought, “Pillowcases! That is perfect!” I can personalize them for each girl, she can use her pillowcase for as long as she wants, and she can take it with her wherever she goes! So, I called my daughter, and we put this plan in motion! Each girl shared her favorite colors or animal or character or sports team or whatever she wanted me to know about her likes, and I used those to choose the fabrics. All of the fabrics came from Joann Fabrics locally, and I used my own 9 1/2 Minute Pillowcase Tutorial to sew them up.
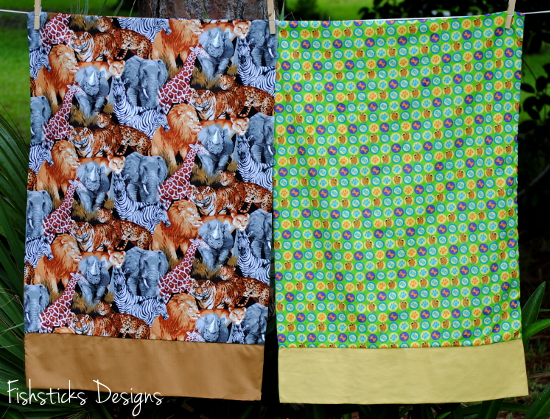
Lions & Scooby Doo
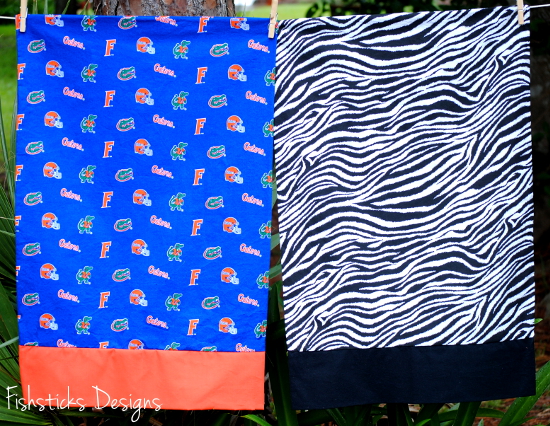
Florida Gators & Zebra Stripes
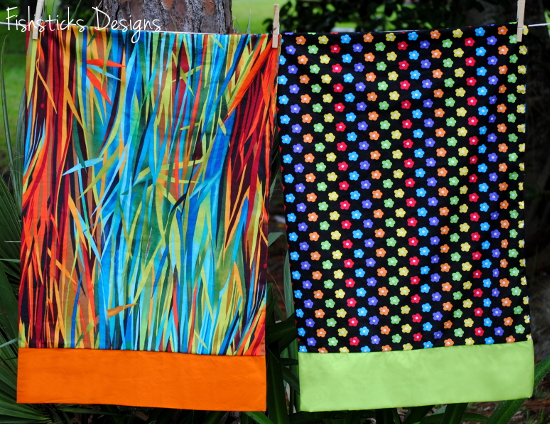
Jamaican Colors & Lime Green and Black

Crosses
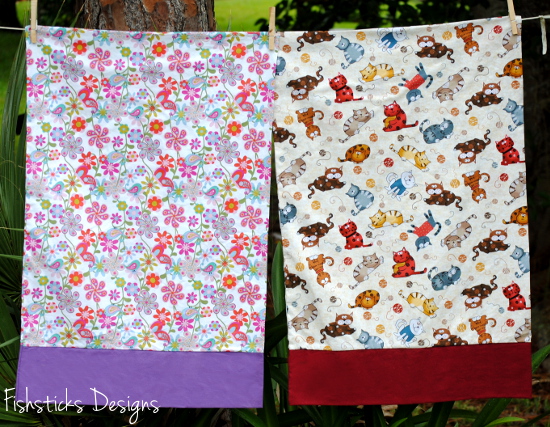
Pink and Purple & Cats
Once I had all the pillowcases done, I thought they needed fun packaging . . . and chocolate. I folded each one and slid it into a clear zippered bag with a few goodies, and I added some ribbon to make it pretty.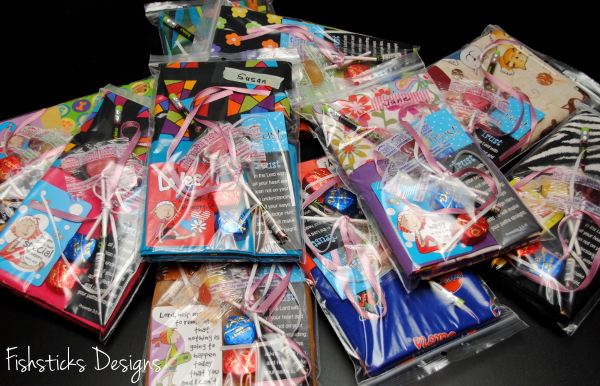 Then I added each girl’s name on a washi tape label. (I did use the girls’ real names on the finished packaging — these are not their real names.) Much more fun than just the pillowcase, right?
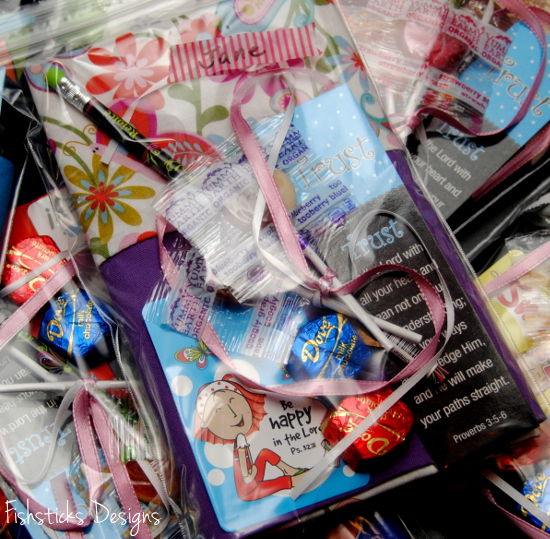 Now they’re all ready to deliver to their new owners! I hope that these amazing girls enjoy them, and that they provide a little reminder that someone cares about them and is praying for them wherever life might take them in the years ahead.
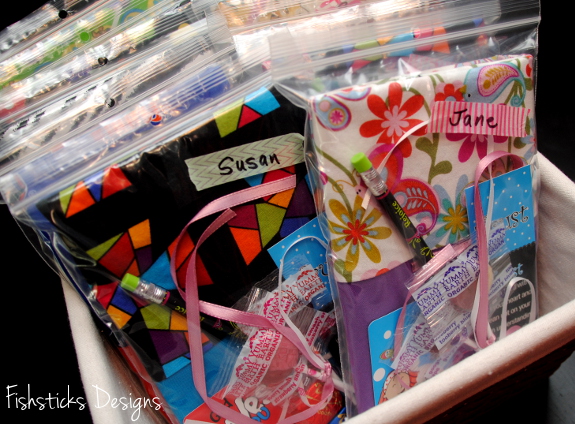
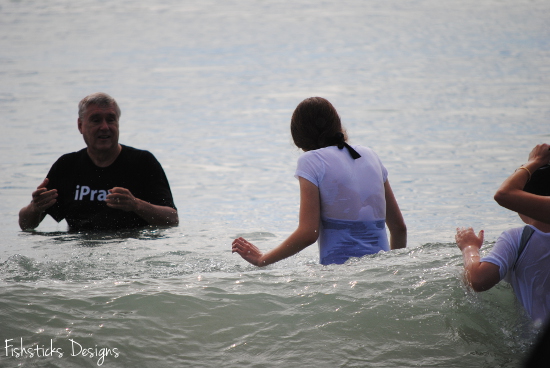
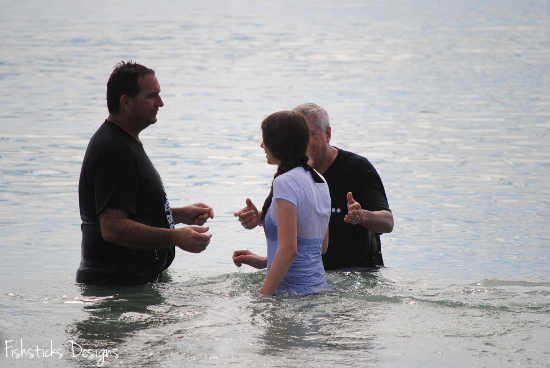
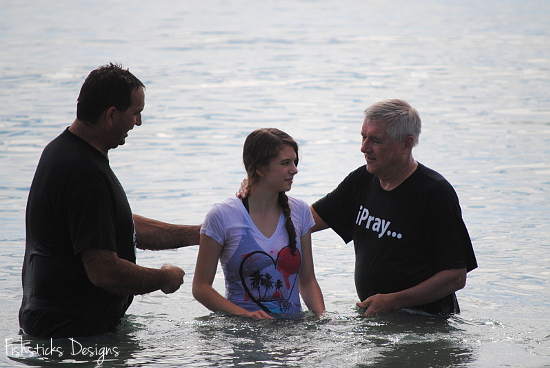
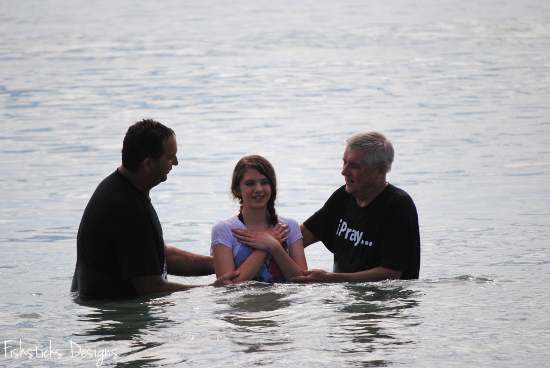
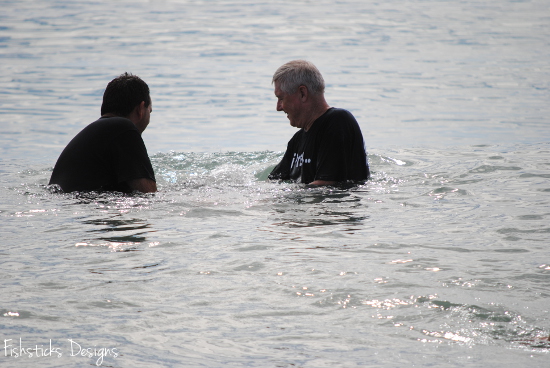
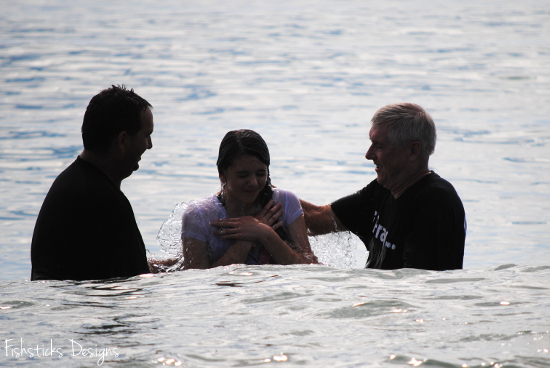
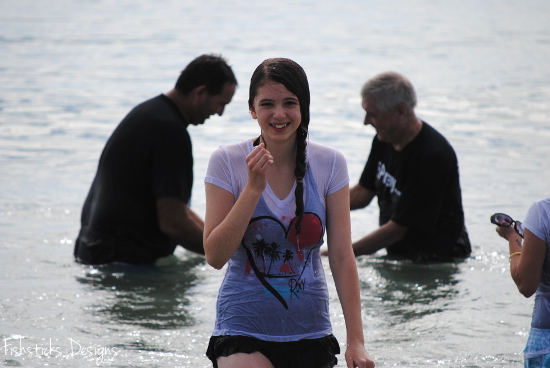
A Beautiful Day for a Beach Baptism
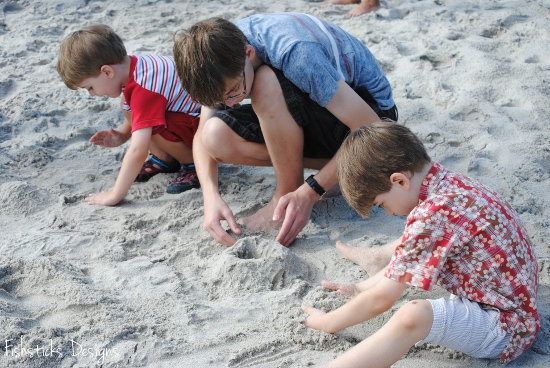
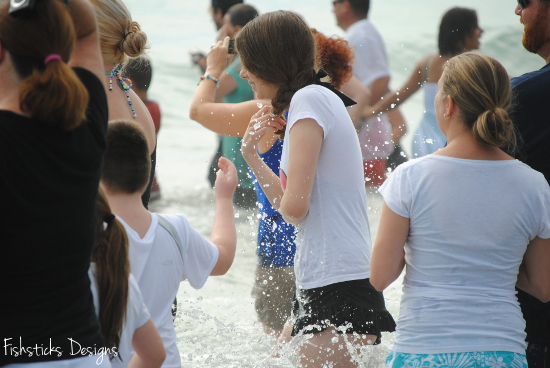
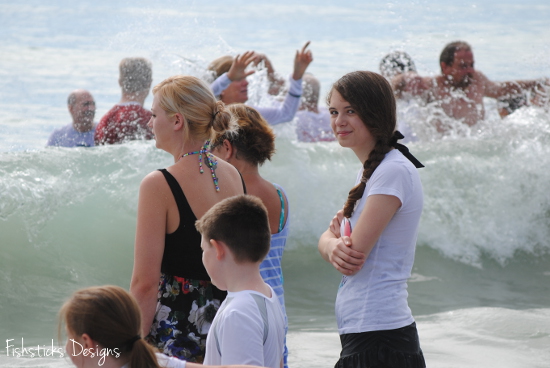
A quick post for my family nestled in here among those about sewing and crafting — Our sweet Samantha was baptized this morning, and our extended family wasn’t able to join us. My prayer is that these pictures will make each of you feel as if you were there with us on this overwhelmingly beautiful day at the beach! Lots of love to each of you! (Of course, my dear blog followers are very welcome to enjoy this celebration with us, too. I feel like many of you are family!)


Legos on the Go at Today’s Creative Blog!
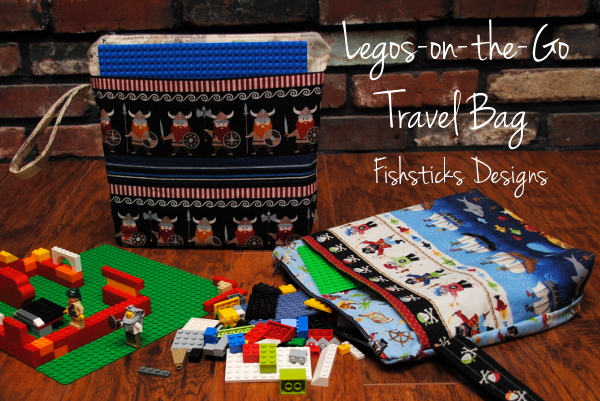 I’m guest posting today in the Celebrate Summer Series at Today’s Creative Blog! Be sure to come check out this quick sewing project that is sure to keep your Lego-loving little ones entertained wherever your summer travels take you: The Legos-on-the-Go Travel Bag Tutorial.
Front Porch Decorating: the Good, the Bad & the What Were We Thinking?!
 We’ve been doing some work around the outside of our house the last few weeks. I think the appearance of the outside of a home really sets a tone for visitors, and I want ours to be warm and pretty and welcoming, but still simple and uncluttered. We have this great front porch area that we weren’t using at all, and I loved the idea of putting rocking chairs out there. I didn’t have a huge budget for this project, though, and rocking chairs can be expensive. I searched Pinterest for ideas and ran across several photos of front porches adorned with mismatched rocking chairs that were painted to match. I LOVED the look! With that idea in mind, I set out on a hunt at our local thrift shops and on Craigslist for well-priced wood rocking chairs that I could paint to match.
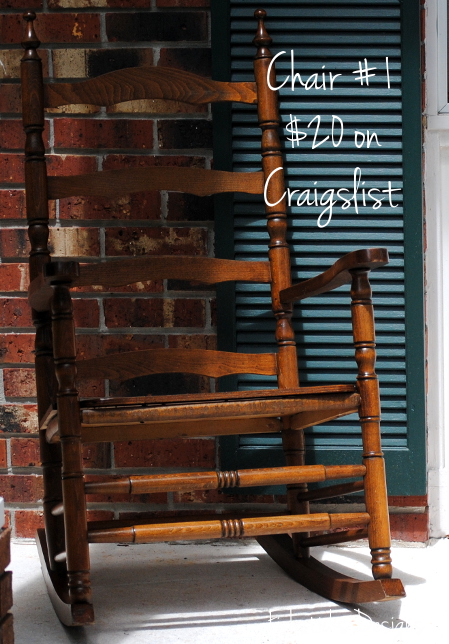 Rocking chair #1 is a Craigslist find. It was listed at $25, but I only had two $20 bills and the owner had no change, so it went home with me for $20! Score! I found rocking chair #2 in one of my favorite thrift shops, but it was priced at $75 . . . definitely more than I was willing to spend. As I was walking out of the store, though, I noticed that the day’s sales included a 50% discount on all furniture making this chair only $37.50. Woo-hoo!
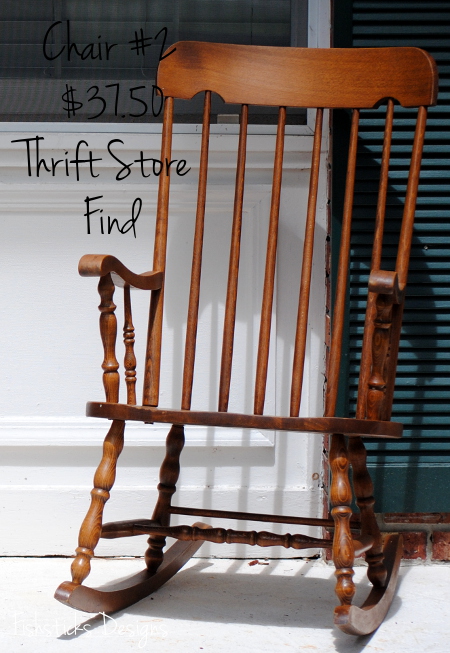 Both chairs had a similar wood stain, but I thought it looked dated, and since they’ll be outside, they needed some protection from the elements. This Rust-Oleum enamel spray paint looked like a good choice since it’s designed for use on wood or metal and for indoor or outdoor use.
 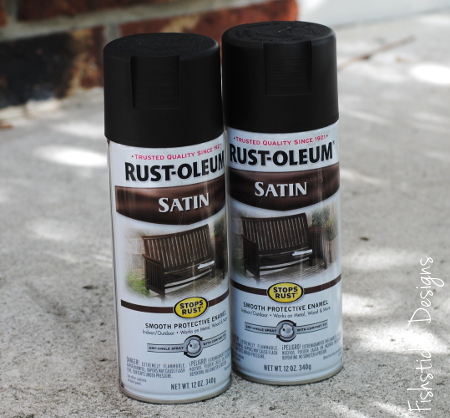 It was a bit windy the day that I set aside to do this project, so we pulled the van out of the garage, and my husband set up a tarp for me just inside. Things seemed to be going well until I realized that the bottoms of my bare feet were starting to stick to the tarp. Then I stepped off of the tarp and left a lovely black footprint on the garage floor! Eeek! I called for help and someone brought me an old pair of socks so that I could walk through the house to the kitchen sink. When none of my attempts to wash off the paint worked, my wonderful husband Googled a solution for me, but not until after he grabbed my phone and snapped a few pictures of me sitting on the kitchen counter with my black feet in the sink.
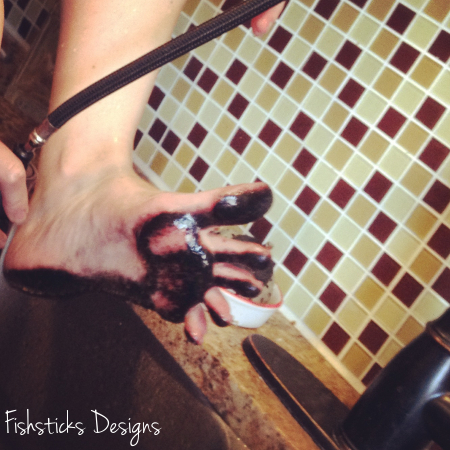 Sweet, huh? In case you’re wondering, olive oil is what did the trick. Even better than my temporarily painted feet, though, is my permanently painted garage floor. This definitely falls in the “What were we thinking?!” category. The over-spray from the spray paint coupled with the breeze coming in through the garage door sent a fine mist of paint through the entire garage. The only space that isn’t slightly gray now is the area where I had the tarp. Feel free to learn from my mistakes.
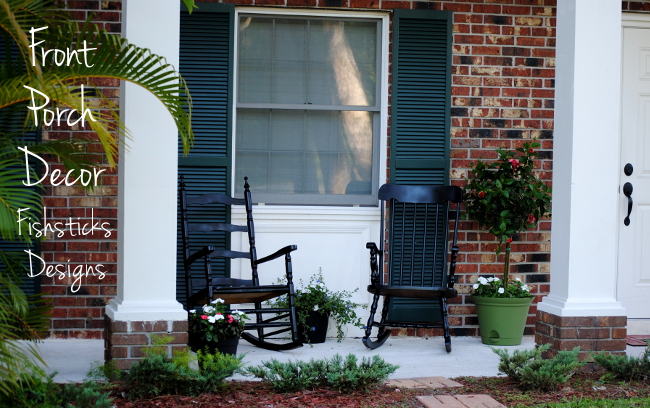
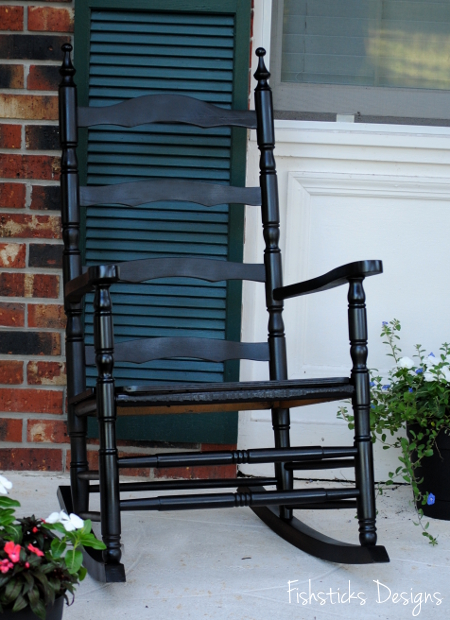 I did eventually end up with two beautifully updated black rocking chairs for my front porch! (I’m thinking, though, that my plan to add a few more may not ever happen!)
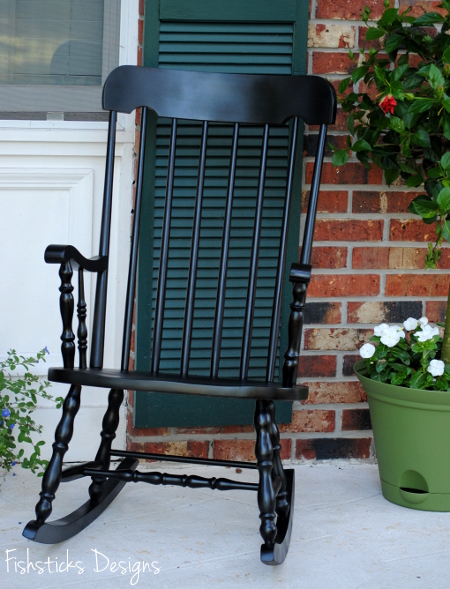 We added a few potted plants for a nice finishing touch, and our simply decorated porch is ready to welcome all of our guests. What do you think? Are you working on any outdoor projects this summer?
Katie’s 2nd Birthday Celebration
 Our sweet granddaughter, Katie, turned 2 on the 4th of July, and we got to host her second birthday party right here on Saturday! We kept it small and simple, but fun and pretty. (Two-year-olds don’t really remember their parties, but they will love seeing the pictures someday!)
 I took on the responsibility of baking the cupcakes and sewing Katie’s party dress, and true to my wait-to-the-last-minute-to-do-everything nature, I didn’t start on either until after dinner on Friday night. Only a few minutes into mixing together the cupcake batter, I reached up into the cabinet above my work space and knocked out a glass jar. In the instant following, I chose to save my darling six-year-old who was standing in the chair next to me, and I sacrificed my favorite vintage yellow Pyrex mixing bowl. (Yes, one of the mixing bowls that I was so worried about in our move: Settling In.)
 By the time the mess was cleaned up (Pyrex shards fly a long, long way!), and I was putting a new batch of cupcake batter into the oven, it was 8:00! And, I hadn’t even decided what exactly I was sewing! Thankfully, once I had a picture of what I wanted, it all came together quickly and beautifully.
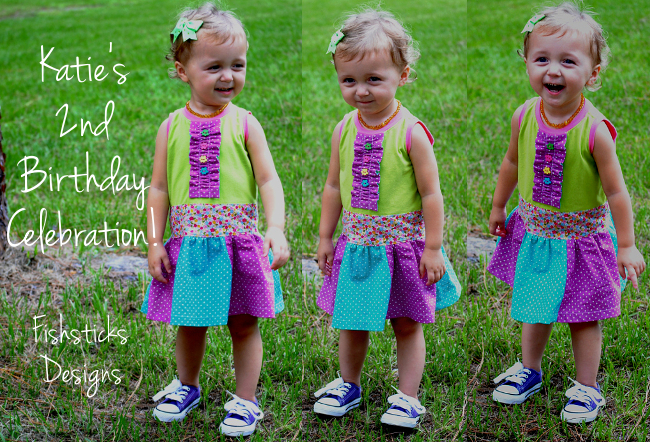
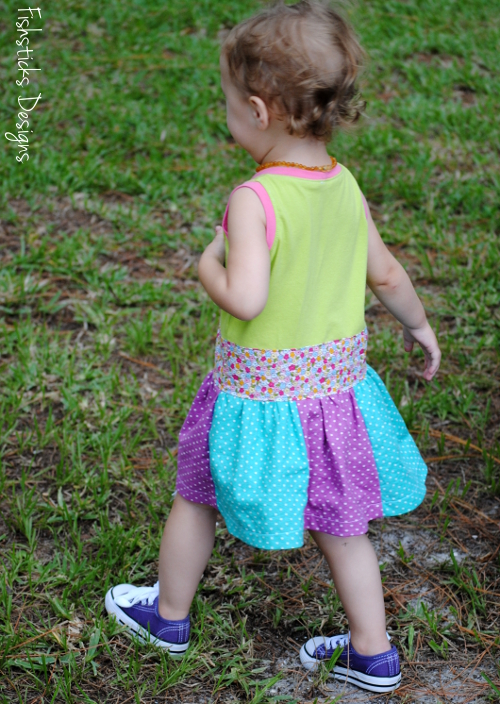 Morgan had asked for a polka-dotted tank-style dress in the colors that she’d picked out for the party decorations (colors which were chosen from Katie’s favorite cartoon, Dora the Explorer). A quick trip to Joanns on Friday morning turned up the three fabrics in the skirt and the trim pieces, and the buttons which look like they were made to go with the flower fabric! The fabrics in the knit bodice are those Riley Blake jerseys that I’m loving working with. I’m calling it the retro-modern Dora-ish party dress.
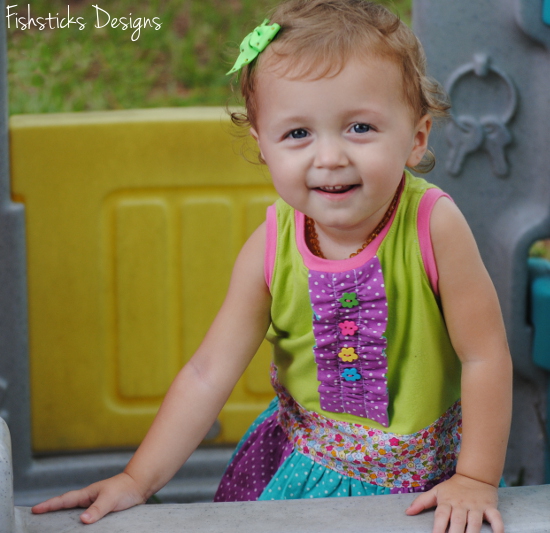 As for the food, we served yummy, but not too unhealthy treats. I used this recipe for the cupcakes: Chocolate Gluten-Free Cupcakes, substituting coconut oil for the canola oil and whole husk psyllium for the xanthan gum. For the frosting, I made a standard butter-cream, and added natural pink food coloring using boiled raspberries! The raspberry flavor gave the frosting an amazing sweet-tart taste. Yum!
 We sprinkled a few mini-chocolate chips on the top of the frosting just for fun, and then left the almost-full bag of chocolate chips too close to a certain birthday girl.
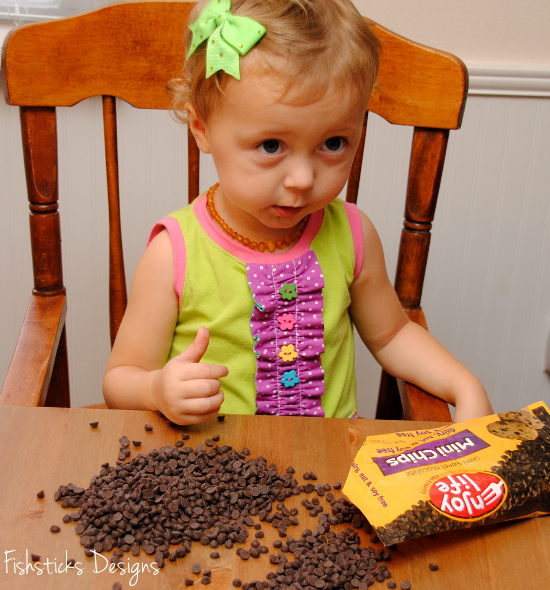 Other party fare included Unreal Unjunked candy-coated chocolates served in cute little snack cups, sliced strawberries, chocolate cookies, pink pomegranate chips and lemonade.
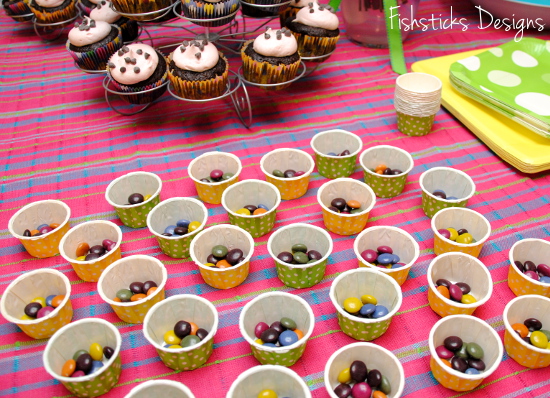 I also baked up a couple of loaves of Honey & Oat Gluten Free Bread which we sliced and served with honey butter (softened butter whipped with raw honey) and blackberry cream cheese (softened cream cheese whipped with no-sugar-added seedless blackberry jam).
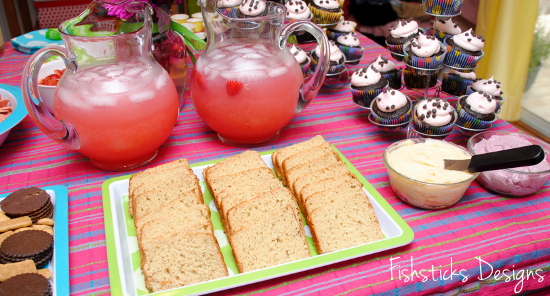 The kids all had a great time playing in the backyard on the swing and playground and blowing bubbles. Katie’s big brother, Austin, kept himself busy wiggling a tooth that wasn’t quite ready to come all the way out!
 Uncle Charlie got caught trying to open the presents and was not happy at all that I was taking his picture! (You can tell from this picture that the inside part of the party ended up taking place in my sewing studio. It was just the most convenient place since the sliding glass door to the backyard is right there.)
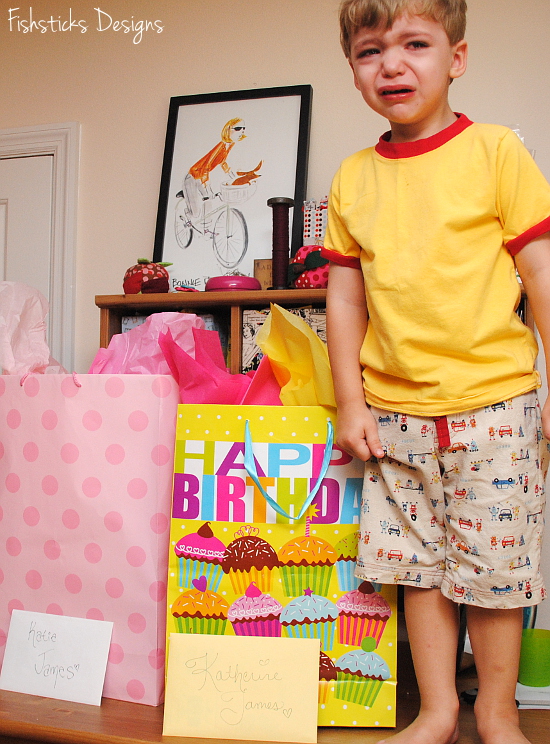 Katie loved having everyone sing, “Happy Birthday” to her . . .
 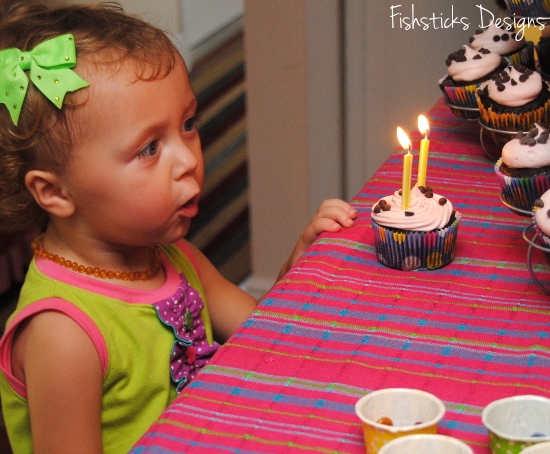 . . . but she couldn’t quite figure out how to blow out the candles by herself! It was okay, though, because Uncle Jamie jumped right in to help!
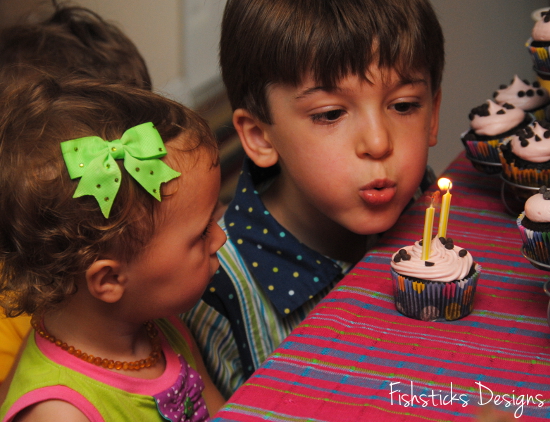
The Busy Hands Fidget Apron Pattern & Tutorial
Hopeful Threads’ July 2013 Project
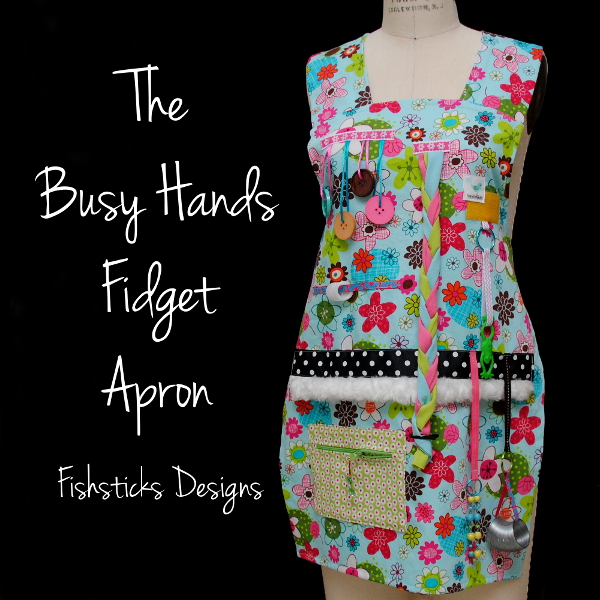 I absolutely love working with Kristy at Hopeful Threads on a project, and this month is another great opportunity for me (and you!) to do that! This month’s Busy Hands, Ours to Theirs project is a unique way for you to sew and give to many older men and women who have spent much of their lives giving to others. You can read all the details right here: The Busy Hands, Ours to Theirs Project. The Fidget Aprons that we’ll be sewing are designed to be used by those who suffer from Alzheimer’s Disease and other forms of dementia. The trinkets, trims and activities attached to the apron provide a way for patients to keep their often restless fingers busy. This can provide much-needed relief for both loved ones and their caregivers.
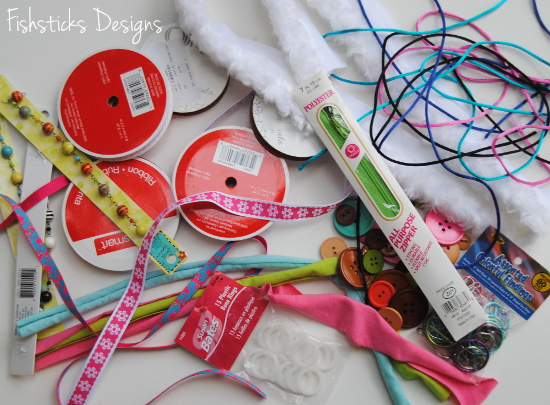 The Busy Hands Fidget Apron is a free pattern and tutorial that I put together just for this month’s project. The tutorial includes instructions for how to safely attach the trinkets while keeping the apron washable and not overly cumbersome. The apron is easy to sew and includes a comfortable easy-on, easy-off pull-over neckband.
 Before you get started sewing, you’ll need to gather your fidget items. Here are a few details on the things that I used to get you ready to start digging through your stash or to grab your coupons and head out to the craft store! (In addition to the these items, the apron itself requires 1 1/2 yards of cotton woven fabric. Quilting fabrics and lightweight twill work perfectly.)
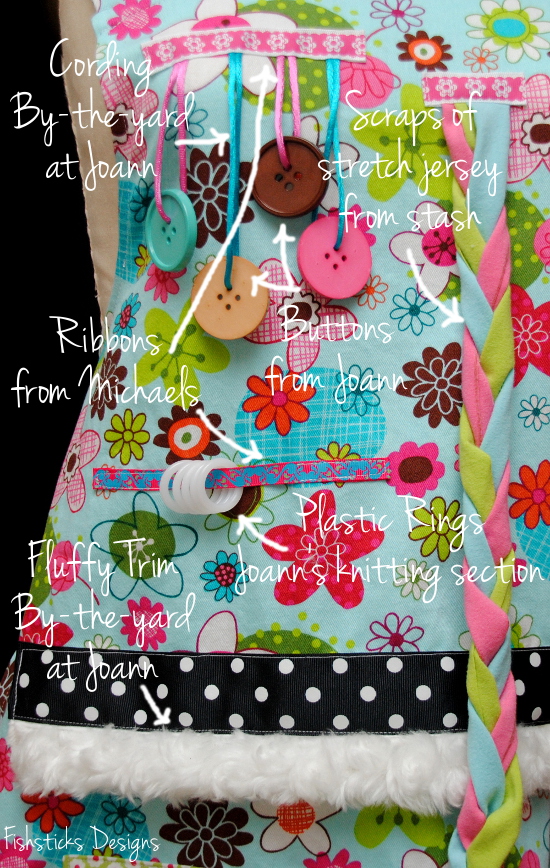 Choose trims that feel nice to the touch. (I found this fluffy trim above on clearance at Joann Fabrics for $.99 a yard. Pom-pom trims or even a long rectangle of minky or cuddle fabric folded in half would work well, too!) Things that make a slight clicking noise like the round plastic rings (knitting stitch markers) are great. Try to avoid things that are really loud, though. Buttons and beads are great, especially large ones or uniquely-shaped ones. Knit fabric scraps, cording or shoelaces can be used for braiding or lacing.
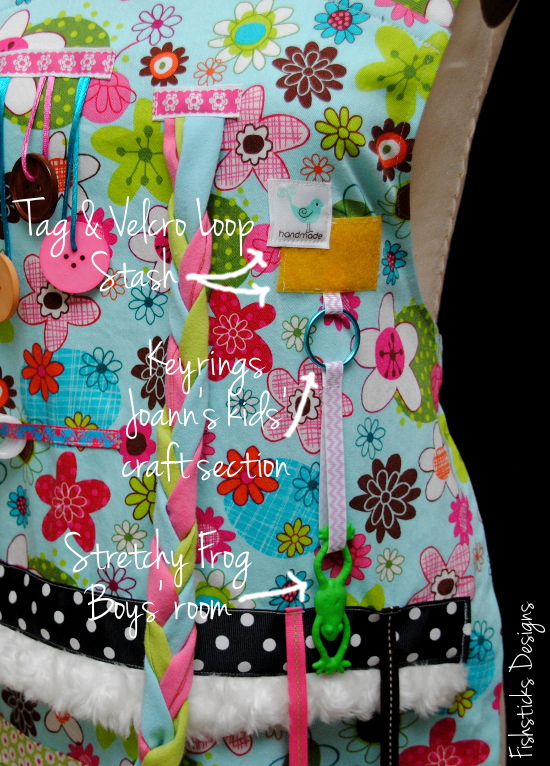 Be sure to grab some keyrings! You’ll need them to make it easy to remove items that can’t be washed and dried. For a little fun, find small toys that can be attached easily with ribbons. I found the stretchy frog above in my boys’ toy stash, and the tiny Slinky below came from the dollar section at Target.
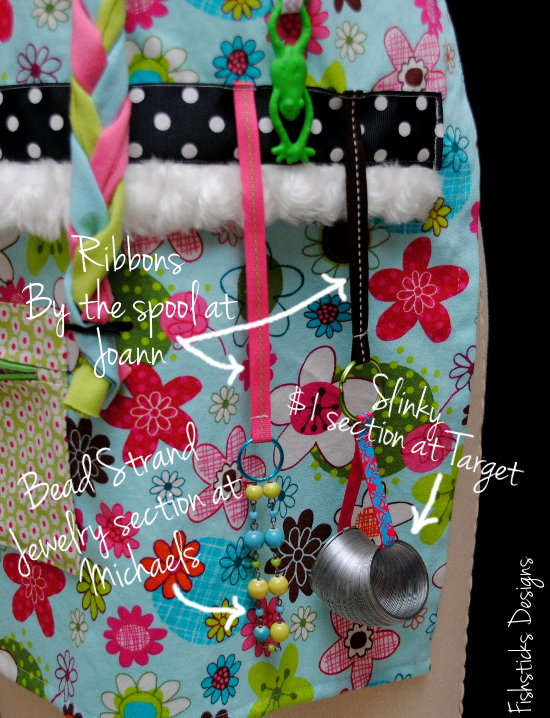 You’ll need plenty of ribbon to attach your fidget items. (Small pieces from your stash are a great choice, or check out Michaels, Joann or Hobby Lobby for a huge selection!) The pattern includes instructions for the little zippered pouch. You’ll need a zipper that is at least 7″ long. A longer zipper is fine, though. We’ll just cut off the extra. (Don’t panic if you never sewn a zipper before. The method that I use is really, really easy. Just make sure you know where your zipper foot is!)
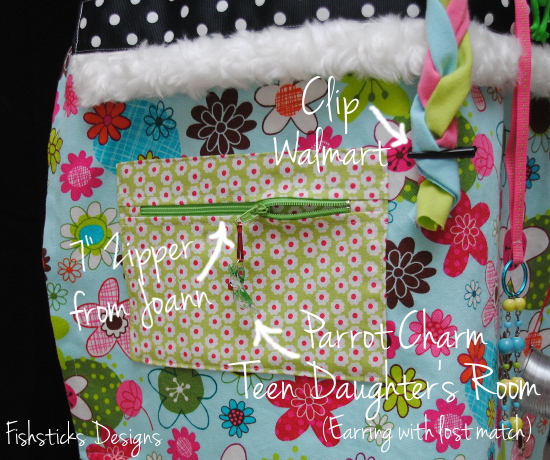 Use your imagination. You most definitely do not have to sew your aprons exactly the way that I did mine! This is a project that you should interpret in your own way!
One more thing, this project needs aprons for men and women, so keep an eye out for items that can be used for either. I have this fishing fabric washed and dried and ready to be sewn into a man’s apron next week!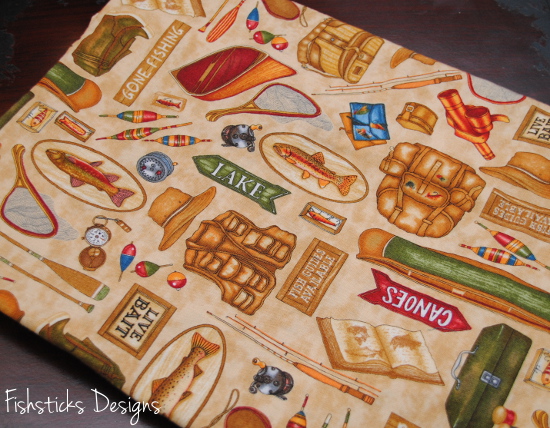 Once you have your fidget items ready to go, just download the pattern right here: The Busy Hands Fidget Apron. Be sure to share your finished aprons in the Hopeful Threads Flickr album! It’s going to be so much fun to see what you put together!
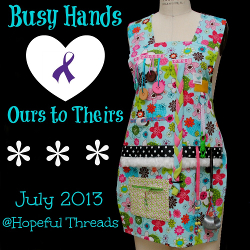
Jersey Love Patterns and a Sale!
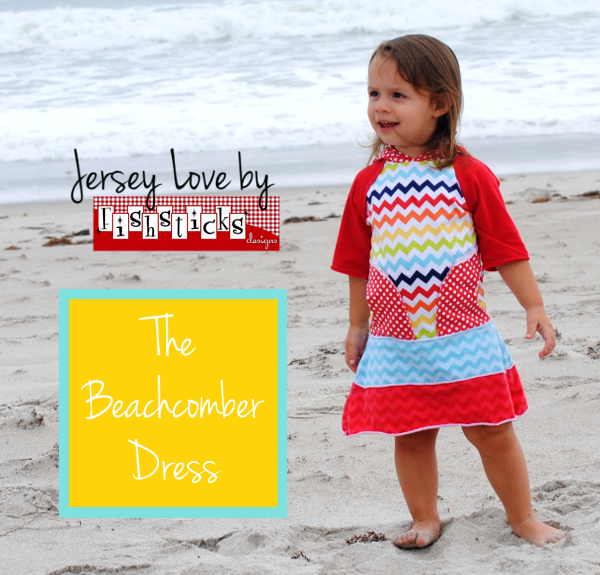
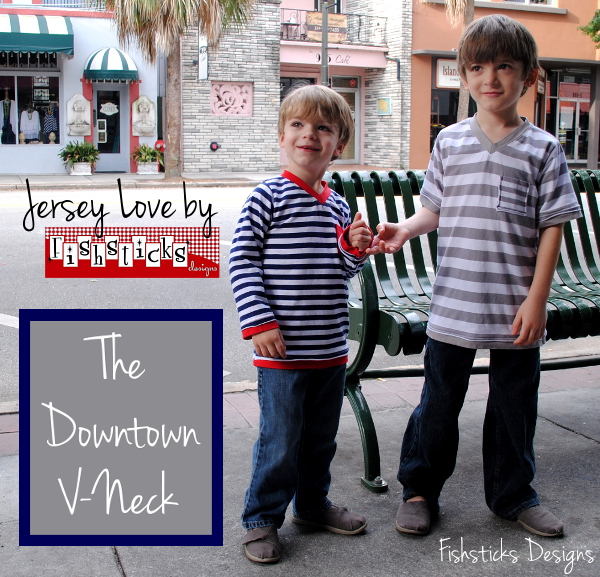
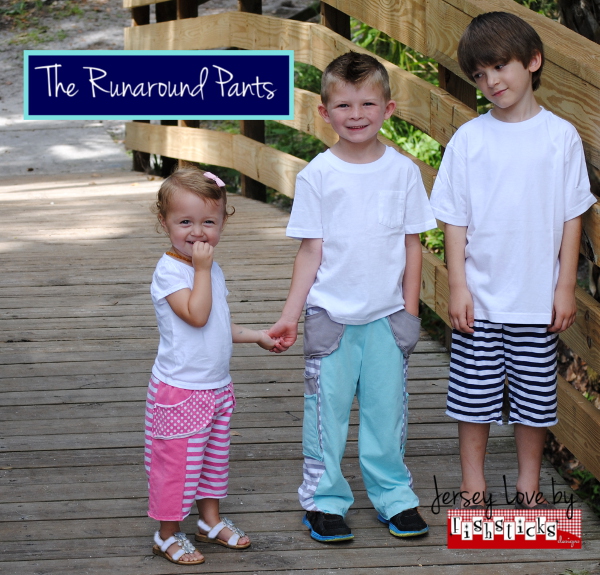

The new Fishsticks Designs Jersey Love patterns are now available! Just click the photo collage above to find them in my store. And, in celebration of these new patterns, I’m offering 25% off of all my patterns with the code “JERSEYLOVE”. The discount runs through Monday, 7/1!


