The Charlie Tee Sew-along
(This sew-along originally appeared at Pattern Revolution in July 2013.)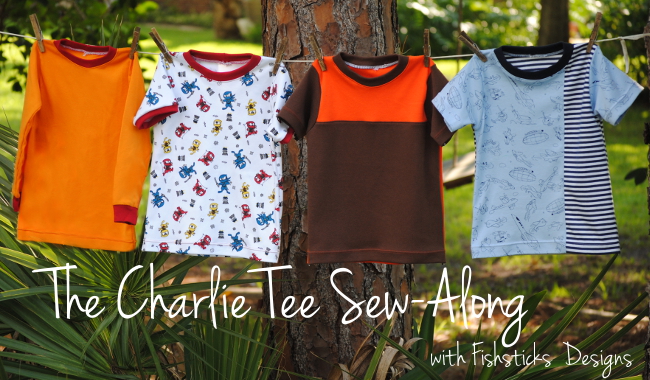
Hello, fellow sewing enthusiasts! I’m Bonnie from Fishsticks Designs, and I am so excited to get to sew with you for the next two weeks. This week, we’re going to walk through sewing the Charlie Tee step by step here at Pattern Revolution, and next week, we’ll do the same for the Charlie Hoodie over on the FD Blog. I’ll be throwing in some tips and tricks and sharing how I do certain things along the way. If you’re a little nervous about sewing with knits, don’t worry! In addition to what I’ll be sharing in the sew-along, we have an amazing group of sewists ready to hold your hand over at the Fishsticks Designs Sewing Group. Come join us and share your progress each day!
If you need the pattern, you can find each of the three size ranges in my pattern store: Infant & Toddler, Big Kid Sizes, Teen & Adult. If you need help choosing fabrics, check out my Knit Knowledge series. If you’re a beginner at sewing with knits, I highly recommend cotton or cotton/polyester interlocks. Be sure to wash and dry your fabrics before getting started.
Each day, we’re going to spend about 15 to 20 minutes working on your tee, and on Friday you’ll be done! Let’s get started! First, you’ll need to print and assemble your pattern. You’ll find instructions for assembling the pattern right here: How to Assemble a Fishsticks Designs PDF Pattern.

Once you have your pattern ready, you’ll have to decide which style of tee you’ll be sewing. This pattern has plenty of options! There’s a basic tee, a ringer tee and a long-sleeve tee, and there are two options for color-blocking. Today, we’ll walk through getting all of your pieces ready, including color-blocking the front of your tee if you choose to do so.
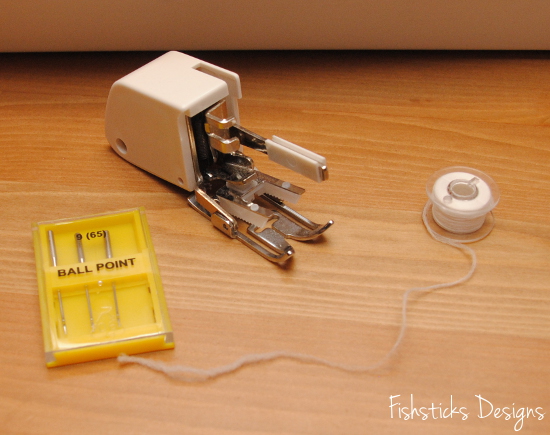
Before you start sewing, there are some basic tools that will help you get great results when sewing with knits. First, you always want to sew knits with a ball point needle. Sharp needles cut through the knit loops on your fabrics and leave the fabric with small holes which tend to grow larger as the garment is pulled on and off. Ballpoint needles are designed to glide through the loops instead without causing harm to the fibers. Knit garments sewn with ballpoint needles will hold up much better over time.
The second tool that you may want to consider is a walking foot. Your sewing machine has “teeth” that guide the bottom of the fabric under the foot while the needle sews. A walking foot has similar teeth that grip the top of fabric so top and bottom pass through under the needle evenly. This feature helps a great deal in cutting down on the amount of puckering that you’ll see in your knit fabric seams.
Finally, I like to fill my bobbin with a stretchy nylon thread like Woolly Nylon or Stretch Maxilock. This gives your stitches a little extra stretch.

Why color-block? The most obvious answer is that it’s a simple way to add interest to your sewing, especially when you’re sewing for boys. Second, it’s a great way to use up small pieces of fabric, whether you have scraps from another project, recycled pieces from old clothing or tiny bits of expensive fabric purchased on a budget. (Really cute knit prints can get expensive. It’s okay to buy small pieces and use color-blocking to mix them in with other knits.) Finally, my secret favorite reason for using color-blocking is that knits with white backgrounds and small children don’t mix well! I can’t tell you how many times I’ve run across a knit print that I love, but I keep moving because it has a white background. (Yes, I’m thinking I’m probably going to regret that white background ninja shirt that you’ll see below.) With color-blocking, though, you can mix those light fabrics with darker fabrics and have less chance of a permanent stain.
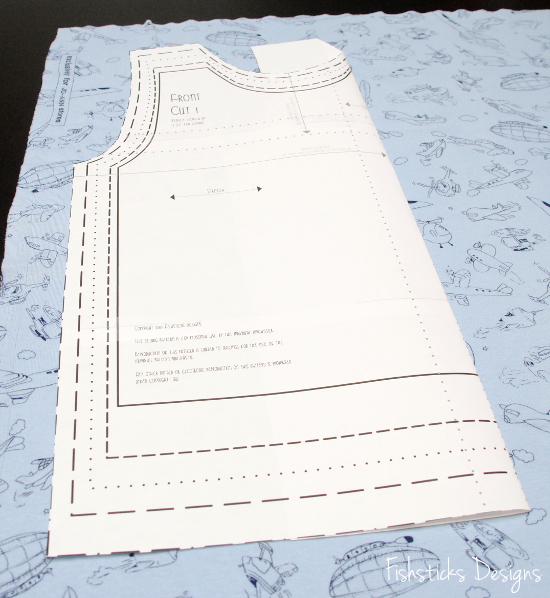
If I haven’t convinced you to color-block yet, then just scoot down to the bottom of this post (or read through the next few steps, since you may want to color-block next time!) Rather than cutting a pattern for each color-blocking option, I just print one and fold along the color-blocking lines, as needed.
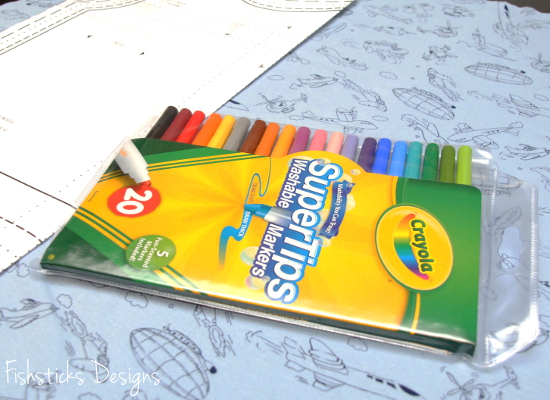
I prefer to trace my patterns with fine tip washable Crayola markers. They last a lot longer and trace a lot darker than any fabric marker I’ve tried, and I’ve never had them not wash out of a fabric. (When you trace along a quilting ruler, though, you will end up with marker all over your hands. Just make sure you take a minute to wash your hands before you grab a sandwich for lunch!) This is the perfect season to stock up on these, too, since back-to-school sales are running all over town.
Trace one side of your color-blocking, folding the pattern back and forth as needed. I’m doing the vertical color-blocking in this example.
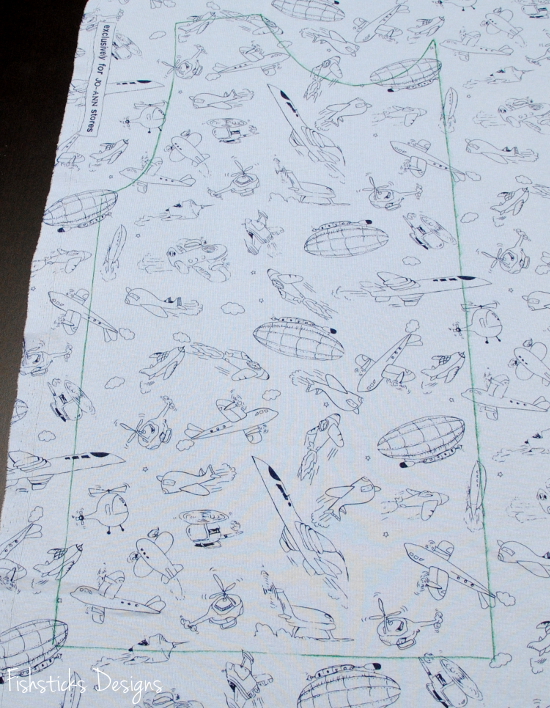
Cut out the pattern piece.
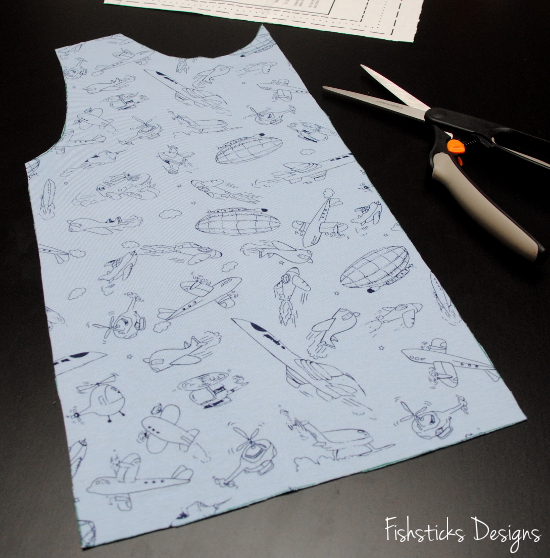
Instead of folding the pattern back and forth, you can also trace the outside edges of the pattern.

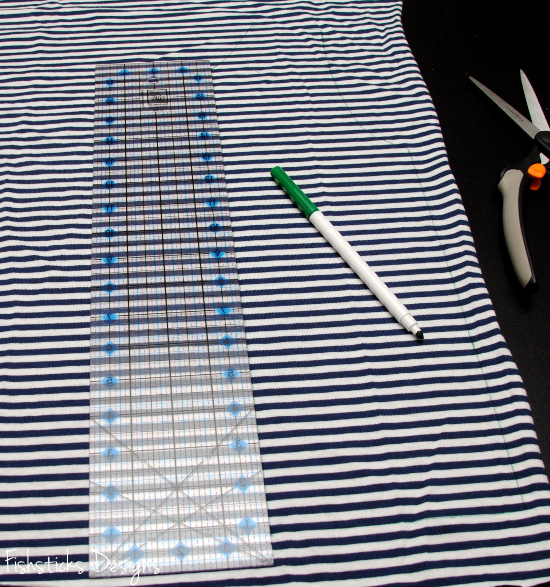
Then, move the pattern out of the way and use a ruler to draw in the straight edges.
Once you have both pieces of your colorblock cut out, you’re ready to sew them together.
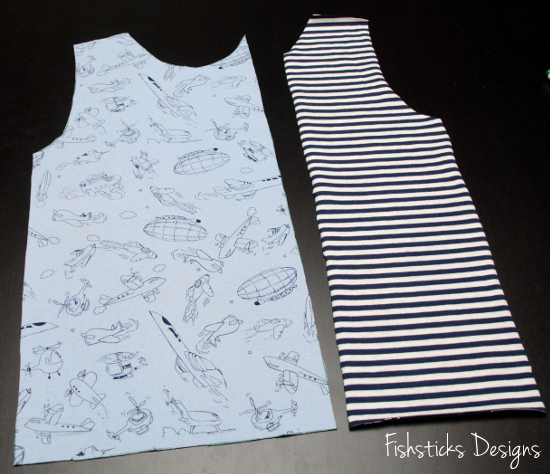
You’ll have a little overlap at the top when you pin the vertical color-blocking pieces together, and on both sides when you pin the horizontal color-blocking pieces together. If you’re serging, the overlap will be cut off by your serger blade. If you’re sewing, you can trim it away after you’ve sewn the pieces together.

Sew or serge the two pieces together.
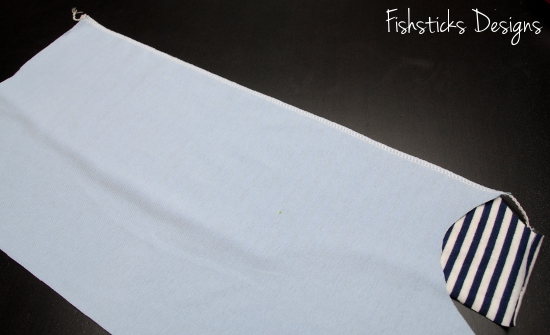
Press the seam to one side (either side is fine) and topstitch 1/8″ from the seam on the side the seam is pressed to.
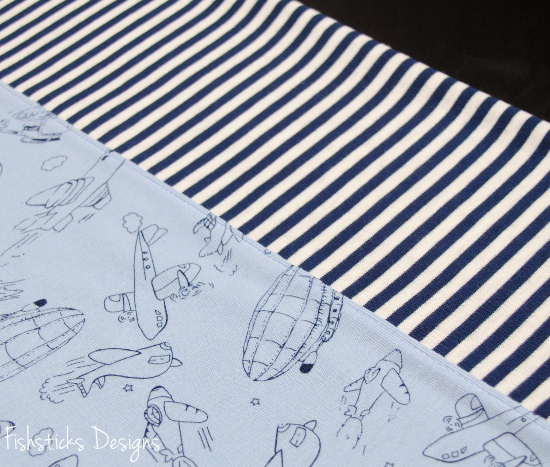
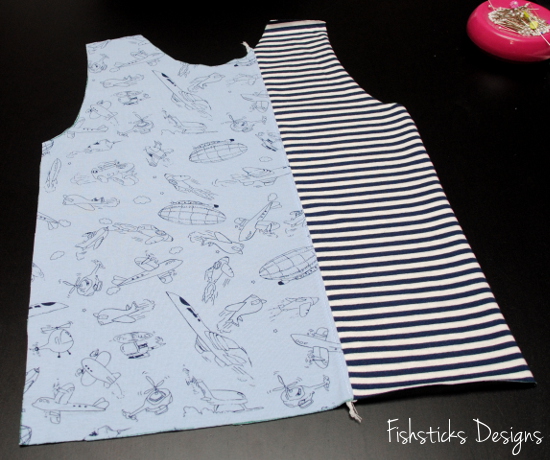
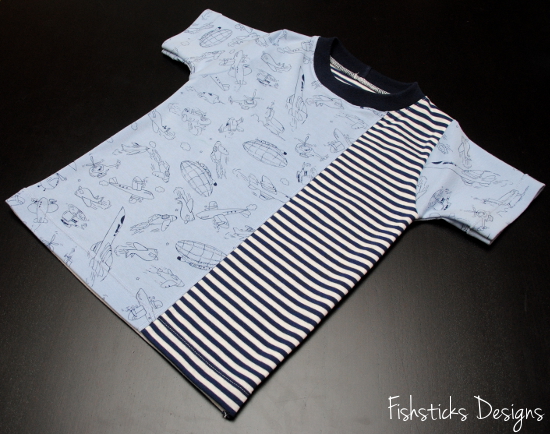
Once your color-blocking is finished, you’ll just treat this as the front of your tee. Here’s the vertical color-blocked front.
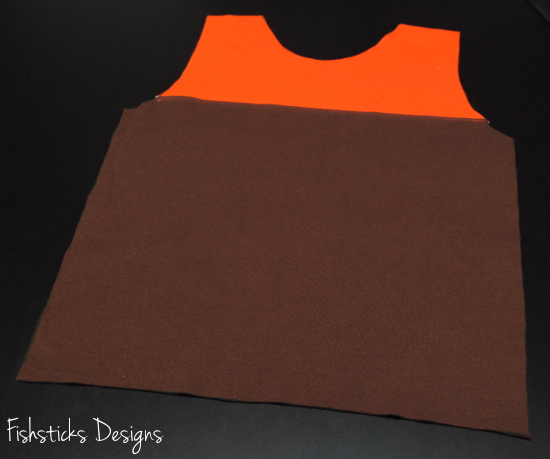
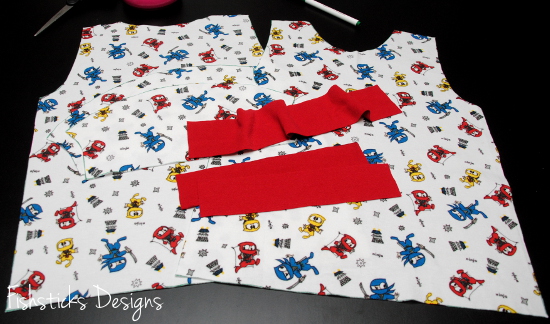
Here is the horizontal color block.
If you opt not to color-block, you’ll cut the full front of your tee from one fabric.
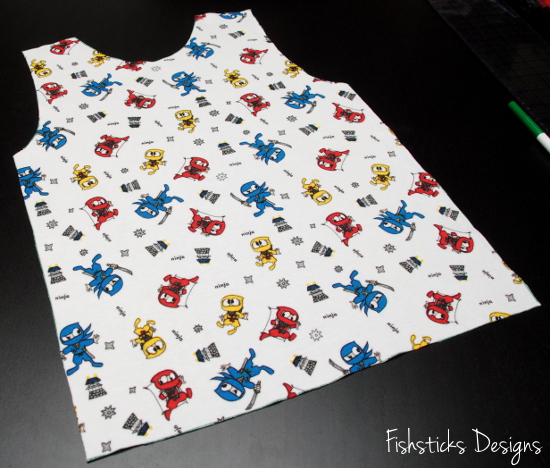
Now that you have the front of your tee ready, you’ll need to cut out the remaining pieces. For the Basic Tee, you’ll have a front, a back, two sleeves and a neckband.
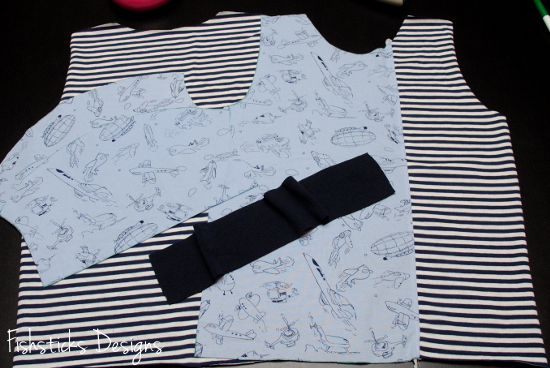
For the Ringer Tee or Long-sleeve Tee, you’ll have a front, a back, two sleeves, a neckband and two sleeve cuffs.
That’s it for today! The set-up takes a little longer than the rest of the process. The rest of the week will go a lot faster. Tomorrow, we’ll work on hemming. If you have a twin needle, get it ready. If not, I’ll give you some other options, as well!
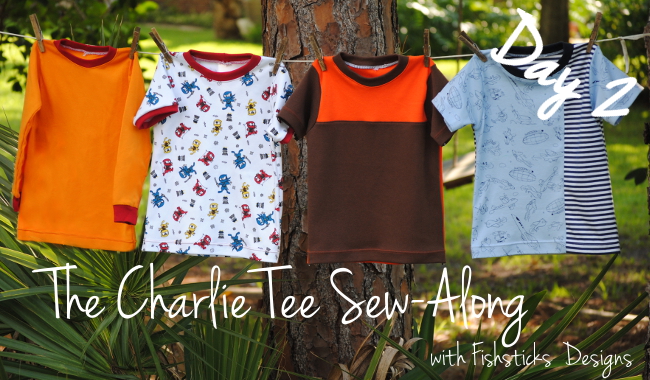
It’s Day 2 of the Charlie Tee Sew-Along here at Pattern Revolution, and it’s time to hem our shirts!
Yes! We are going to hem before we sew. The biggest reason that I recommend hemming first when you sew knits is that it’s going to give you a much nicer looking hem. Sewing something flat is always easier than sewing something that is in a loop. In the case of knits, you tend to get the most stretching when you sew over a seam. Since we’re eliminating those side seams, you won’t have that problem! Don’t worry at all about it looking odd. I promise that if you go dig through your closet or child’s dresser, you’ll find that almost all ready-to-wear knits are sewn this way! And, I’d bet that you never noticed it!
Personally, I like hemming first because it’s my least favorite part of sewing knits. When I first started sewing knits, I tried to finagle ways to use cuffs on everything! (Next week when we do the Charlie Hoodie, there will be no hemming!) This way, though, the part that I like the least is done first and out of the way. (It’s not really that bad, though. I promise!)
I’m going to show you how to hem using a twin needle here. If you’re not quite ready to try out the twin needle, head over to my blog, where you’ll find instructions for using the triple stretch stitch to hem your knits: Simple Knit Applique & Single Needle Hemming Tips. (There’s also a great tutorial for knit appliques in that same post!)
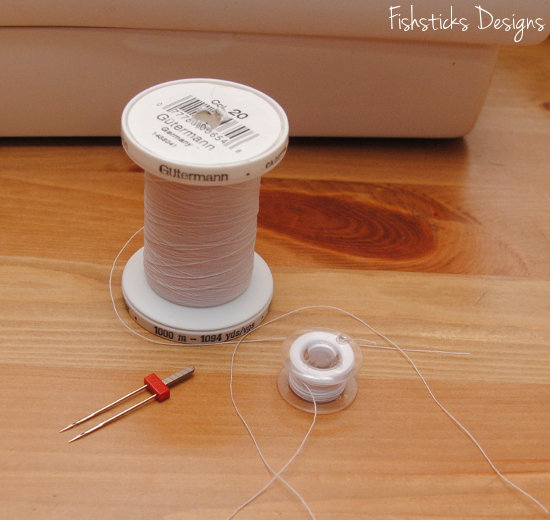
Let’s get started! First you need a few tools: a twin needle (also referred to as a double needle), your regular spool of thread and a second source of thread (I use a bobbin). Since you’re working with knits, it’s best to use a ballpoint or stretch twin needle. Those are hard to find locally, but they are pretty easy to find online: stretch twin needle, ballpoint twin needle. I prefer the 4.0 mm twin needle — that number refers to the measurement between the left and right needles. You can use a 2.5 mm if you’d like your stitches closer together.
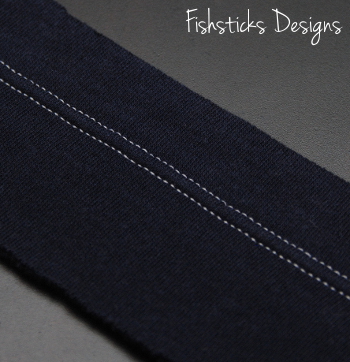
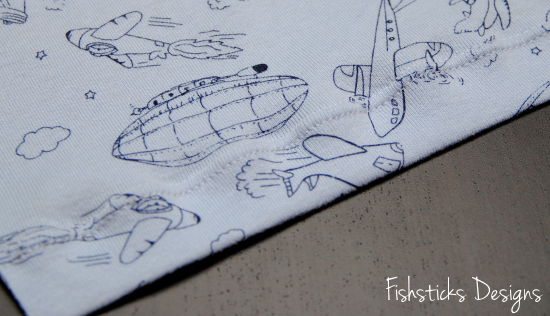
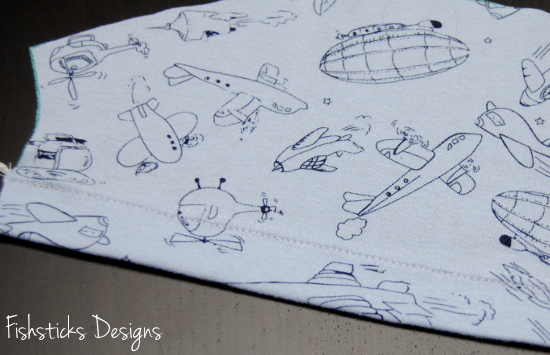
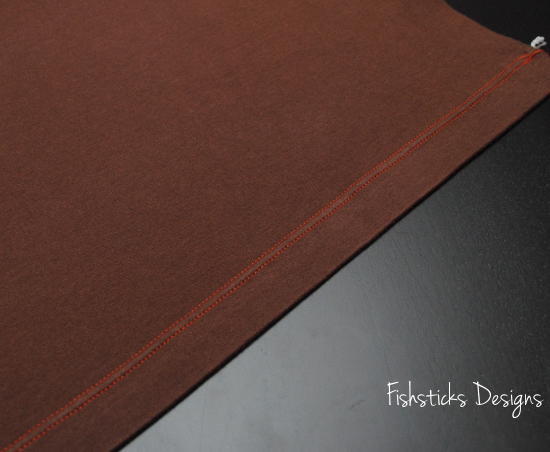
The reason that a twin needle is such a great option when hemming your knits is that it gives you two rows of stitches on the front (see above), and a nice stretchy zig-zag on the back (see below).

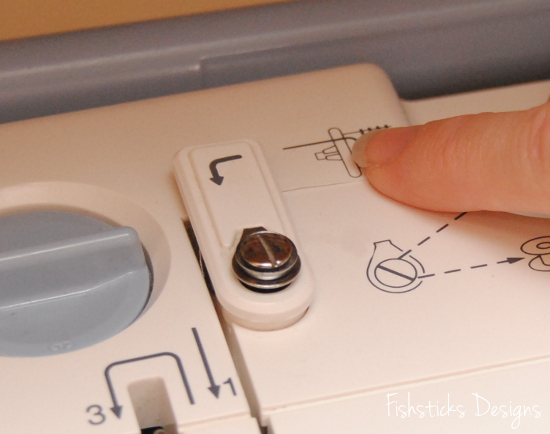
Some sewing machines, like mine, have a button or switch that needs to be pushed to change from single to double-needle sewing. Here’s what that button looks like on my machine. Go ahead and press that button. Remove your single needle and replace it with the twin needle.

Many sewists put both thread sources on the pin that holds your regular spool. On my machine the threads tend to tangle when I do it this way.
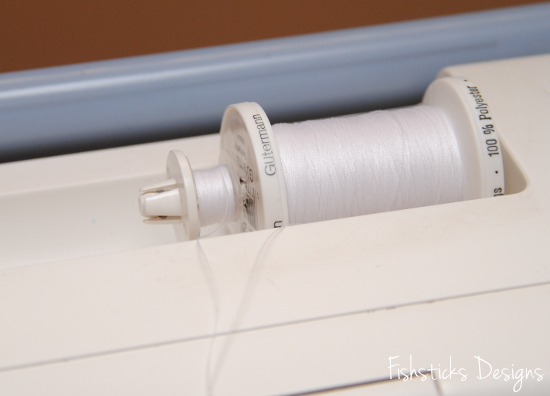
Some machines have a extra removeable pin just for a second spool of thread. I think mine did at one time, but I’m not sure where it’s disappeared to. It’s not a problem, though, since I’m using a bobbin for my second thread. I just pop that bobbin onto the bobbin-winding pin with the thread feeding towards the front of the machine.
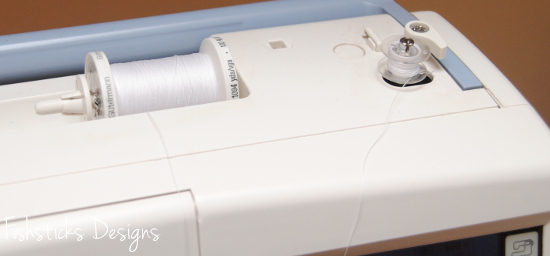
You can thread the twin needle by pulling both threads through as one. My machine is a little bit picky, though, and I’ve had to work with it until I found the best way to thread the twin needle. What I do is thread the left needle first from the spool of thread, then I press and hold that thread in place on top of the machine just before it enters the guides while I thread the right needle from the bobbin.
Once I have both needles threaded, I pull the threads back away from the machine as one.
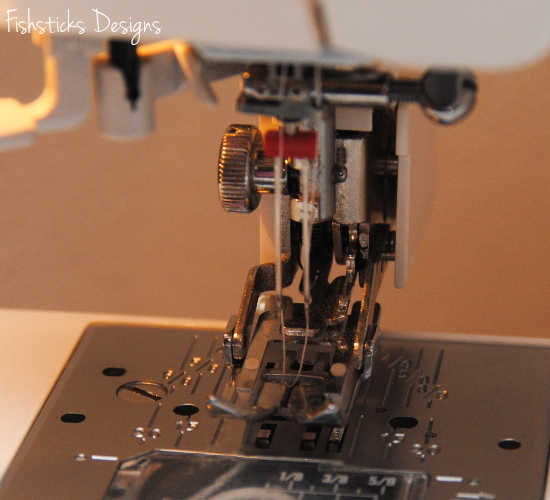
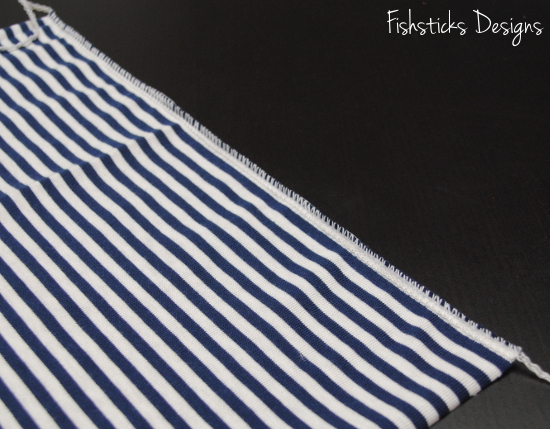
Now that your twin needle is threaded, we’re ready to get hemming! I serge the raw edges of my hems, but that is purely for aesthetic reasons. (I like for the inside of my garments to look as nice as the outside.) Because knits don’t fray, you can totally skip this step if you want to.
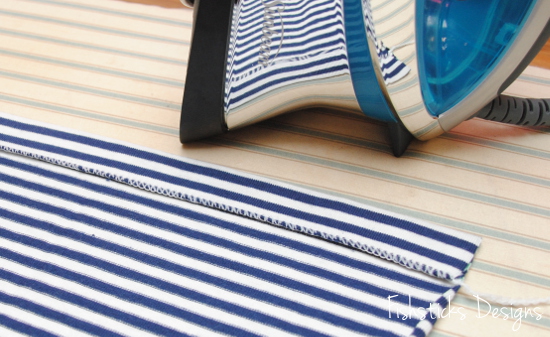
With a hot steam iron, press your hem allowance to the inside. If your knit is particularly stretchy or uncooperative, use a little spray starch when you iron.
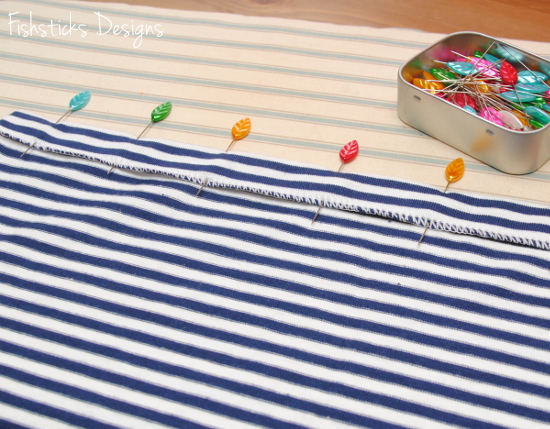
Because we’re going to be stitching on the right side of the fabric, and I don’t want to sew over my pins, I use long pins and position them so that the heads hang off of the folded edge. This way, I can make sure that the hem is pinned properly, and I can remove them as I get to them while I’m sewing.
I like to start my hems about 1/2″ in from the edge of the fabric. Set your stitch length to 3.0 or 3.5. (Shorter stitch lengths stretch fabrics.) I backstitch about 1/4″, then stitch all the way across feeling through the fabrics to make sure that my stitching is falling just inside the raw edge on the underside of the fabric. I stop stitching about 1/4″ from the opposite side, backstitch to 1/2″ then sew forward again to the end. (Starting your stitching a bit in from the edge will help to keep your machine from “eating” the end of your knit fabrics. Backstitching to 1/2″ will help make sure that you don’t chop off your fastening stitches when you serge later.)
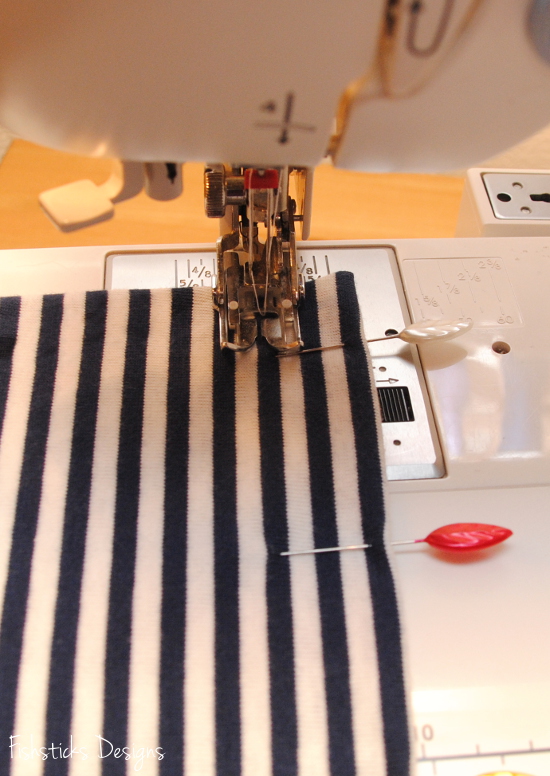
Be careful not to stretch or pull your fabrics as you’re sewing. Just guide and let the feed-dogs pull them through. (This is much easier with a walking foot!) Pulling on your fabrics while you’re sewing can lead to hems that look like this:
What you really want, though, is hems that look like this:
That wasn’t too hard was it?
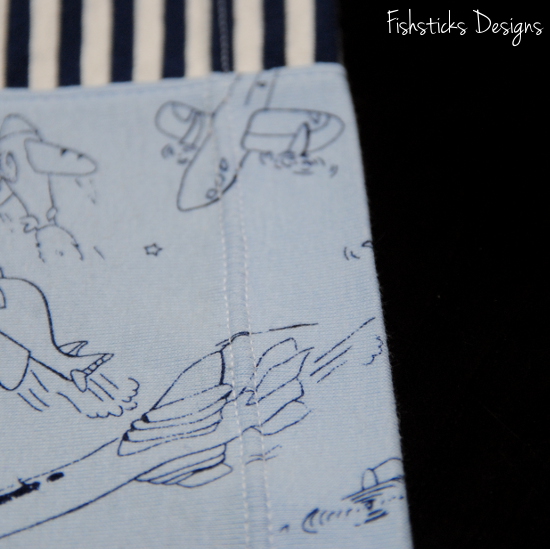
If you’re sewing the Basic Tee go ahead and hem the front and back of your tee and both sleeves.
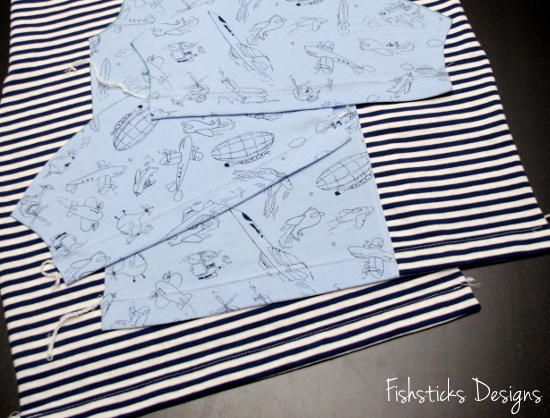
If you’re sewing the Ringer Tee or Long-sleeve Tee, you’ll just be hemming the front and back pieces. We’ll sew bands on the sleeves later.
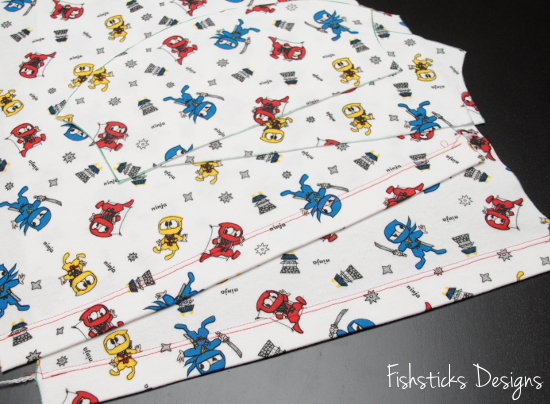
Once you get the hang of using a twin needle, you just may find that you fall in love with using accent threads to liven up an otherwise plain tee! I just love the way this looks!
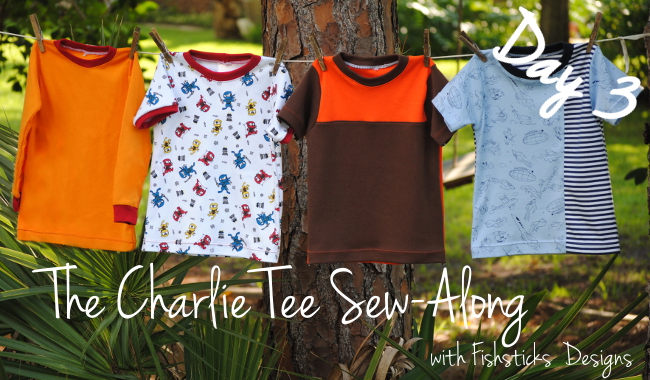
Welcome back to the Charlie Tee Sew-Along! We’re on Day 3 now and ready to sew or serge the shoulders of our tees and add the neckband. How did things go with hemming yesterday? Do you have any questions? Be sure to join the Fishsticks Designs Sewing Group on Facebook. That’s the perfect place to find help when you need it!
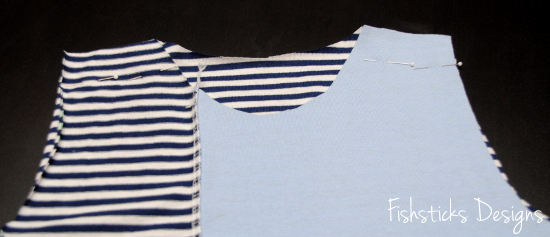
Today’s first step is very straightforward. Pin the front and back of your top at the shoulders and sew or serge them.
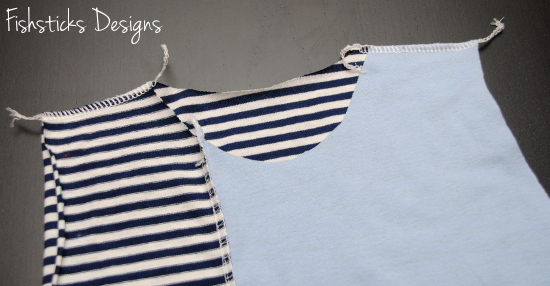
Now grab that neckband piece that you cut out on Monday.

Fold the neckband piece over so that the short edges are lined up and the right sides are together. (If you’re using a solid cotton interlock, you won’t actually have a right or wrong side.) Pin.
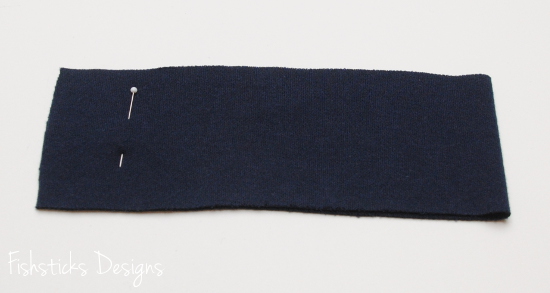
Sew or serge across the short edges.
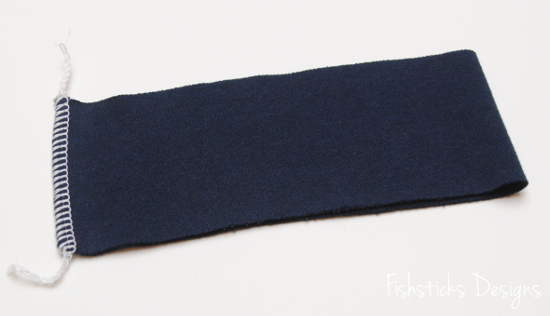
Now you’re going to fold that neckband over on itself so that the wrong sides are together and the long raw edges are lined up. It should look like an unattached neckband now.
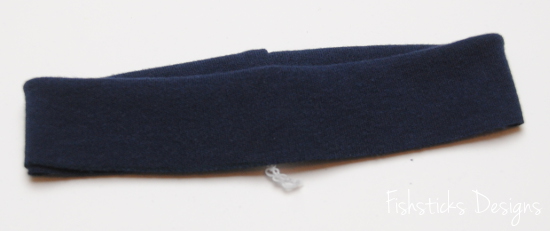
Find and mark the center front of the neckband near the raw edges with a washable or disappearing marker.
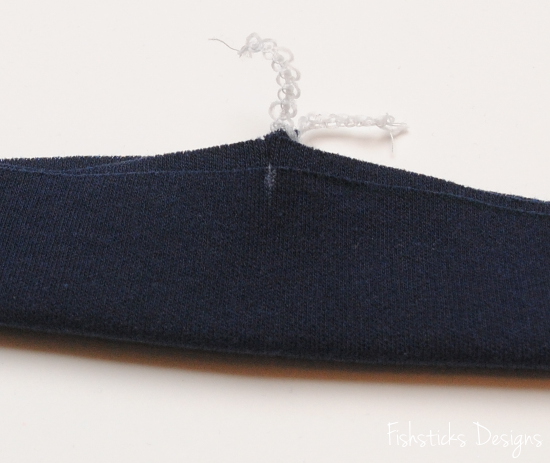
Find and mark the middle of the front and back of the neckline, as well.
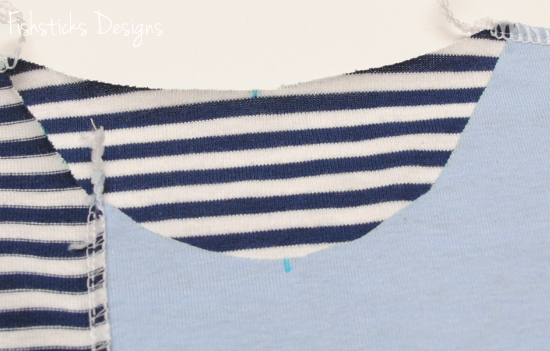
With the tee inside out, slide the neckband inside the neckline and line up the neckband seam with the middle of the back of the neckline. Pin in place. Line up the center front of the neckband with the center of the front of the neckline. Pin.
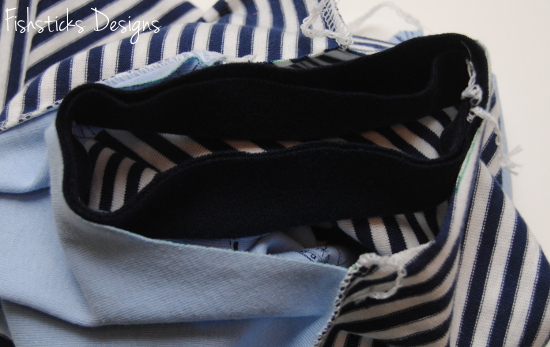
Since I’m serging and I like to remove the pins as I come to them, I pin on the inside with the pin heads facing away from where my serger blade will fall as the fabric moves through.
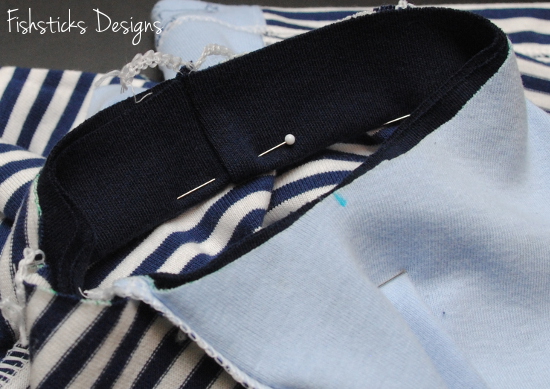
Pin the sides of the neckband in evenly. The neckband will be slightly shorter than the neckline. This is necessary to make the neckband fit properly. You’ll have to stretch the neckband slightly to pin it in correctly.
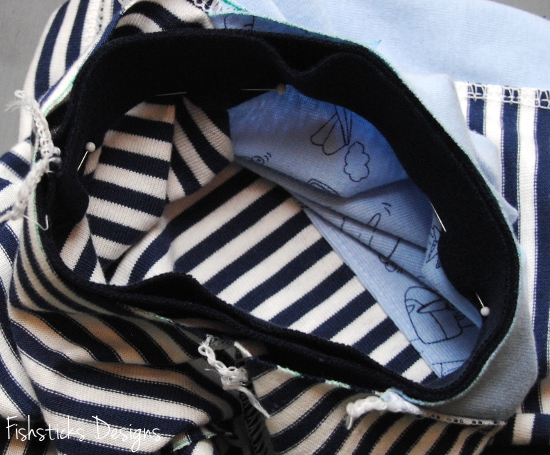
Slide the raw edges of the neckline and neckband under the edge of the serger blade or under your sewing machine foot. I like to start sewing in the back at the neckband seam.
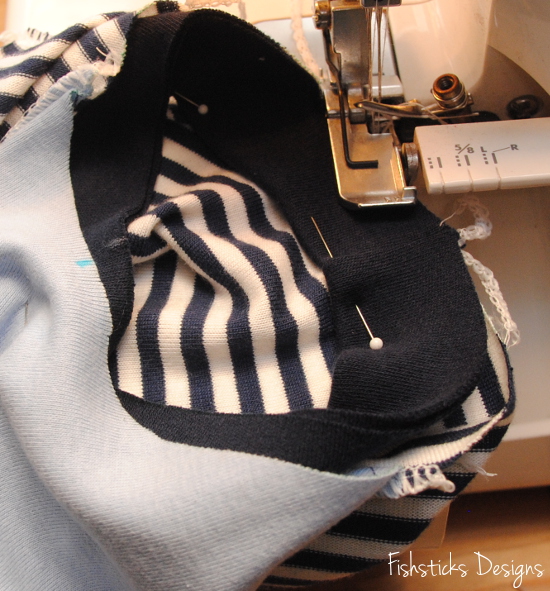
Stretch the neckband slightly as you sew so that it fits into the neckline. Remember that the seam allowance on the neckband is only 3/8″. If you’re serging, you’ll only be cutting off 1/8″. Try to keep your seam allowance as even as possible so that your neckband looks the same all the way around.
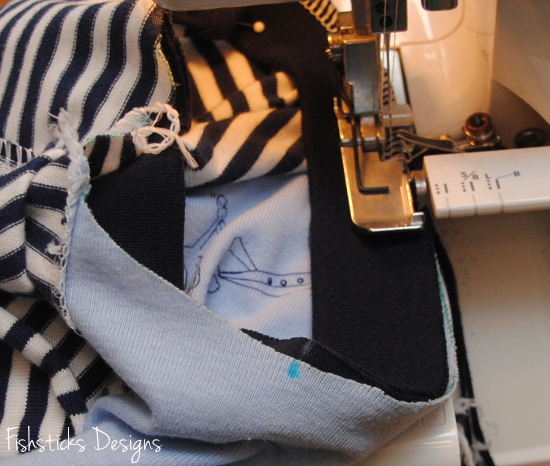
If you’re serging, overlap the beginning and end and leave a tail a few inches long.
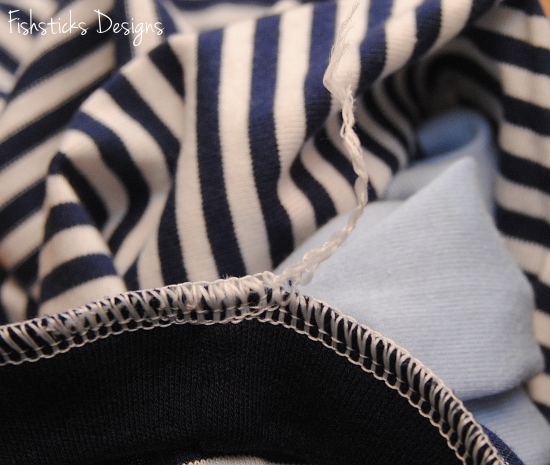
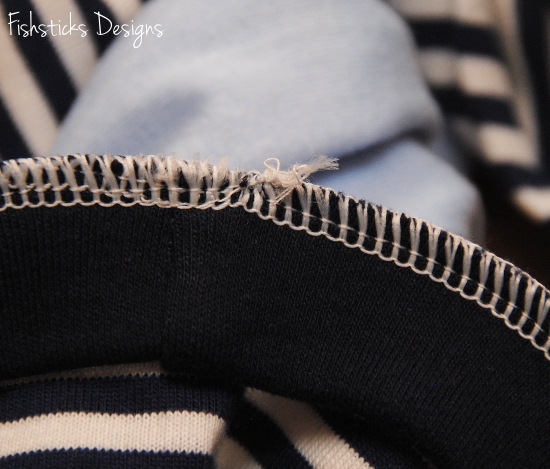
You can tie off the serging here, but I just grab one of the four threads and pull it tight. Then I trim the end of the serging down to about 1/4″
Flip the neckband out and topstitch 1/8″ from the seam. Go slowly and keep your distance from the seam as even as possible. Be careful not to pull or stretch the fabrics. Let the feed-dogs move the fabric for you.
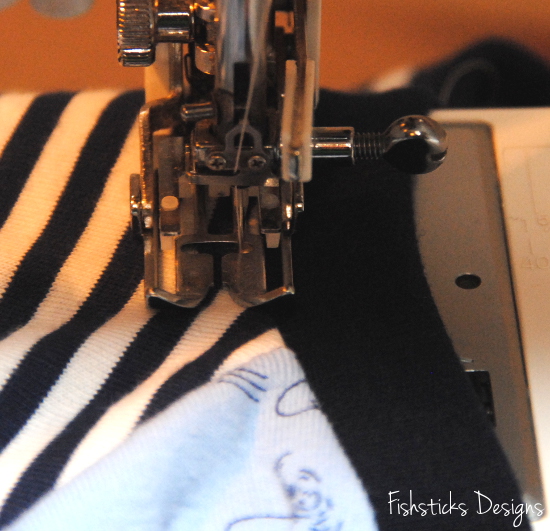
I do use a regular straight stitch here with stretchy nylon serger thread (like Woolly Nylon or Maxilock Stretch) in the bobbin. You can use a stretch (lightning bolt) stitch if you feel that you need to, but this way has always worked well for me, and I prefer the look of the straight stitch.
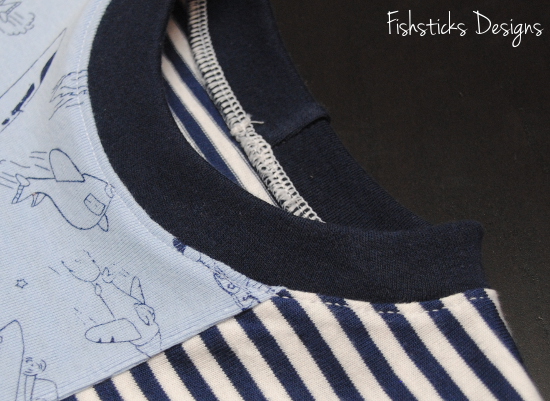
Your tee should be starting to look like a tee now! We’re going to stop here today. Tomorrow, we’ll add the sleeves.
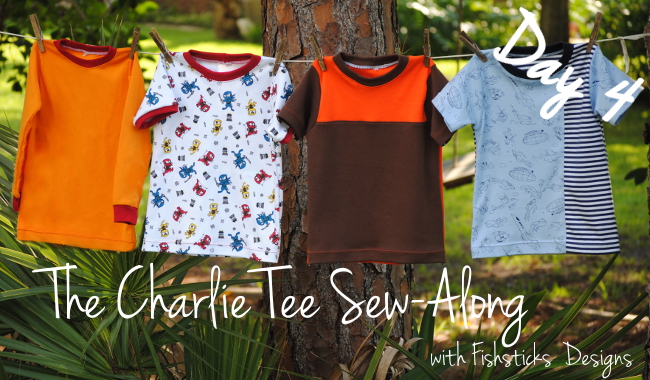
It’s Day 4 of our sew-along! Are you ready to add your sleeves? Today’s work is quick and easy, and we’re almost done!
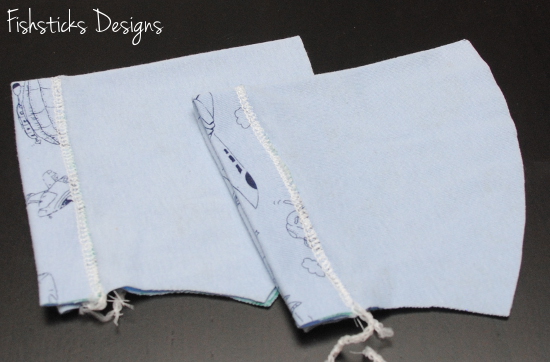
Grab those sleeves and fold them in half to find the center of the curved edge. You can mark this with a disappearing or washable marker. I just press down there with my iron to mark the center.
Match that center mark on one of the sleeves with one shoulder seam and pin in place with the right sides together.
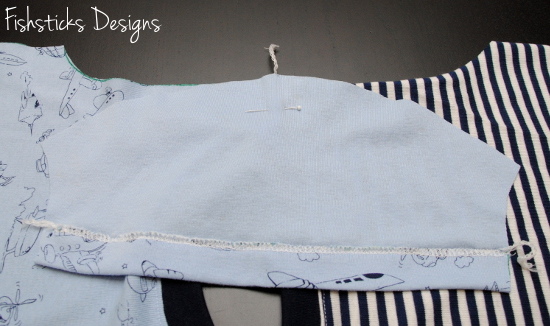
Pin each end of the sleeve to the ends of the sleeve curve.

Ease the rest of the sleeve around the curve and pin it into place. You’ll have to stretch the sleeve a tiny bit to get it to go in nicely. Repeat with the other sleeve.

Sew or serge in the sleeves. I prefer to sew on the sleeve side when I’m sewing knits so that I can make sure the curve of the sleeve falls nicely into the curve on the shirt.
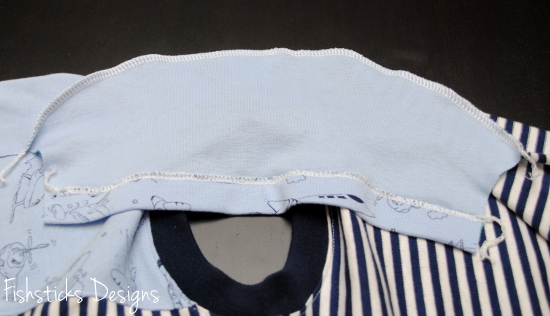
Flip your shirt right-side out and admire how nicely it’s coming together!
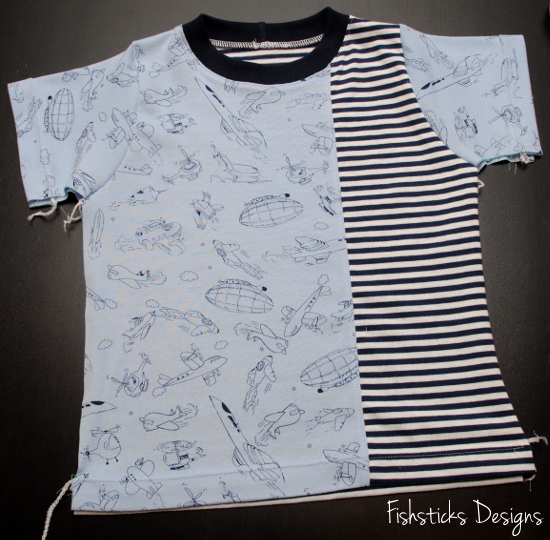
Tomorrow, we’ll sew the sides and, if you’re sewing the ringer tee or long-sleeve tee, we’ll add bands. And, then we’ll be finished!
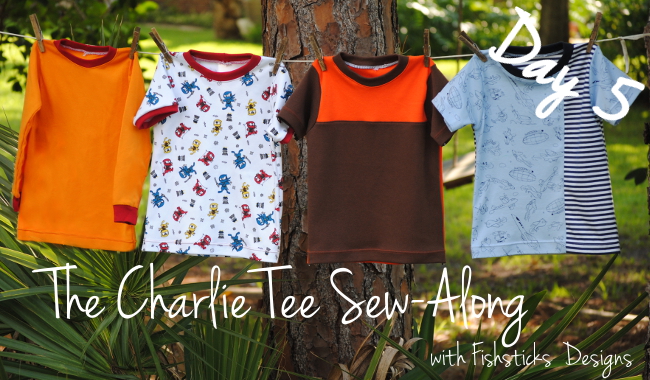
It’s the last day of the Charlie Tee Sew-Along! Are you ready to finish your tee? Let’s get to it!
We left off right after sewing in the sleeves yesterday. Today, you’ll start by flipping the front and back of your tee so that the right sides are facing. Pin along both sides and up under the arms. Carefully align all the hems and the underarm seams.
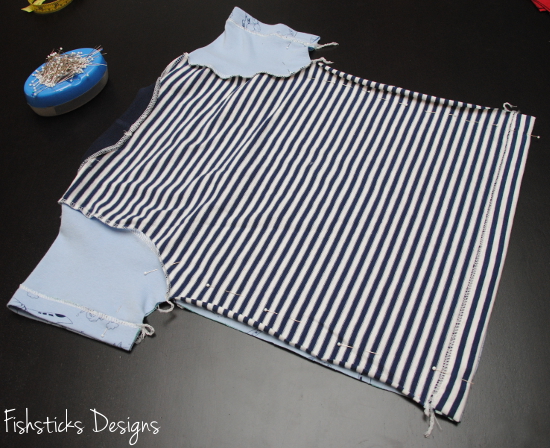
Sew or serge up each side and under the arms. If you’re serging, leave your serger tails about 3″ long on both ends. If you’re sewing, be sure to backstitch at the beginning and end of your stitching on both sides.
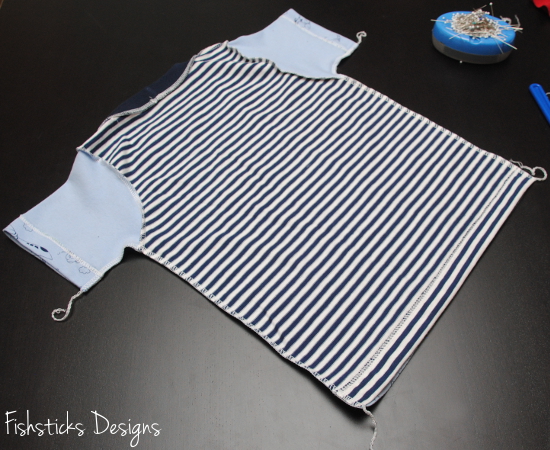
There are multiple ways to finish off your serging. I prefer to finish mine off by tying the threads together. Start by finding the two threads that run side-by-side through center of the loops. You’ll see them running right down the middle in this picture.
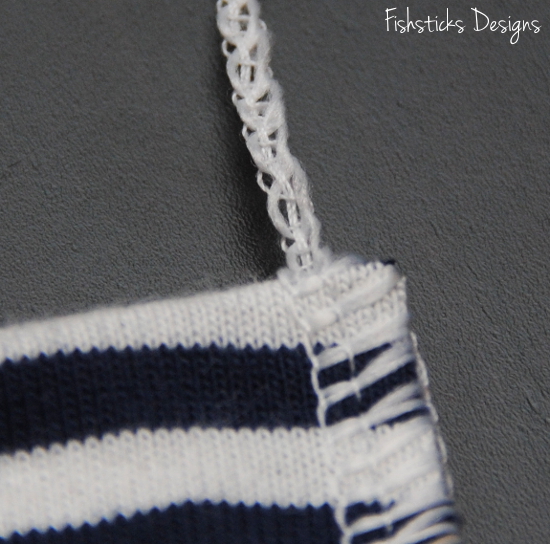
Use the back side of your seam ripper to grab those threads a few loops up from the edge of the fabric and pull them loose.
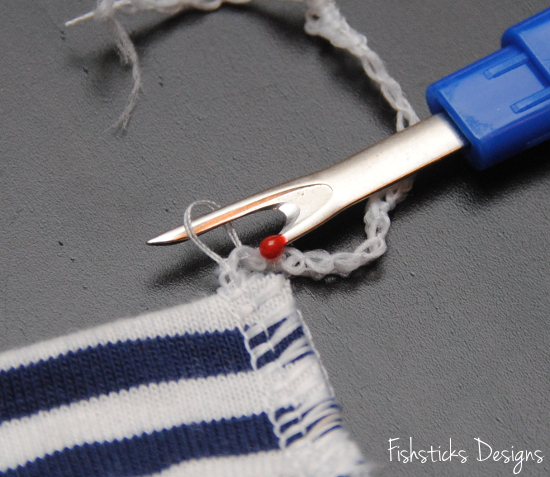
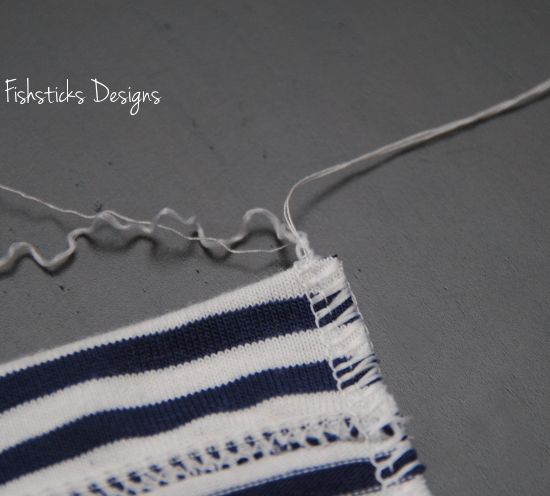
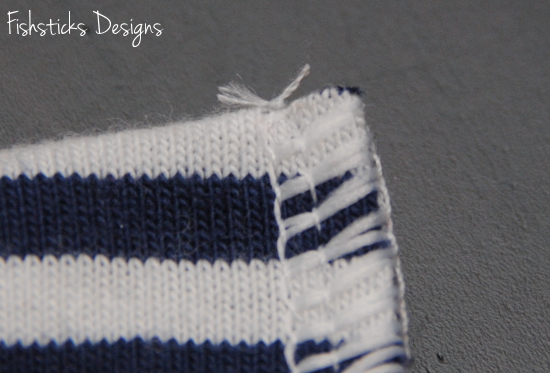
Treating each set of two threads as one, tie a triple knot in the end snug against the fabric.
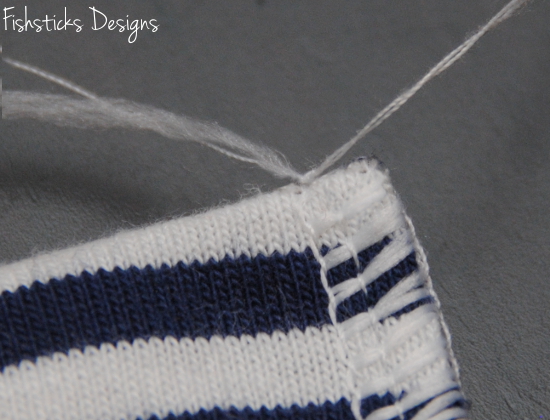
Cut the ends of the threads off about 1/8″ from the edge of the fabric and stitching.
Turn your shirt right side out and jump for joy! You’re all finished . . .
. . . unless you’re sewing the ringer tee or the long-sleeve tee.
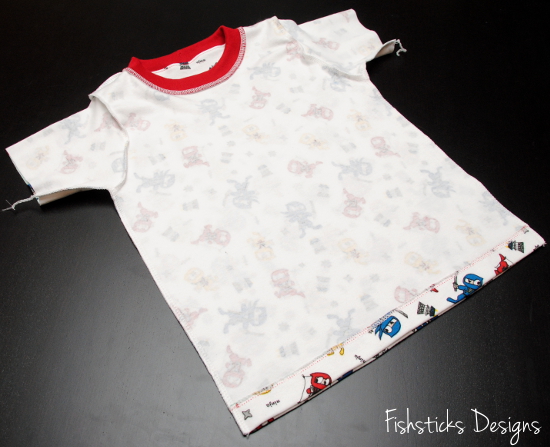
If you’re sewing the ringer or long-sleeve tee, we have one quick step to finish up. Take the bands and fold them over matching up the short ends with right sides together. Pin and sew or serge across the short edges.
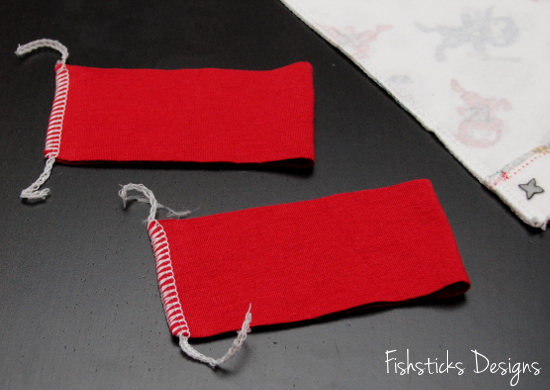
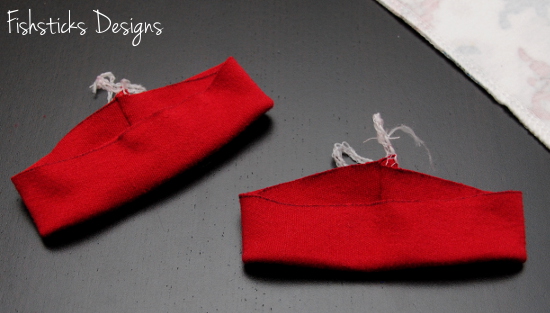
Follow the same method that we used to create the neckband on Day 3.
Pin the bands inside the end of each sleeve, lining up the seams.
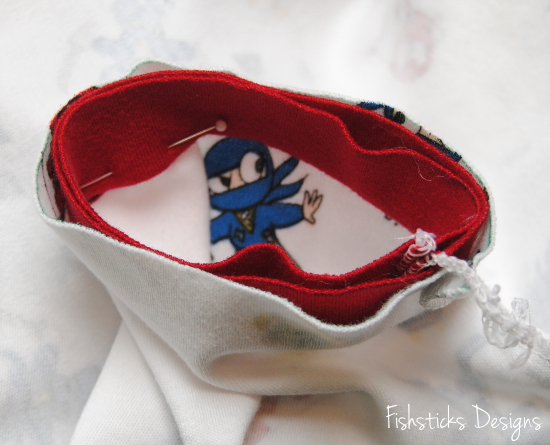
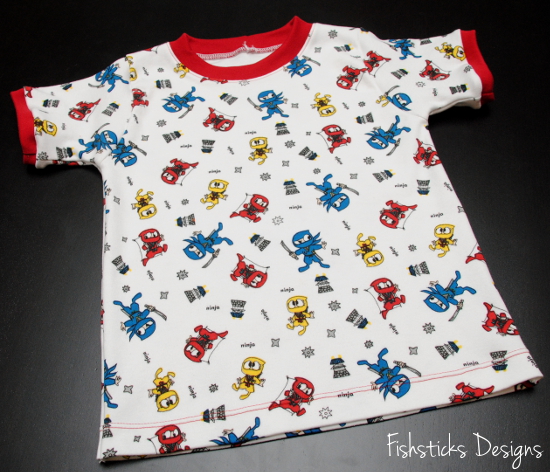
Sew or serge all the way around each band, stretching slightly so that the band fits inside the sleeve. Flip your shirt right-side out, and go find the little boy or little girl you’ve been sewing for!
You just might get a reaction like this! Yay! Mom made me a cool new shirt with airplanes and helicopters!

This shirt is quite comfy.
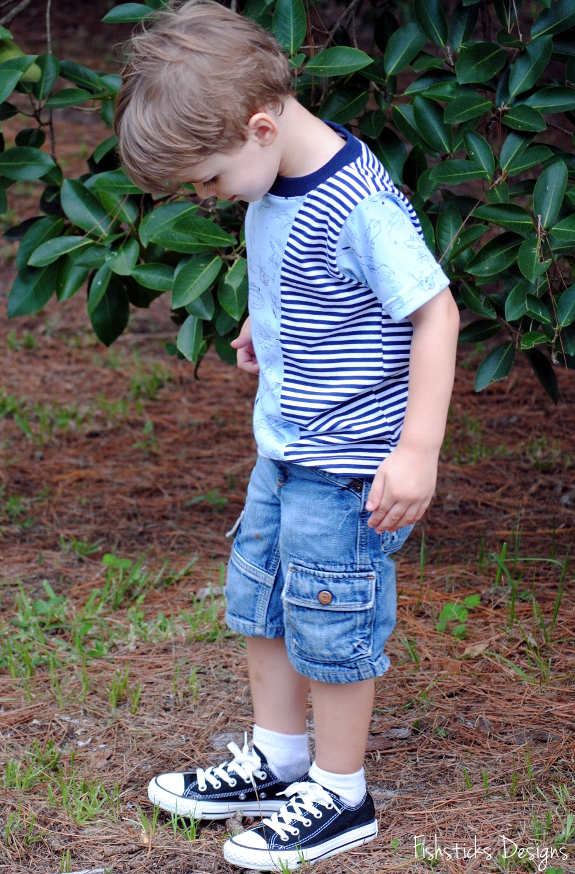
And, it’s really cute!
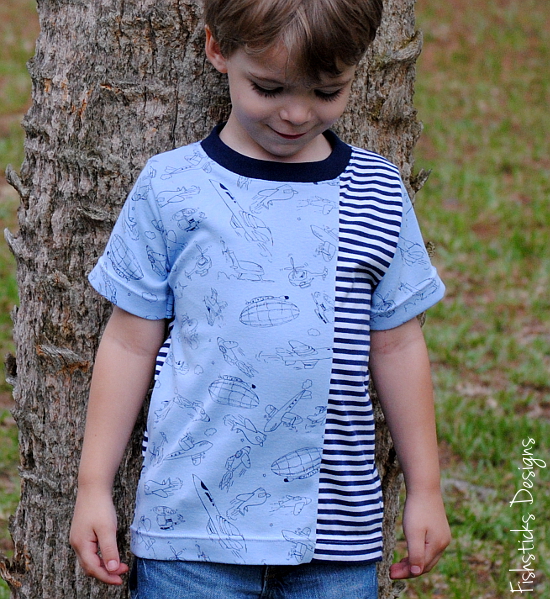
It’s perfect for running and playing!
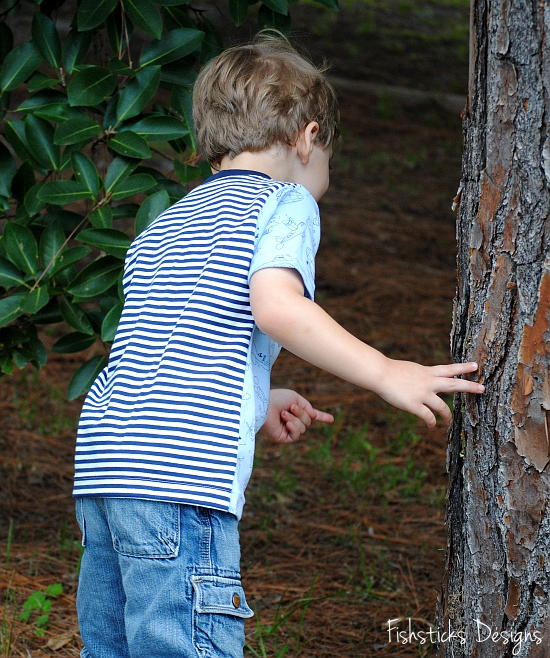
I should pick Mom a flower! (She doesn’t need to know that it came off of one of her pretty potted plants.)
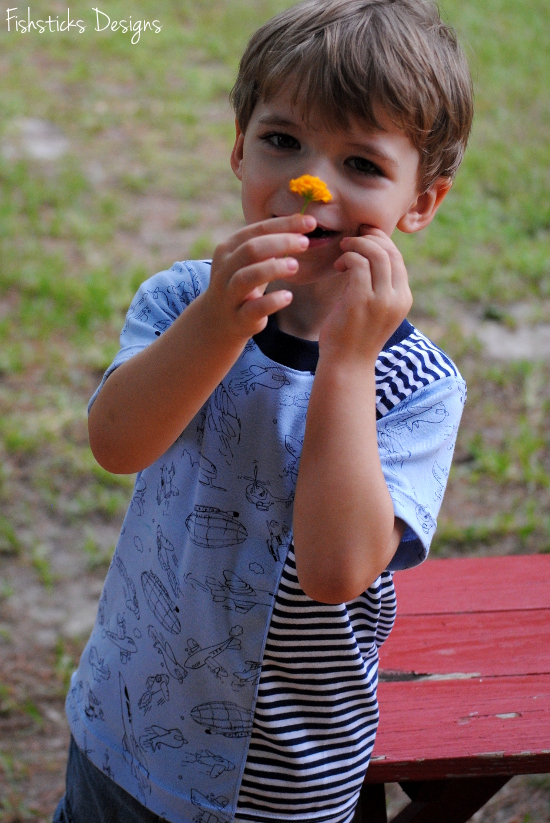
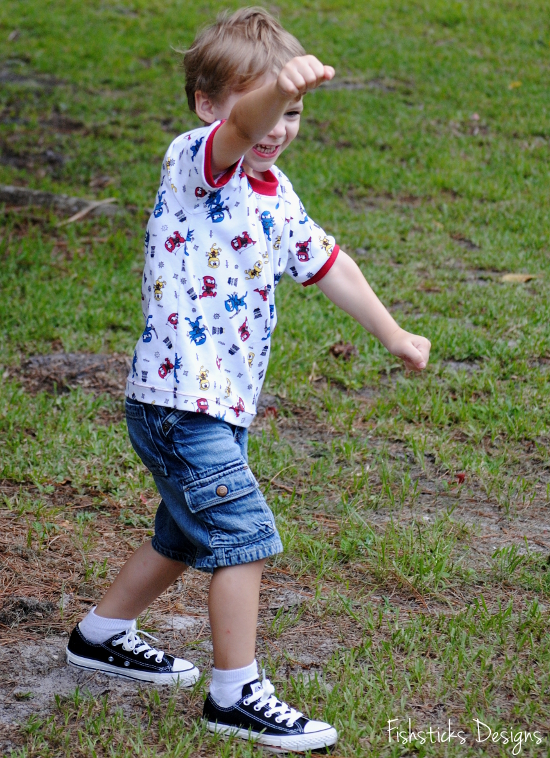
This ninja shirt is awesome, too!
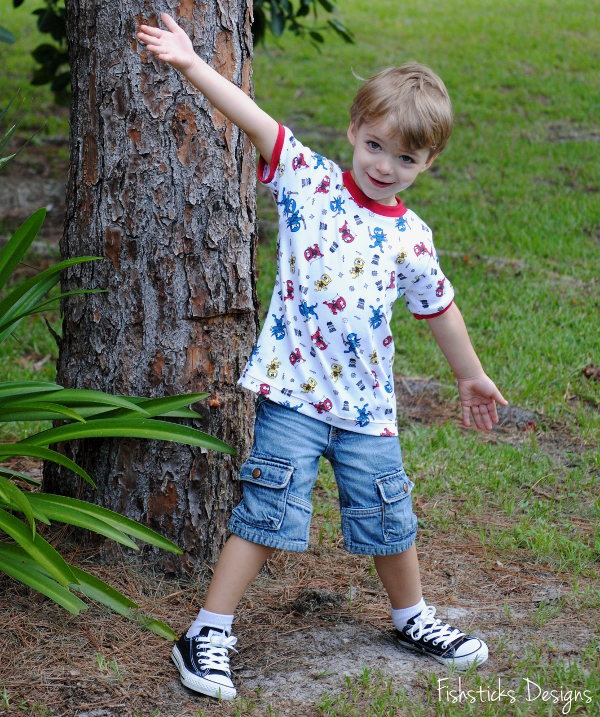
It gives me ninja powers.
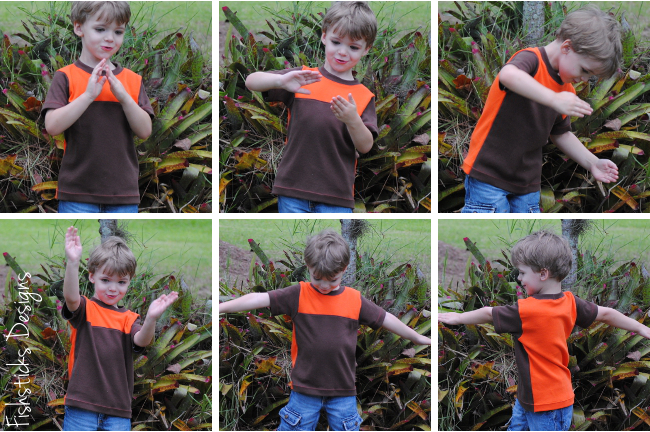
This brown and orange shirt is the best of all, though! It turns me into a robot!
I hope you enjoyed sewing with me this week! I would love to see your shirts! You can share them in our Facebook Sewing Group or in our Flickr Group. And, I really hope that you’ll join us over at the Fishsticks Designs Blog for the Charlie Hoodie Sew-Along next week. Be sure to get your fabric washed and dried this weekend. (I’m working on two hoodies, one made from cotton french terry and one from cotton sweatshirt fleece.)


Pingback: Twin Needle Hemming – A Tutorial | Fishsticks Designs Blog